
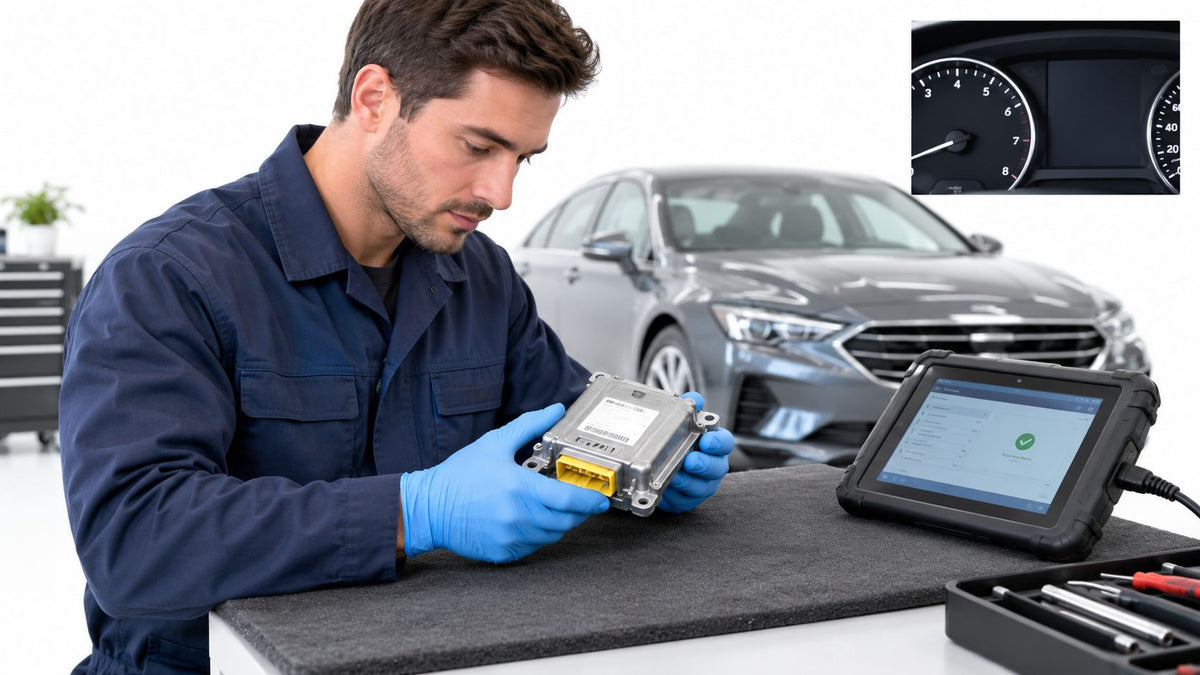
You've finished the paint, replaced the deployed bags, rebuilt the belts, and the car finally looks straight again. Then you turn the key and the airbag light stays on. That's the point where most rebuilds stall, because the remaining fault isn't in the parts you can see. Learning how to repair airbag modules correctly means treating the reset as one step in a complete post-collision workflow, not as the whole job.
Table of Contents
- Why Your Airbag Light Is Still On After Repairs
- Diagnosing the Crash Data Before You Touch the Module
- Removing the SRS Module Safely
- What Happens During a Mail-In Module Reset
- Reinstalling the Reset Module and Verifying the Light
- What You Still Need to Verify Beyond the Module
- Common Mistakes and When Replacement Beats a Reset
Why Your Airbag Light Is Still On After Repairs
A typical salvage rebuild looks done from the driver's seat. The steering wheel bag is new, the dash cover fits, the pretensioners retract, and the body lines up. Yet the SRS warning light comes on with the ignition and never goes out, no matter how many times you disconnect the battery.
That's usually not a loose wire. The supplemental restraint system (SRS) is run by a small control module, often mounted under the center console or a seat. It talks to crash sensors, airbags, pretensioners, seat occupancy detection, and the warning lamp. During a collision it decides what fires, in what order, and then it keeps a record of that event.
What the module remembers
After deployment, most modules store crash data and hard fault codes that survive part replacement. You can install perfect replacement airbags and belts, and the module will still report the old event because its memory hasn't been cleared. A standard code clear doesn't rewrite that record.
- Stored deployment record: The module logs that airbags or pretensioners fired, and it holds that log until it's professionally reset.
- Hard fault codes: Codes set by the crash remain in memory and keep the light on even when every physical component tests good.
- Active electrical fault: A crushed sensor, cut harness, or unplugged connector sets a live fault that returns instantly after any reset.
Separating the first two from the third is the whole diagnosis. If the remaining codes describe a recorded deployment, a reset is the right service. If a sensor circuit is open right now, resetting the module changes nothing.
This distinction matters because the system involved isn't cosmetic. The NHTSA estimate that frontal airbags saved 2,396 lives in 2014 sits inside a longer record of 42,292 lives saved from 1987 through 2014 for the same devices. A light that stays on may mean the controller isn't ready to manage the next crash.
A persistent SRS light after clean physical repairs usually points to memory inside the module, not to the parts you just installed.
So don't start by pulling trim apart looking for a bad connector. Start by confirming what kind of fault you're chasing.
Diagnosing the Crash Data Before You Touch the Module
Pull the module only after you've proven the fault lives in it. A round trip through the mail won't fix a damaged impact sensor, and you'll lose days learning that.
Run a proper pre-scan
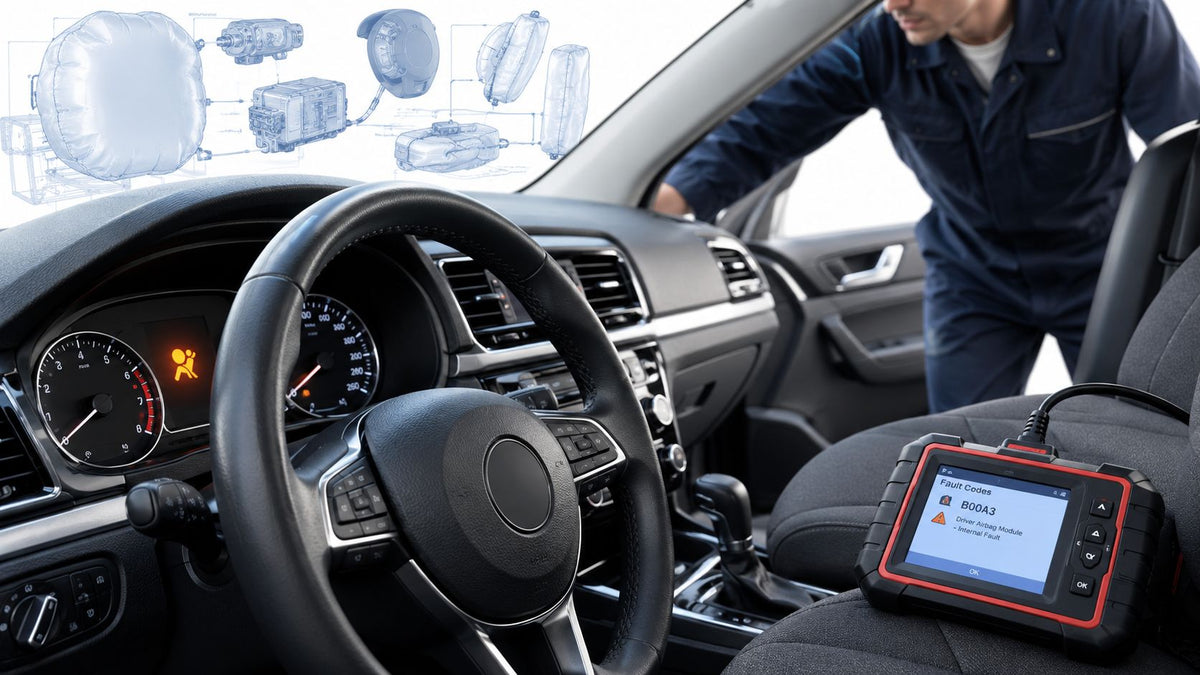
Plug into the diagnostic port and read the SRS, not just the engine computer. Many basic OBD-II scanners can display airbag codes, but they can't erase a crash event record from module memory. That limit is useful information. If the tool shows deployment related codes and won't clear them, you've likely found stored crash data. If it shows a specific circuit fault, such as a pretensioner resistance problem, test that circuit first.
The visual checklist below sets out that sequence before any trim comes off.
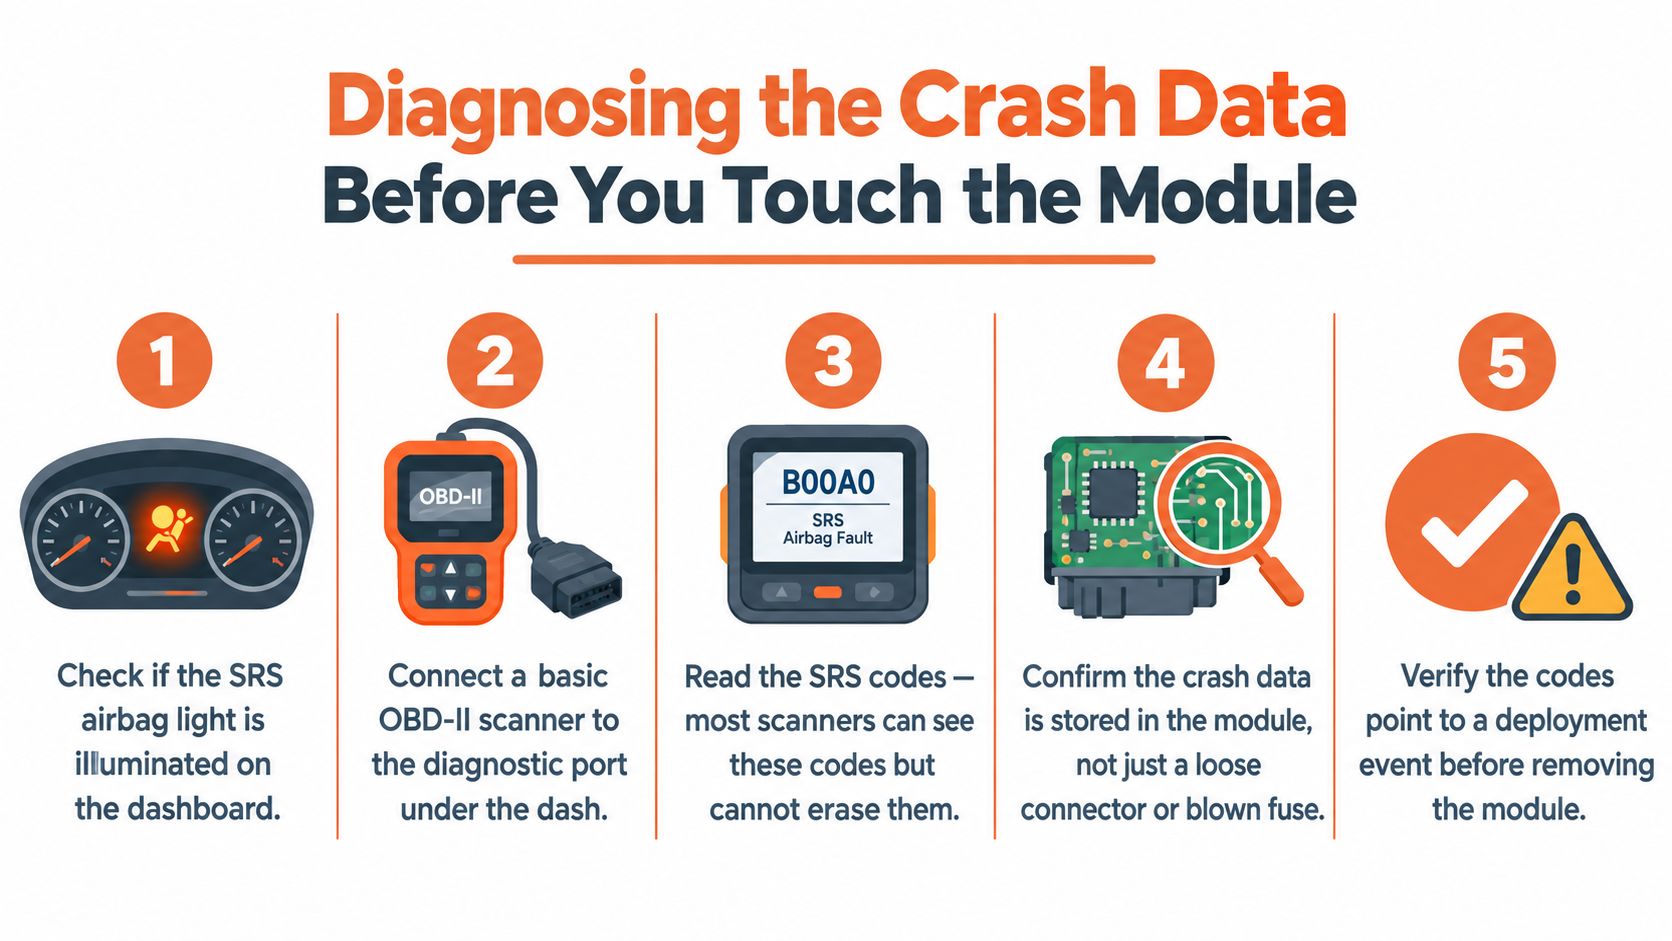
Write down every code before you disconnect anything. That record tells the bench technician what the module saw, and it gives you a baseline to compare after reinstallation. Following a structured walkthrough for diagnosing an airbag light helps you separate a stored event from a live fault instead of guessing.
Confirm the event could be recorded
A collision doesn't need visible deployment to leave an electronic trace. As described in NHTSA crash investigation material on airbag electronic control units, the unit records diagnostic information for the airbag system and may record frontal, rear, side, and rollover events. Direction, severity, and sensor inputs all affect what's stored.
Also identify the exact parts you're dealing with before anything ships. For belts, technicians commonly use connector count to identify whether a pretensioner is single, dual, or triple stage. For the module, record the part number and VIN. Sending the wrong unit, or the right unit with no identifying details, slows the bench work.
While you're assessing collision damage, it's worth taking the same evidence based approach to structural parts, and this guide on choosing the right truck bumper is a useful reference for judging front end damage instead of replacing parts on appearance alone.
Decision rule: deployment record with no active circuit faults, mail the module in. Active circuit fault, repair the hardware first.
Removing the SRS Module Safely
Removal is simple work that goes wrong when people rush the safety sequence. You're working next to pyrotechnic devices that still hold reserve energy after the battery is disconnected.
Power down first
Turn the ignition off, remove the key or keep the fob away from the car, and disconnect the negative battery terminal. Then wait for the period your vehicle manufacturer specifies for the SRS to de-energize. That wait isn't optional. Airbag systems keep capacitor reserve so they can fire if battery power is lost in a crash, and that reserve needs time to discharge.
Don't probe airbag connectors with a test light or a basic multimeter on a live circuit. Don't sit in front of an undeployed steering wheel bag while you work under the dash. Treat every undeployed inflator as loaded.
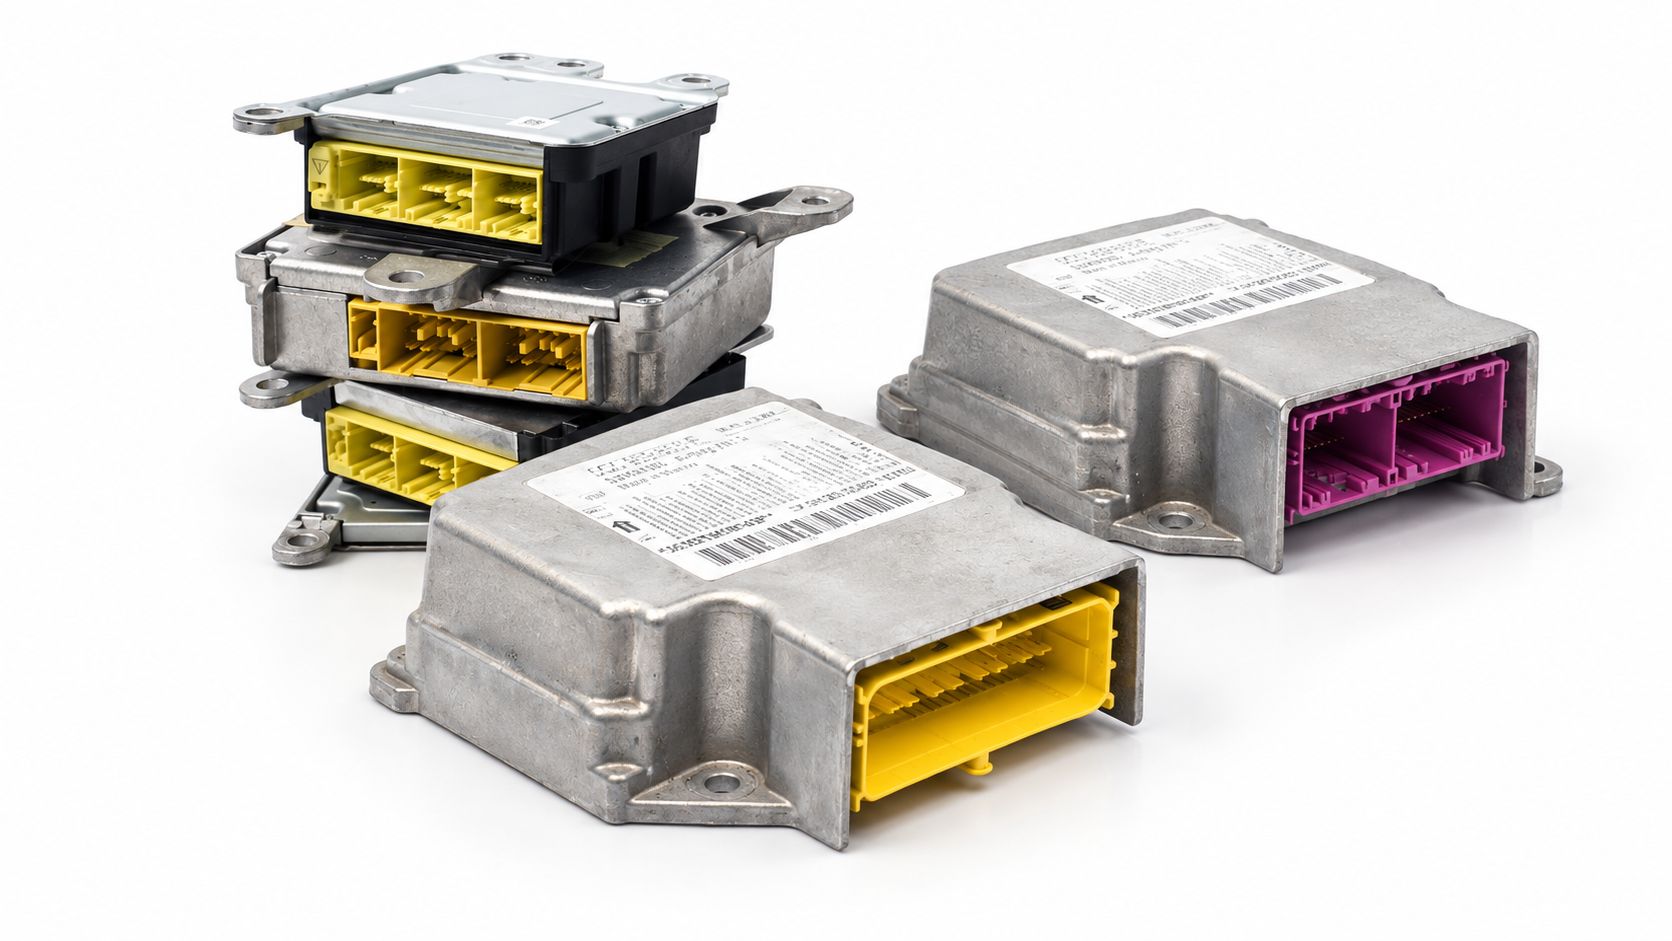
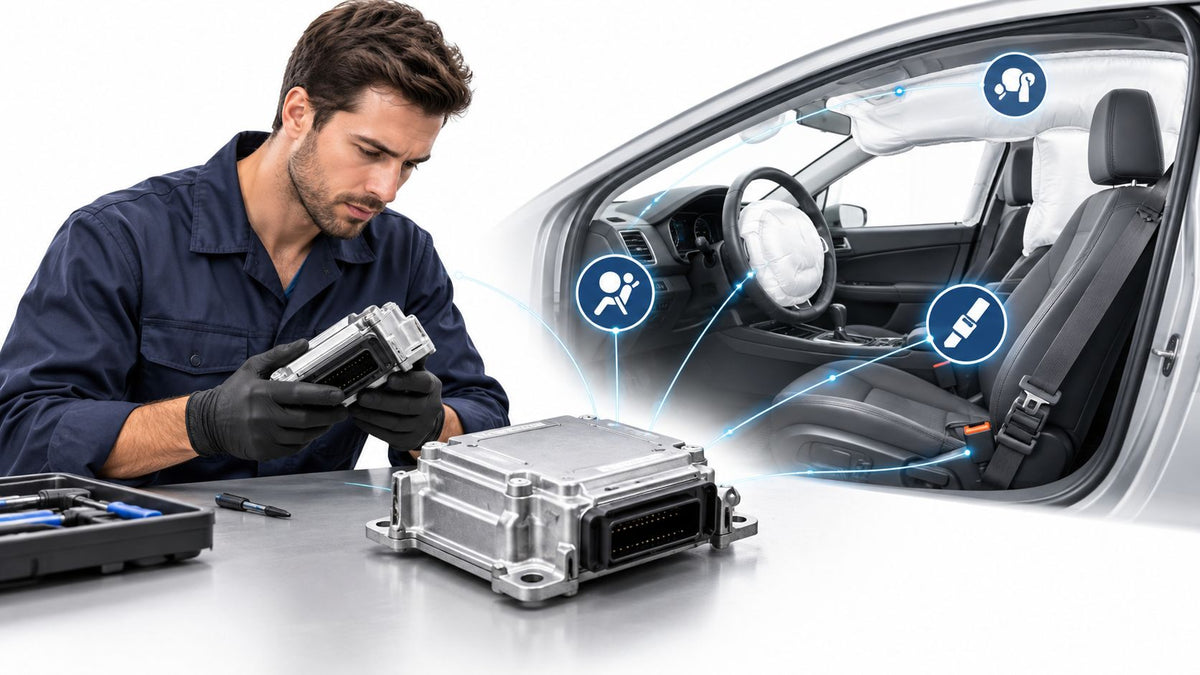
The unit in the photo below is the small metal cased computer you're looking for, not the body control module or an amplifier that may sit nearby.
Locate, unbolt, unplug
Module location varies by platform. Common spots include under the center console, under a front seat, and behind the lower dashboard. Since guessing wastes time, check the reference on where the airbag module is located for your vehicle before you start removing seats or consoles.
- Expose the bracket: Move the seat or console trim only as far as needed, and keep fasteners organized by location.
- Unplug before unbolting, or as the service procedure directs: Release the connector lock, then pull on the connector body. Never pull on the wires.
- Remove the mounting bolts: Support the module so it doesn't drop onto the tunnel and bend its pins.
- Inspect before you box it: Look for bent terminals, green corrosion, a cracked case, or water staining inside the connector.
If the steering wheel airbag deployed, check clockspring alignment while you're there. A clockspring that's off center can break at full lock after the repair, creating a new SRS fault that looks like a failed reset.
Water damage changes the conversation: A module that's been submerged or shows corrosion on the board may not be a reset candidate at all. Photograph it and ask before you ship.
You want to send an intact unit with undamaged pins, its bolts accounted for, and the connector lock unbroken. That's what comes back ready to install.
What Happens During a Mail-In Module Reset
This is a mail-in service, not an in-shop repair. You handle removal and reinstallation locally. The bench work happens at the service center, on your original module.
The flow below shows the packaging and shipping sequence before any bench work starts.
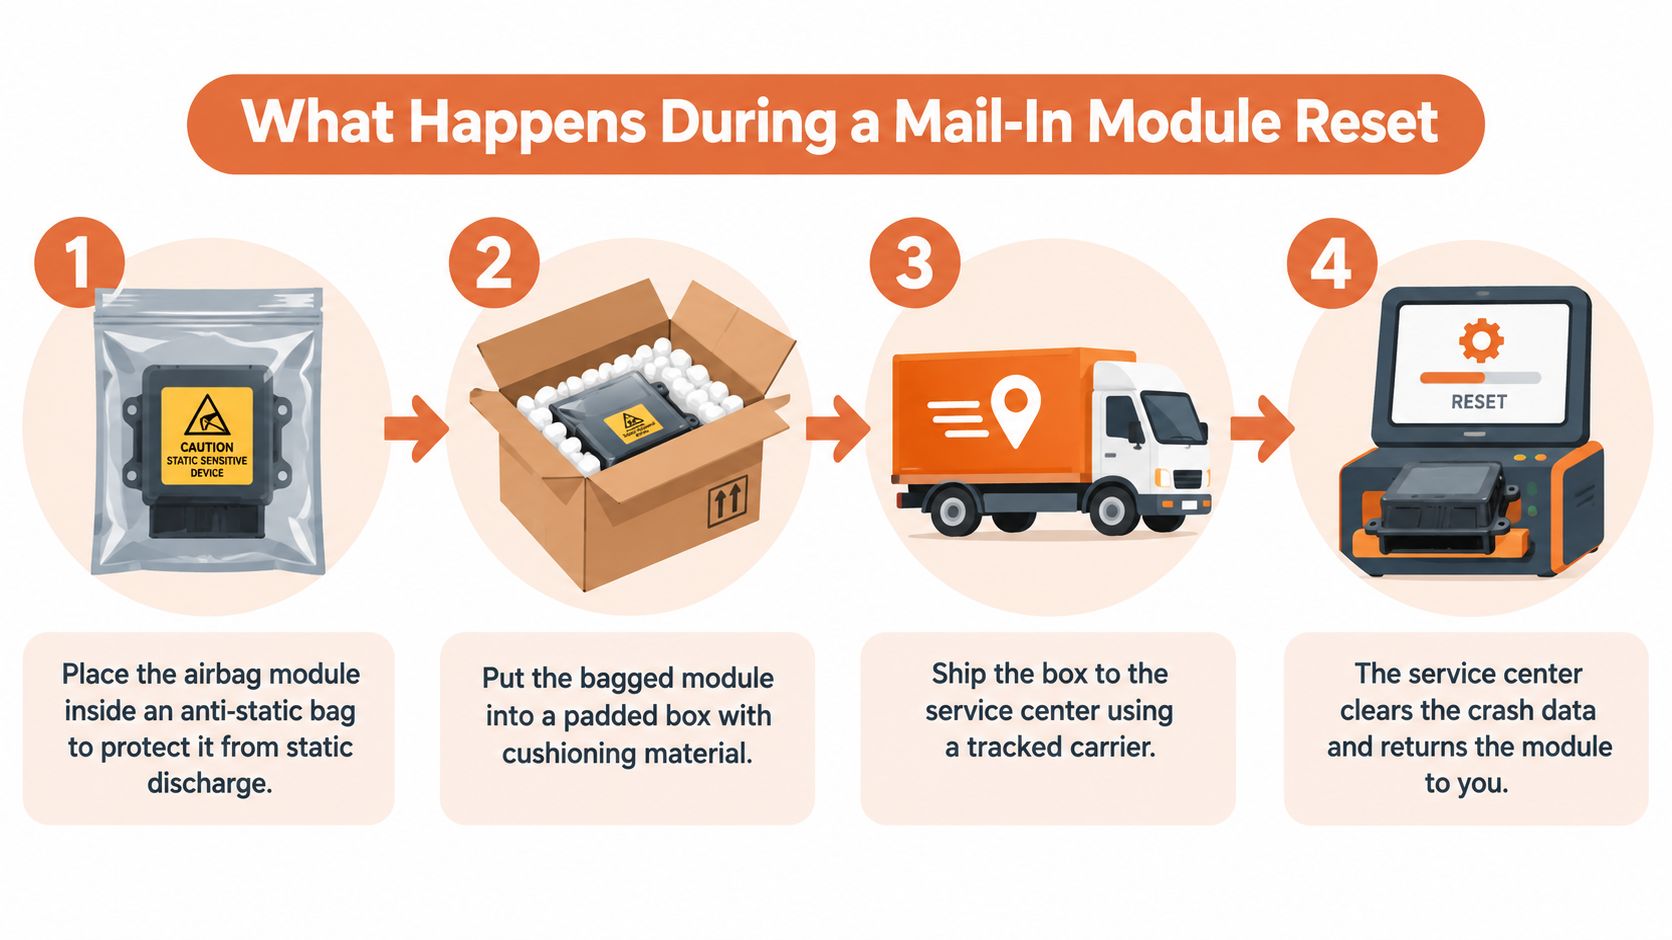
Slide the module into an anti-static bag, then into a padded box with enough cushioning that it can't move. Include your order details, VIN, year, make, model, and the codes from your pre-scan. Ship with a tracked carrier so receipt isn't a guess.
What the technician actually does
On the bench, the technician connects to the module and reads its EEPROM memory directly. That's the step a scan tool can't perform through the diagnostic port. The stored crash event is removed, deployment records for airbags and pretensioners are cleared, hard fault codes are cleared, and the module is restored to OEM factory settings. Keeping your original unit also keeps its existing VIN pairing, which is why a reset typically avoids the dealer programming a new module would need.
The service described for Airbag Light Reset - Mail in Your SRS Airbag Module After Accident covers complete crash data removal, EEPROM memory reset when required, and restoration to factory condition across makes and models, with 24 hour turnaround after receipt and a lifetime warranty on the reset. The same listing notes that dealer replacement can cost $500 to $2,000 or more plus VIN coding and programming, which is the cost most rebuilders are trying to avoid.
Before the module ships back, it's functionally tested to confirm it powers up, communicates, and no longer reports the stored event. Typical return shipping falls within 24 to 48 hours of the bench work finishing, so plan your reassembly around carrier time, not just bench time.
The short video below walks through that mail-in sequence from removal to return.
What you receive back is your own module with a clean memory. It isn't a repaired airbag, a rebuilt belt, or a tested sensor. Those parts are still your responsibility, which is why the next two steps decide whether the light goes out.
Reinstalling the Reset Module and Verifying the Light
Reinstallation reverses removal, with two details people skip. The connector must seat fully, and the module must be mounted firmly in its original orientation. A module that contains an internal sensor won't read the vehicle correctly if it's loose or tilted.
Mount, connect, then power up
Set the module on its bracket and install the original bolts, tightened to the manufacturer's specification. Push the harness connector in until the lock clicks, then tug the connector body lightly to confirm it's captured. Reconnect the negative battery terminal last, after every SRS connector in the car is plugged in.
Don't reconnect power with a seat out or a pretensioner unplugged just to check progress. The module will log fresh faults for everything that's missing, and you'll be diagnosing codes you created.
Read the bulb check correctly
Turn the ignition on and watch the lamp. On a healthy system the airbag light illuminates for the self-test, then goes out and stays out. That sequence is the success signal. A light that never illuminates is also a problem, since it can't warn anyone.
- Light on, then off: The reset worked and no active faults remain.
- Light stays on: Something physical is still wrong. Scan again and chase the specific circuit the new code names.
- Light flashes a pattern: Many platforms flash a code sequence. Count it and look it up rather than assuming the reset failed.
Because this was your original module, VIN coding usually isn't required. Still confirm that for your platform, since some vehicles need a configuration or occupant detection relearn after the module has been disconnected. A post-repair scan settles it.
That final scan is now standard collision practice, since CCC reporting that 86.9% of repairable direct repair program appraisals included a diagnostic scan shows how routine electronic validation has become. The same data put calibration on 32.2% of appraisals, up from 23.9% a year earlier, so a reset module can be ready while unrelated radar or camera calibration still holds the car.
Save the post-scan report with your build file. It's your evidence that the SRS reported no faults on the day the car left.
What You Still Need to Verify Beyond the Module
A light that goes out proves the controller isn't reporting a fault at that moment. It doesn't by itself prove the car will protect anyone in the next crash. That gap is where rushed rebuilds cut corners, and it's the most important part of learning to repair airbag modules properly.
The checklist below covers the components a reset module can't inspect for you.
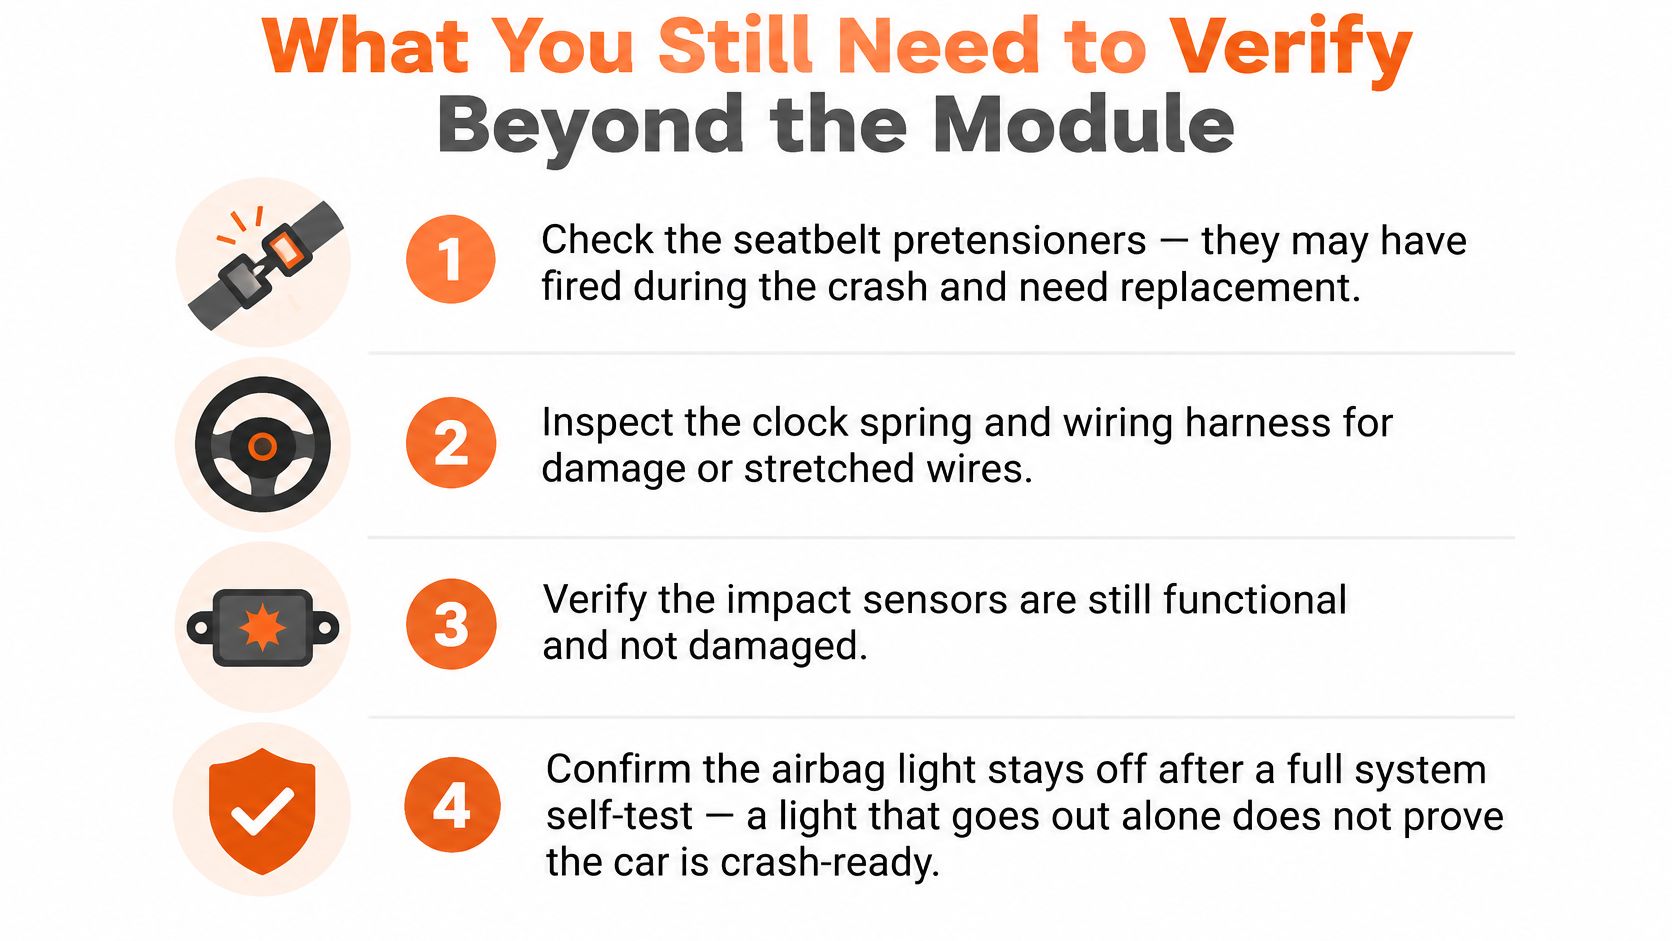
Components that must be physically right
Deployed airbags are single use. A fired bag, a torn cover restuffed with foam, or a resistor wired in place of an inflator will sometimes keep a light off, and none of them will deploy. That's why NHTSA air bag guidance on replacement and used vehicle inspection stresses genuine components built to OEM specifications, and it also carries the warning that faulty aftermarket inflators have caused deaths and life-altering injuries.
Run through the rest of the system by VIN and by component:
- Pretensioners: Confirm every fired unit was rebuilt with an OEM mechanism or replaced. A belt that retracts by hand can still contain a spent charge.
- Impact sensors: Check mounting, connector locks, and any sensor that sat inside a crushed crush zone.
- Wiring and clockspring: Look for stretched, pinched, or repaired SRS harness sections, and confirm the clockspring is centered if the driver bag fired.
- Seat occupancy system: Verify the passenger detection pad and its module read correctly, especially if seats were swapped from a donor car.
- Recall status: Search the VIN for open airbag or SRS recalls. A recall remedy belongs to the dealer, and a reset doesn't substitute for it.
Documentation matters as much as the parts. Keep invoices showing OEM specification components, part numbers, the pre-scan and post-scan reports, and photos of installed bags before covers went on. That paper trail is what an inspector, a buyer, or an insurer will ask for later, and it aligns with the functional testing requirements for repaired restraint components that govern how serviced parts are verified before return.
The standard to hold: electrically quiet, correctly configured, and physically complete. A reset only delivers the first of those three.
Common Mistakes and When Replacement Beats a Reset
Most failed outcomes come from a short list of avoidable errors, and nearly all of them happen before the box is taped shut.
Trying to clear crash data with a scan tool is the most common one. The light may go out for a key cycle, then return, because the event record was never removed from memory. Mailing the wrong part is next. Body control modules and amplifiers look similar under a console, so match the part number and the SRS labeling. Skipping the pre-scan sends good modules on needless trips while the actual fault sits in a seat harness.
Then there's the question of whether a reset is even the right call. Sometimes it isn't.
When to stop and replace instead
- Internal damage: A cracked case, burnt board, or a module that won't communicate on the bench needs replacement, not reprogramming.
- Water intrusion: Corrosion on pins or inside the housing makes long term reliability doubtful, even if the memory clears.
- Open recall on the module: Dealer reprogramming or replacement is the remedy, and it should be completed through that channel.
- Wrong or mismatched unit: A donor module with another vehicle's VIN and configuration creates programming problems your original never had.
Cost favors a reset when the hardware is sound, because a new dealer module adds programming on top of the part price. But cost is the wrong deciding factor when the unit in your hand is damaged. A cheap, unreliable controller in a safety system is not a saving.
The complete job, done in order, is short to state. Diagnose the fault, remove the module safely, mail it in for a bench reset, reinstall it correctly, verify the light, then verify the rest of the system component by component. Skip the last step and you've repaired a warning light. Do all six and you've restored a restraint system.
If your module is already out and your pre-scan points to stored crash data, Seat Belt Repair resets SRS airbag control modules by mail and clears crash data and hard codes so the unit returns ready to reinstall. Send in your original module, finish the physical repairs and verification steps covered above, and you'll hand back a car whose restraint system is ready, not just a dashboard with the light off.

Leave a comment
This site is protected by hCaptcha and the hCaptcha Privacy Policy and Terms of Service apply.