
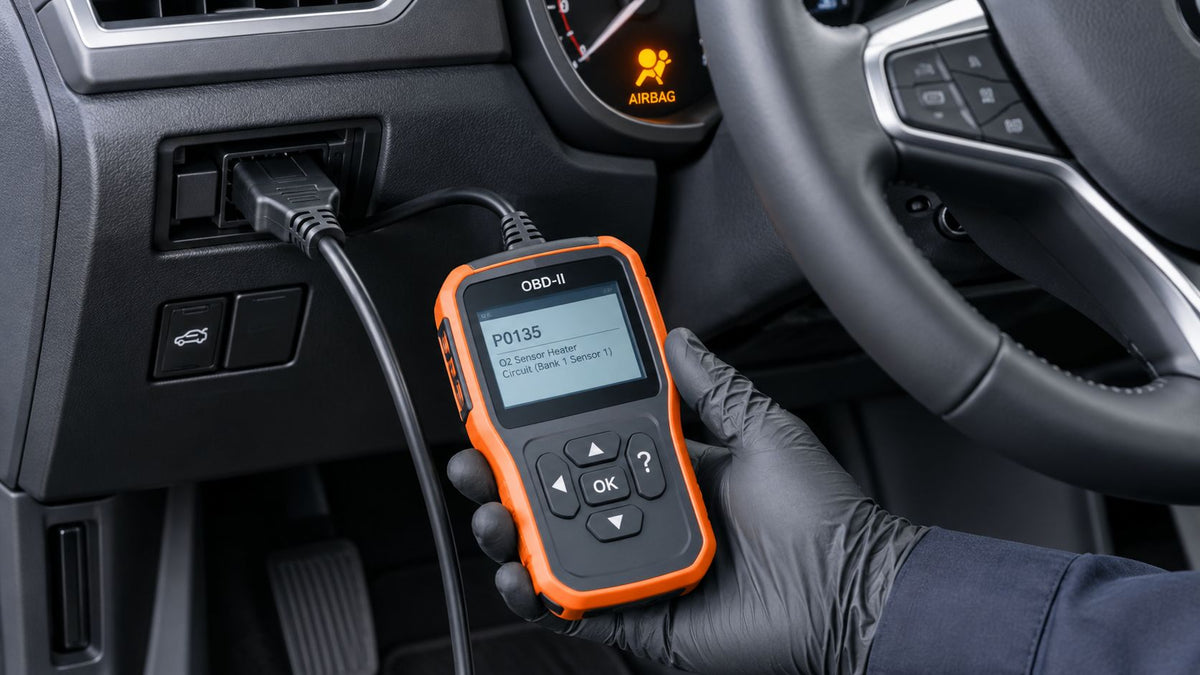
You've just finished repairing a collision-damaged vehicle. The bumper lines up, the panels are painted, and the battery is connected again. Then the SRS light remains on, and the car appears to be driving normally. That last detail is misleading. A restraint warning light can indicate that the system has detected a fault and may have deactivated part of the protection system, so the vehicle isn't fully repaired until you identify the stored fault and verify the SRS system afterward.
Table of Contents
- What an Airbag Light Means After the Accident
- Reading SRS Fault Codes With the Right Scan Tool
- Common Causes Behind Airbag Warning Codes
- Diagnosing Intermittent Airbag Light Problems
- Resetting the SRS Module Versus Replacing It
- Confirming the Repair and Avoiding Repeat Failures
What an Airbag Light Means After the Accident
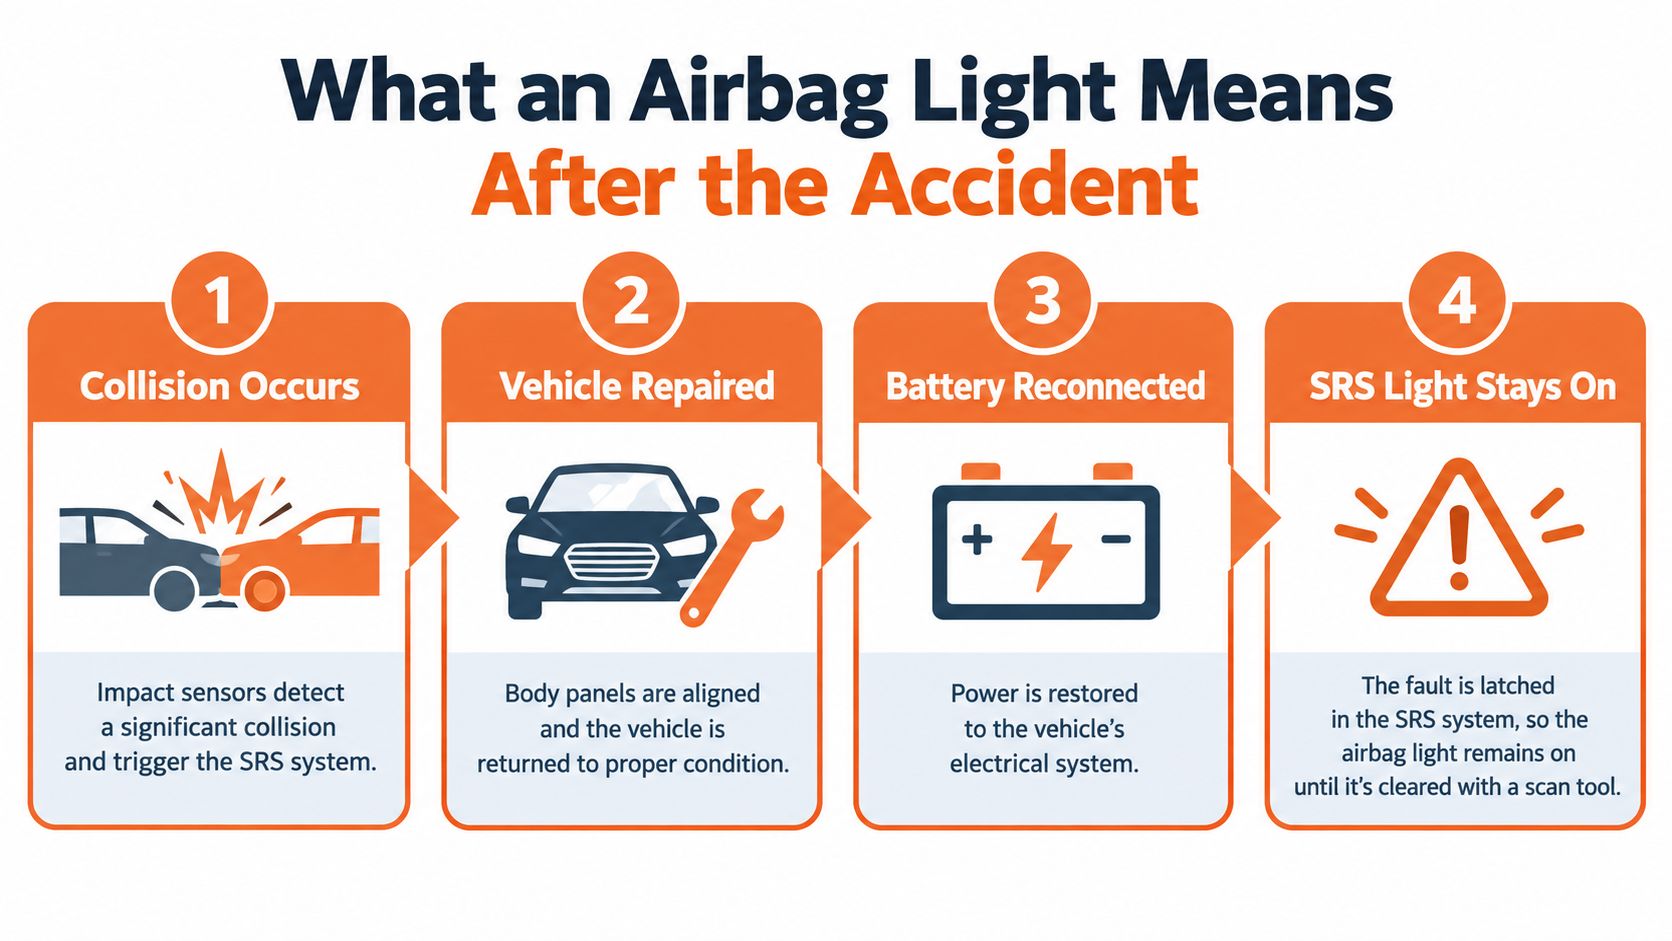
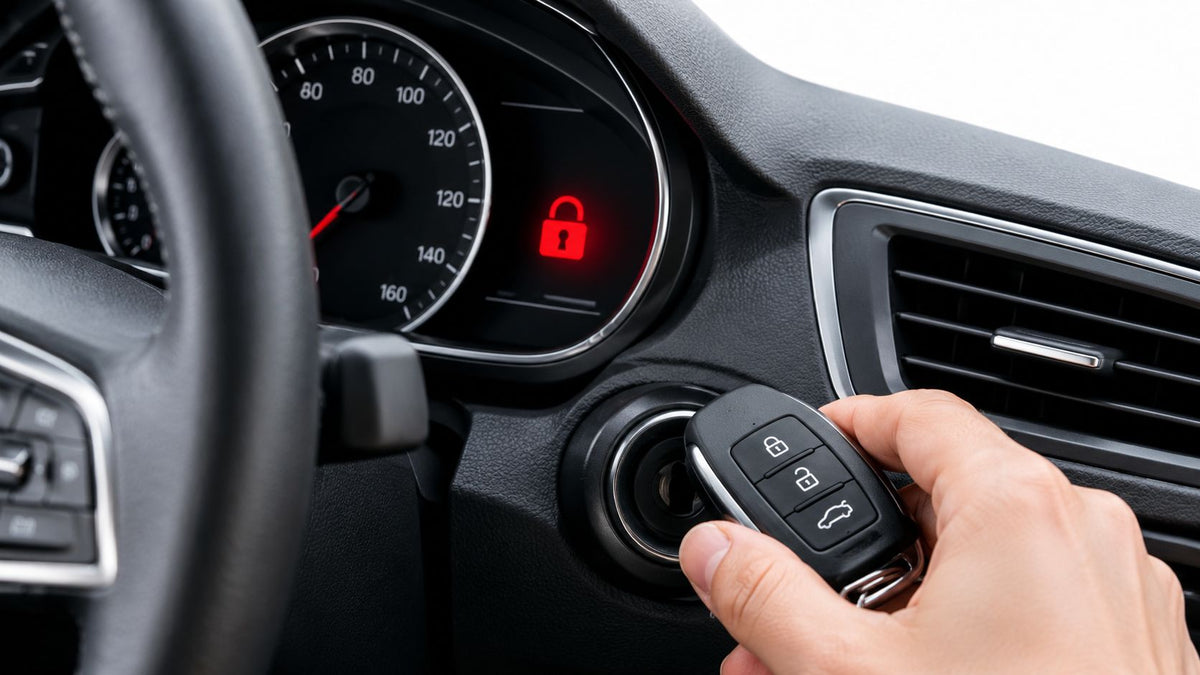
A common post-collision sequence looks simple. The vehicle enters the shop, damaged parts are replaced, interior trim is reinstalled, and the battery is reconnected. During the normal startup bulb check, the SRS light comes on. It should then go out after the system completes its self-test. If it stays illuminated, the restraint control module has found a condition it can't validate.
That condition may involve an out-of-range resistance value, stored crash data, a damaged sensor, a buckle circuit, a seat occupancy component, a communication fault, or a voltage problem. The light itself doesn't identify which component failed. It tells you that the module has recorded a diagnostic trouble code and that the system can't confirm normal operation. Neutral diagnostic guidance describes a continuously illuminated SRS or airbag warning light as a sign that the restraint system has detected a fault and may be deactivated. The precise cause has to be found in the module's fault memory through an appropriate diagnostic connector and scan tool, as explained in this SRS warning light diagnostic guide.
Why battery reconnection doesn't clear the problem
Disconnecting the battery can remove power, but it doesn't reliably erase a stored SRS fault or repair an open circuit. A collision can also leave crash information stored inside the control module even after visible damage has been corrected. If an airbag, pretensioner, sensor, or buckle was affected, reconnecting the battery only allows the module to run its checks again and report the unresolved condition.
A steady light after startup is not a harmless dashboard reminder. A flashing pattern can point to a current fault, while a steady light often reflects a stored fault, but the exact behavior depends on the vehicle and its diagnostic strategy. Some vehicles can also have a failed warning circuit, so the absence of a lamp doesn't prove that the SRS system is healthy. Don't clear anything before recording the available fault information.
Safety decision: Treat an illuminated SRS light as evidence that the vehicle's restraint system needs diagnosis, not as a cosmetic warning that can wait for the next service.
Reading SRS Fault Codes With the Right Scan Tool
The first useful action is a full-system scan with a tool that can communicate with the SRS module. Plugging in a generic reader and seeing “no codes” doesn't prove the airbag system has no fault. Many basic OBD-II adapters read powertrain information but can't access manufacturer-specific restraint modules.
A code-led scan process
Start with the ignition off, connect the scan tool to the vehicle's diagnostic connector, and follow the manufacturer's safety procedure. Turn the ignition on only when the tool and service information instruct you to do so. Select the vehicle accurately, then enter the SRS, airbag, or restraint control module menu rather than stopping at the generic engine scan.
Record everything before clearing the memory:
- Code identification: Capture the complete code, including subcodes and descriptions.
- Status: Note whether the fault is current, active, stored, intermittent, or historical.
- Operating context: Save freeze-frame or event information when the tool provides it.
- Occurrence details: Record any count, mileage, time stamp, or module status shown by the scan tool.
- System access: Confirm that the scan tool communicated with the restraint module.
SRS code families can help narrow the physical inspection. Many squib-circuit faults fall within B0001 to B0099, while higher B0100-range faults can point more toward sensors or system-level issues, according to the airbag-light diagnostic workflow. U-codes can indicate communication problems between modules. These ranges are useful for triage, but they aren't a substitute for the vehicle's factory service information.
Why code status matters more than the light
A code that returns immediately after clearing is different from a historical code that doesn't return during the next self-test. That distinction affects the repair path. A current resistance fault sends you toward a circuit, connector, or component. A stored crash event may require module service after the rest of the damaged restraint components have been addressed.
Don't erase the memory before diagnosis. Clearing codes removes evidence that can tell you whether the failure happened during startup, after a collision, when a seat moved, or during a communication interruption. The right question isn't just, “How do I turn off the airbag light?” It's, “Which SRS fault is present, and is it still active?”
Common Causes Behind Airbag Warning Codes
The physical inspection should follow the code, not the other way around. Under-seat wiring is a sensible place to look when the scan points to a seat-related circuit, but replacing a seat mat or buckle without reading the module first is guesswork.
A connector beneath a seat can be disturbed when the seat is removed, moved across its track, or exposed to moisture and debris. Spread terminals, partially pushed-out pins, corrosion, and damaged locking mechanisms can create an open or high-resistance condition. The same visual symptoms can appear after interior work, collision repairs, or an incorrectly routed harness.
The steering-wheel spiral cable, often called a clock spring, deserves separate attention when the code identifies the driver airbag circuit. It maintains the electrical connection while the wheel turns, so a worn or broken internal ribbon can create a circuit fault. Horn or steering-wheel control problems may support that diagnosis, but the SRS code and manufacturer test procedure should decide the repair.
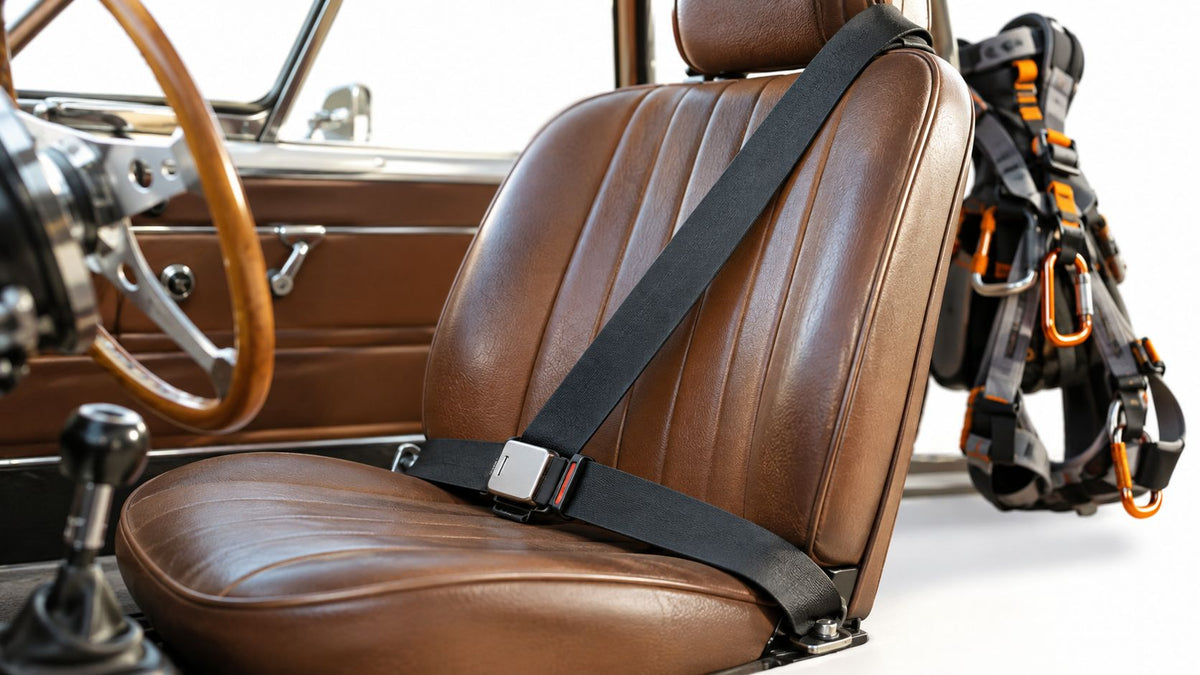
Seat-belt buckle switches and pretensioner wiring can also trigger the lamp. A buckle-related code points toward the latch switch, connector, and harness before the control module. Passenger occupancy mats require more caution because seat position, damaged wiring, moisture, or aftermarket seat covers can alter the conditions the module is evaluating.
| Fault Source | Typical Code Range | First Component to Inspect |
|---|---|---|
| Squib or airbag circuit | B0001–B0099 | Specified airbag connector and harness |
| Sensor or system-level fault | Higher B0100-range codes | Relevant sensor, mounting, wiring, and module data |
| Communication fault | U-codes | Module power, ground, network wiring, and connectors |
| Seat-related circuit | Vehicle-specific B-code | Under-seat connector, occupancy circuit, buckle, and harness |
| Stored crash data | Manufacturer-specific SRS code | Module event data and collision-replaced components |
A code linked to a specific circuit generally calls for targeted inspection. A module-internal fault or stored crash event changes the decision because the external wiring may test correctly while the module remains locked or unable to complete its self-test. The SRS light troubleshooting guide is useful background for separating wiring, buckle, module, and collision-related possibilities.
Diagnosing Intermittent Airbag Light Problems
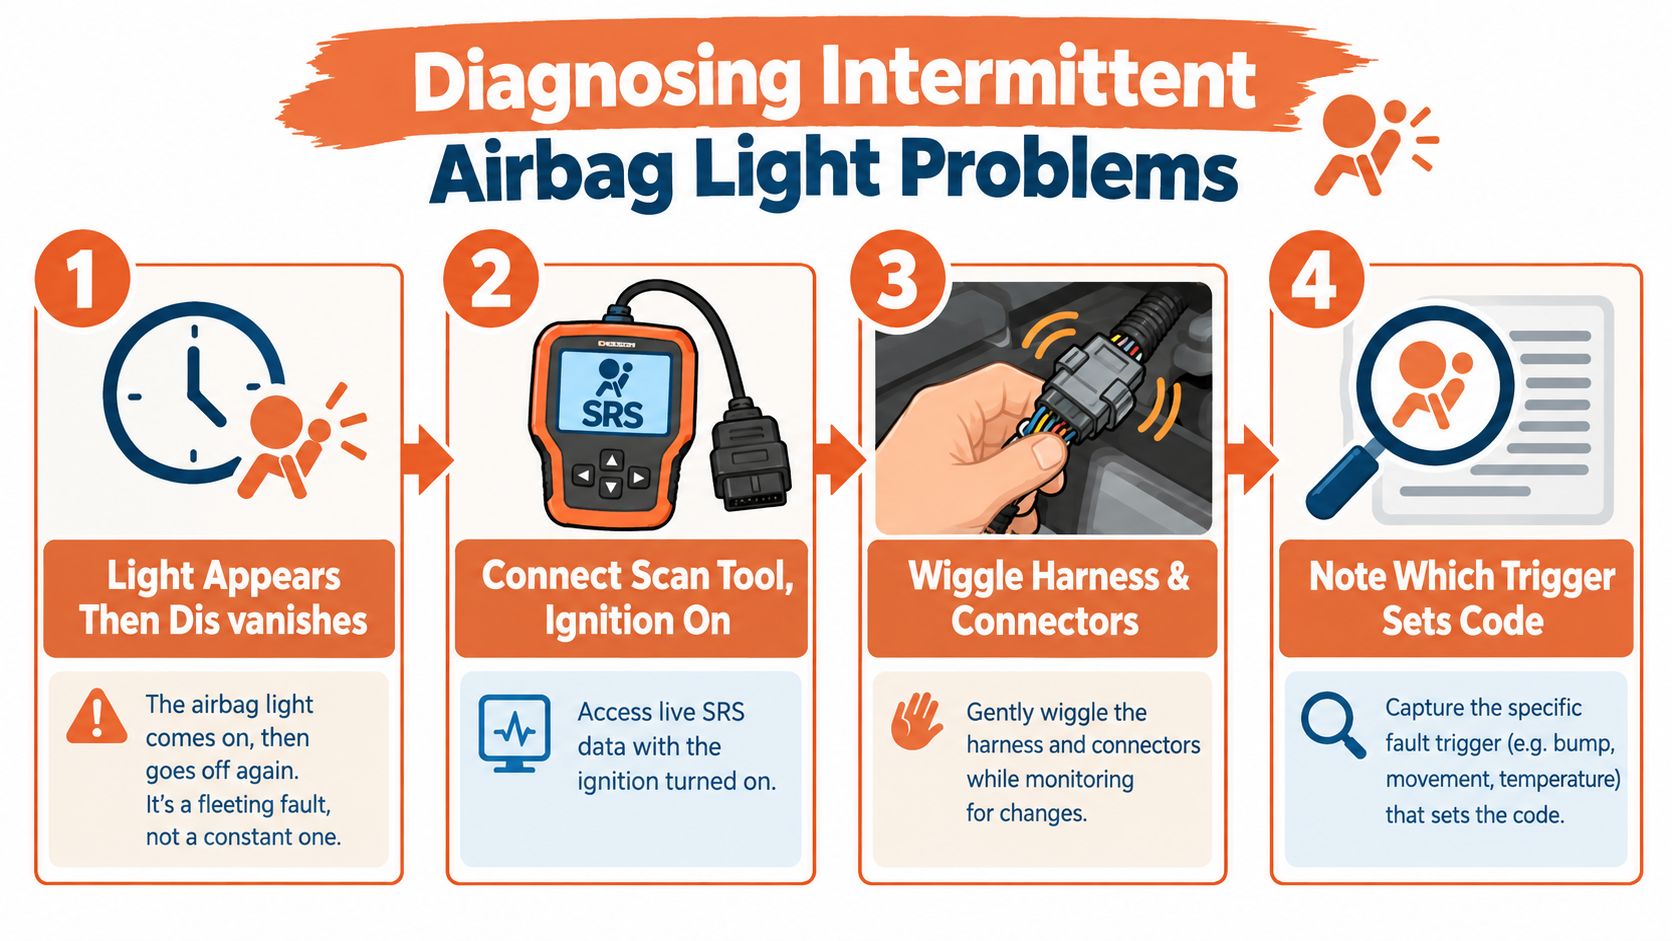
Intermittent SRS faults are difficult because the warning may disappear before the vehicle reaches the shop. The code can remain stored even when the circuit is behaving normally, which is why a scan should happen before anyone clears the memory.
Use live data instead of a static glance
Connect an SRS-capable scan tool and monitor the available resistance or circuit-status data with the ignition in the state required by the service information. Then gently manipulate likely trouble areas, including the harness beneath the seats, the side trim or kicker-panel route, and wiring near the steering column. Watch for resistance changes, status changes, or a fault that appears as the harness moves.
A connector can look clean while its terminal tension is poor. Vibration may let a spread pin make contact at one moment and lose contact at the next. Heat can also reproduce an intermittent condition by changing terminal resistance or exposing a marginal connection inside a spiral cable. Contamination, partial pin push-through, and damaged locks are easy to miss during a quick visual check, as detailed in this trade guidance on intermittent airbag resistance faults.
Separate wiring movement from voltage trouble
Check battery condition and charging history before condemning a restraint component. A temporary voltage drop during cranking can create a soft fault or communication interruption, while a hard code can indicate a persistent circuit problem or stored crash data. These conditions can coexist, producing secondary codes that distract from the original issue.
Document the exact harness position and movement that triggers the fault. Repair the connector or wiring according to factory procedures, reinstall the correct locks, and repeat the test through several ignition cycles. A single successful restart isn't enough. If deliberate movement never changes the live data, broaden the investigation to sensor plausibility, calibration, module communication, and voltage stability rather than forcing a wiring diagnosis.
Resetting the SRS Module Versus Replacing It
Clearing a code and resetting a module are different operations. A scan tool may erase a visible fault from memory, but it can't undo a collision event, repair damaged electronics, restore a deployed restraint, or make an unsafe circuit deployable.
A reset can make sense when the module contains stored crash data after the vehicle has been repaired and the module itself has no evidence of physical damage. The surrounding restraint components still need inspection and replacement where required. A reset is not a substitute for replacing a deployed airbag or pretensioner, nor does it make water-damaged electronics trustworthy.
Replacement becomes the more defensible path when the control unit has water intrusion, a cracked housing, severe physical damage, or an internal fault that returns after the correct repair and reset process. A hard collision can also damage the module even when the case looks acceptable, so the scan result and factory procedure matter more than a visual assumption.
| Factor | Reset Recommended | Replacement Required |
|---|---|---|
| Stored crash data | Module hardware passes inspection and the collision repairs are complete | Event data remains with internal damage or the module can't be serviced |
| Housing condition | Dry, intact, and free from visible damage | Water intrusion, corrosion, cracking, or impact damage |
| Restraint components | Damaged airbags and pretensioners have been correctly addressed | Required components remain deployed, damaged, or incompatible |
| Fault after service | Code clears and the module completes its self-test | Internal fault returns after a verified repair |
| Vehicle programming | Existing module can be serviced and accepted by the vehicle | Replacement module requires compatible programming or coding |
The module's location varies, but it may sit beneath the center console or a seat, which adds removal and reinstallation labor. Before choosing a path, compare the cost and availability of a new module, programming requirements, access labor, and a qualified reset service. Airbag module reset guidance after a crash can help frame that decision, but the vehicle's service information should control the final procedure.
Don't use a resistor or generic code eraser to silence the lamp. That can hide the warning without restoring the restraint system.
A reset is only appropriate after diagnosis. If the light returns immediately, stop treating it as a reset problem and return to the stored code, module status, wiring, and affected restraint component.
Confirming the Repair and Avoiding Repeat Failures
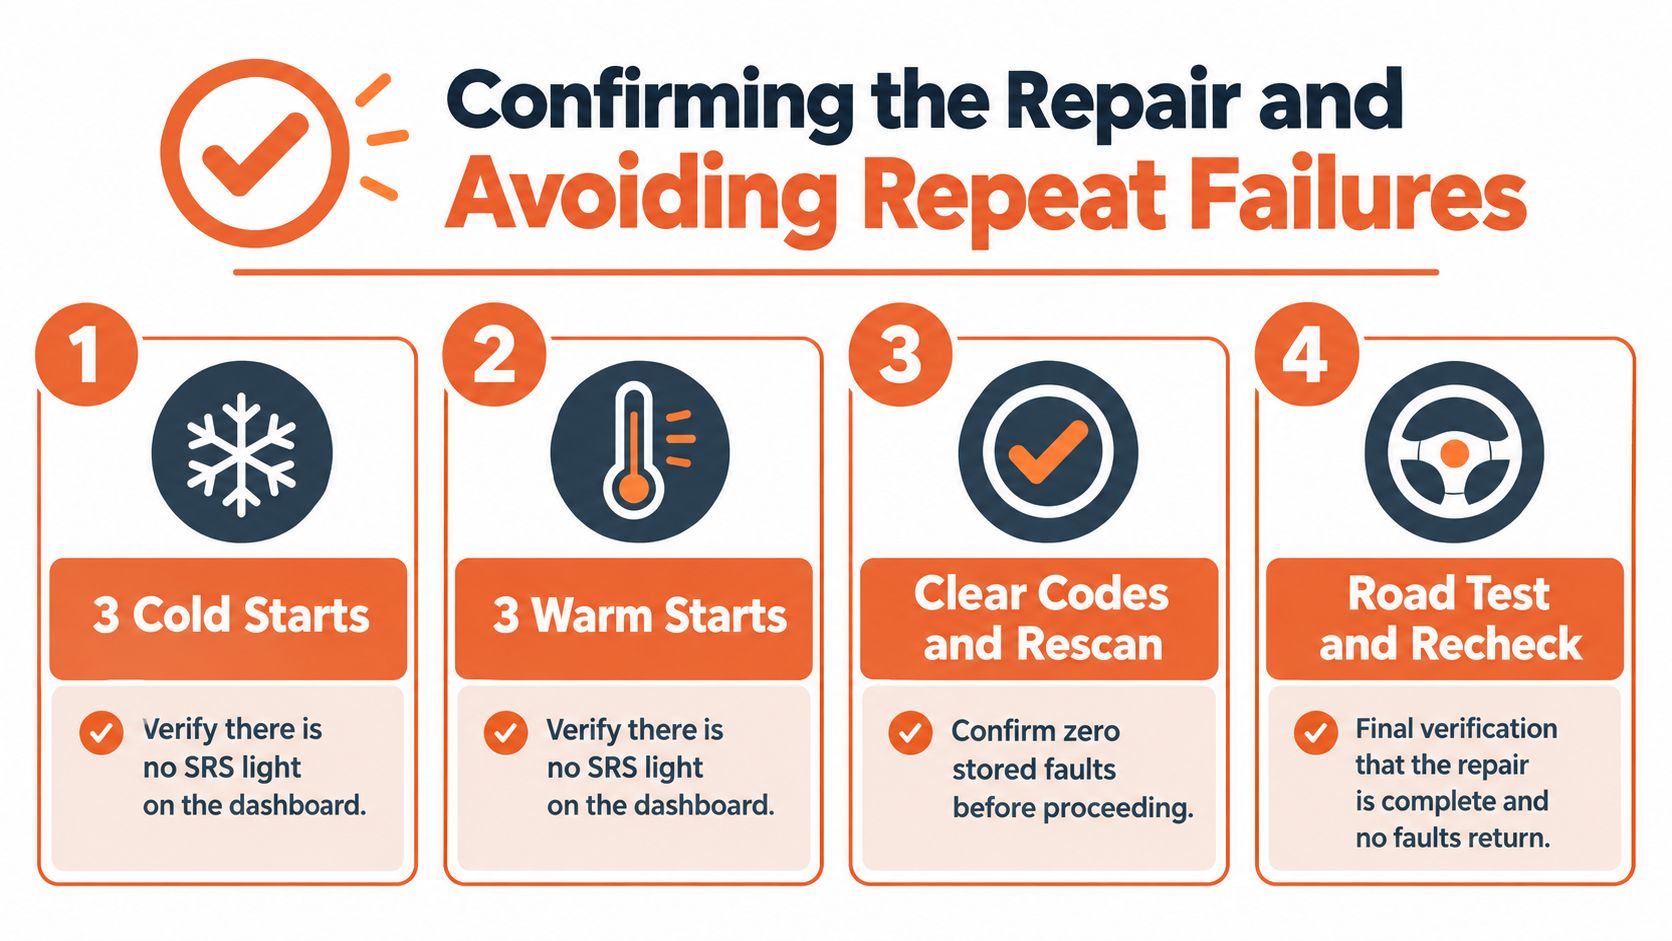
A repair is incomplete until the SRS module completes its self-test and remains clear through repeated operating conditions. After the repair or approved reset, scan the module again, confirm that the original fault is no longer active, and verify that the warning lamp goes out after each restart.
Use a repeatable validation record:
- Cold starts: Perform three cold-start checks and note the lamp behavior each time.
- Warm starts: Perform three warm-start checks after the vehicle reaches operating temperature.
- Road verification: Complete an extended drive cycle of at least twenty minutes, then rescan the SRS module. This functional testing guidance reinforces why inspection should include operation, not only appearance.
- Repair record: Log the repair date, mileage, original code, work completed, replacement parts, and final scan status.
Repeated starts matter because heat, voltage transients, and connector seating can expose a marginal repair. If the light returns, the original root cause may still be present, or the vehicle may need a calibration, coding procedure, or further module diagnosis. Don't assume that a successful first restart proves the system is ready.
Inspect repaired connectors for correct terminal tension and locking engagement. Don't reuse a damaged squib connector, splice into airbag wiring, bypass a component with a resistor, or leave a harness where seat movement can rub it. Steering-column work also requires correct assembly and fastener torque, because poor installation can create another spiral-cable problem.
The finished job isn't a dark dashboard. It's a restraint module that passes its self-test, stays clear during operation, and has a documented repair history.
If the diagnosis identifies a deployed or locked seat-belt pretensioner, damaged webbing, or crash data inside a serviceable SRS module, Seat Belt Repair offers mail-in pretensioner repair, webbing replacement, and SRS module reset services using OEM components and processes aligned with manufacturer specifications. Send the diagnosed component only after following safe removal procedures, and visit Seat Belt Repair to review the available service and submission instructions.

Leave a comment
This site is protected by hCaptcha and the hCaptcha Privacy Policy and Terms of Service apply.