
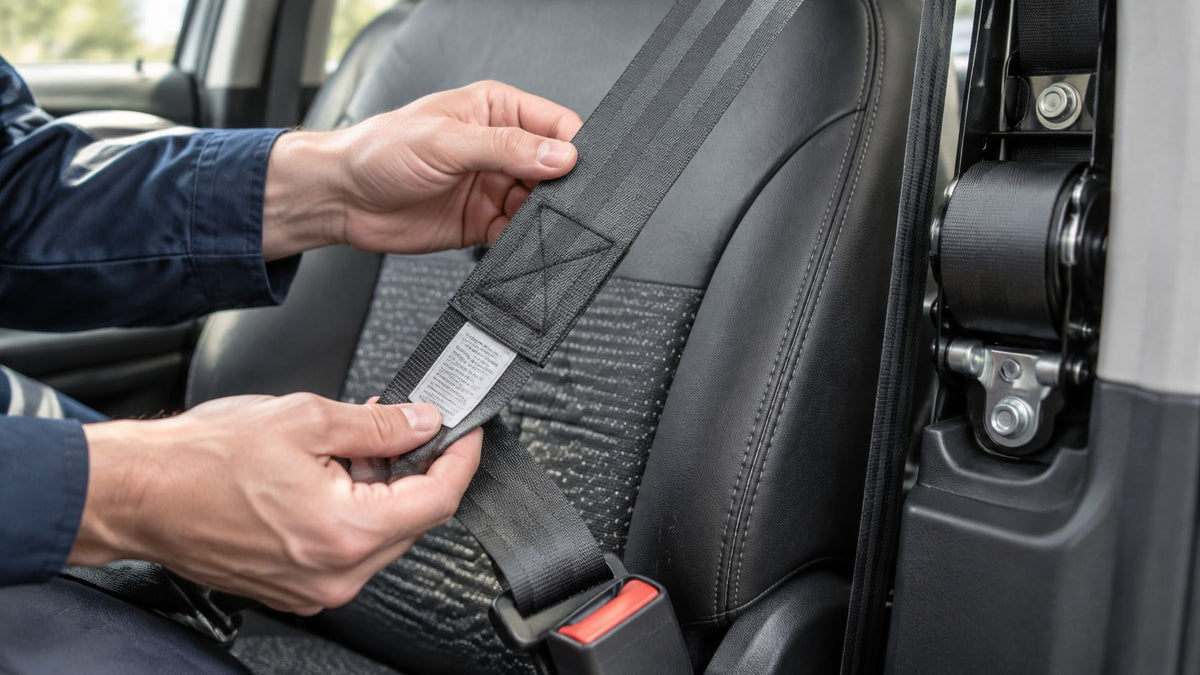
4 panel seat belt webbing is the trade term for a woven webbing layout, and the legal test is performance under FMVSS 209, not the name on the weave.
You may be holding a frayed belt, comparing replacement colors, or trying to identify a locked assembly after a collision. The strap looks simple until you have to decide whether to replace just the webbing or the hardware attached to it. That decision starts with identifying the assembly and separating fabric damage from a retractor, pretensioner, or SRS fault.
Table of Contents
- What 4 Panel Seat Belt Webbing Means
- Vehicles and Belt Configurations That Use 4 Panel Webbing
- How to Identify a 4 Panel Seat Belt Assembly
- FMVSS No. 209 Limits Every Replacement Must Meet
- Why Panel Layout and Stitching Decide Strength
- OEM Matching, Color and Label Issues
- Decide Between Repair, Rewebbing and Replacement
What 4 Panel Seat Belt Webbing Means
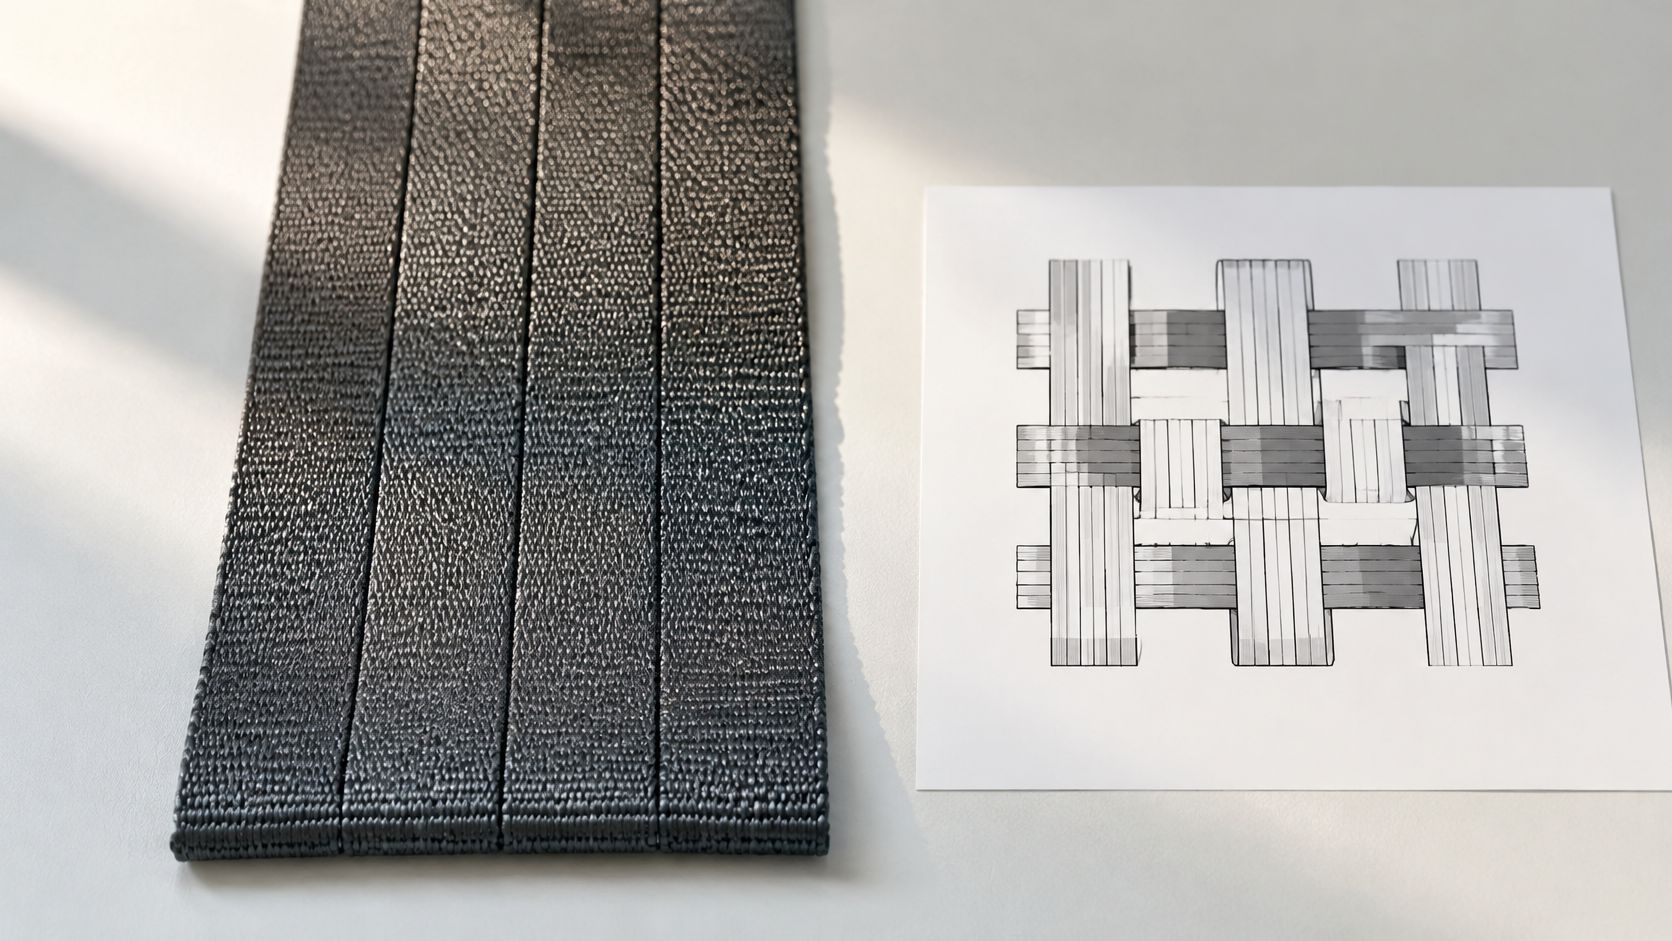
A belt can have a familiar four-panel pattern and still be wrong for the vehicle. Four-panel webbing describes the weave arrangement, a feature of the material rather than a legal category of seat belt. The visible bands help identify the webbing, but they do not establish its strength, fit, or the performance of the completed assembly.
What the strap does in the restraint system
In a typical lap-shoulder arrangement, webbing runs from a lower attachment through the latch plate and shoulder guide, then into the retractor. Routing varies by vehicle. During a crash, the webbing transfers the occupant's load to the restraint hardware and vehicle attachments.
The strap must also work with the parts it passes through. It needs to feed through the guide and latch plate as designed, then wind correctly onto the spool. Webbing that looks wider or feels heavier may still be unsuitable for that assembly.
Two belts can share the same four-panel weave and differ in width or stitch pattern. The panel layout alone cannot establish whether either belt is suitable.
Practical rule: Treat the weave as an identification clue, not an installation specification.
Panel count does not tell you the yarn specification, weave density, or finished assembly performance. A seller's weave description also does not establish that the complete belt meets applicable performance requirements or fits the vehicle's hardware.
Check the belt label, routing, webbing condition, and attached components before using the panel description to select a replacement. A correct-looking weave is only one part of the match.
Vehicles and Belt Configurations That Use 4 Panel Webbing
| Configuration | Connector count | What it does | Where it is typically found |
|---|---|---|---|
| Single stage | 1 plug in our service classification | Basic retraction with a single identified pretensioner stage | Simpler rear or older applications; confirm in model service data |
| Dual stage | 2 plugs in our service classification | Identifies a multistage assembly requiring the matching service procedure | Front and some rear applications; confirm in model service data |
| Triple stage | 3 plugs in our service classification | Identifies a more complex multistage assembly | Some front outboard applications; confirm in model service data |
| Classic or lap-only belt | No SRS plug if no pretensioner is fitted | Fixed-length restraint or conventional retraction, according to original design | Older vehicles and restorations; confirm against original specification |
The connector mapping above is how we classify assemblies for service. Don't treat plug count as a universal wiring rule: manufacturers can distribute pretensioners and other electrical connections differently, and connector count alone doesn't establish deployment behavior.
Say you're comparing a front outboard assembly with several electrical connections against a rear-center lap-shoulder belt without a pretensioner. Both may have gray four-panel webbing. Their brackets, spool capacity, wiring, latch plates, and restraint functions can still be completely different.
Vehicle style doesn't identify the assembly
Four-panel constructions can appear in sedans, coupes, SUVs, pickups, minivans, classic cars, and custom builds. The weave alone doesn't tell you which vehicle supplied a belt. Even within the same vehicle, left and right assemblies can differ in mounting orientation and connector routing.
Front outboard positions often have more involved pretensioner and load-management arrangements. Rear positions may use simpler retractors, but that isn't a dependable ordering shortcut. A rear seat can also contain electrically connected restraint components.
Classic vehicles introduce another complication. Some have fixed lap belts; others have retracting belts or later restraint conversions. A restored vehicle may combine original hardware with replacement webbing, so the current appearance may not represent the factory configuration.
Before ordering, distinguish among these situations:
- Original assembly being rewebbed. Identify the existing hardware and confirm it's suitable to retain.
- Replacement assembly being purchased. Match the part number, mounting arrangement, electrical specification, and application.
- Restraint conversion being planned. Treat anchorage design and installation as a separate engineering task, not merely a webbing purchase.
A performance-inspired interior doesn't change those requirements. Installing a brightly colored strap doesn't turn an ordinary restraint into a competition harness or make unrelated hardware compatible.
Match by verified part number and documented stage configuration, never by seat position or color alone.
How to Identify a 4 Panel Seat Belt Assembly
Keep the belt intact while identifying it. A readable label, clear photographs, a ruler or caliper, and the vehicle's service information are more useful than opening the retractor housing.
Record the assembly before ordering
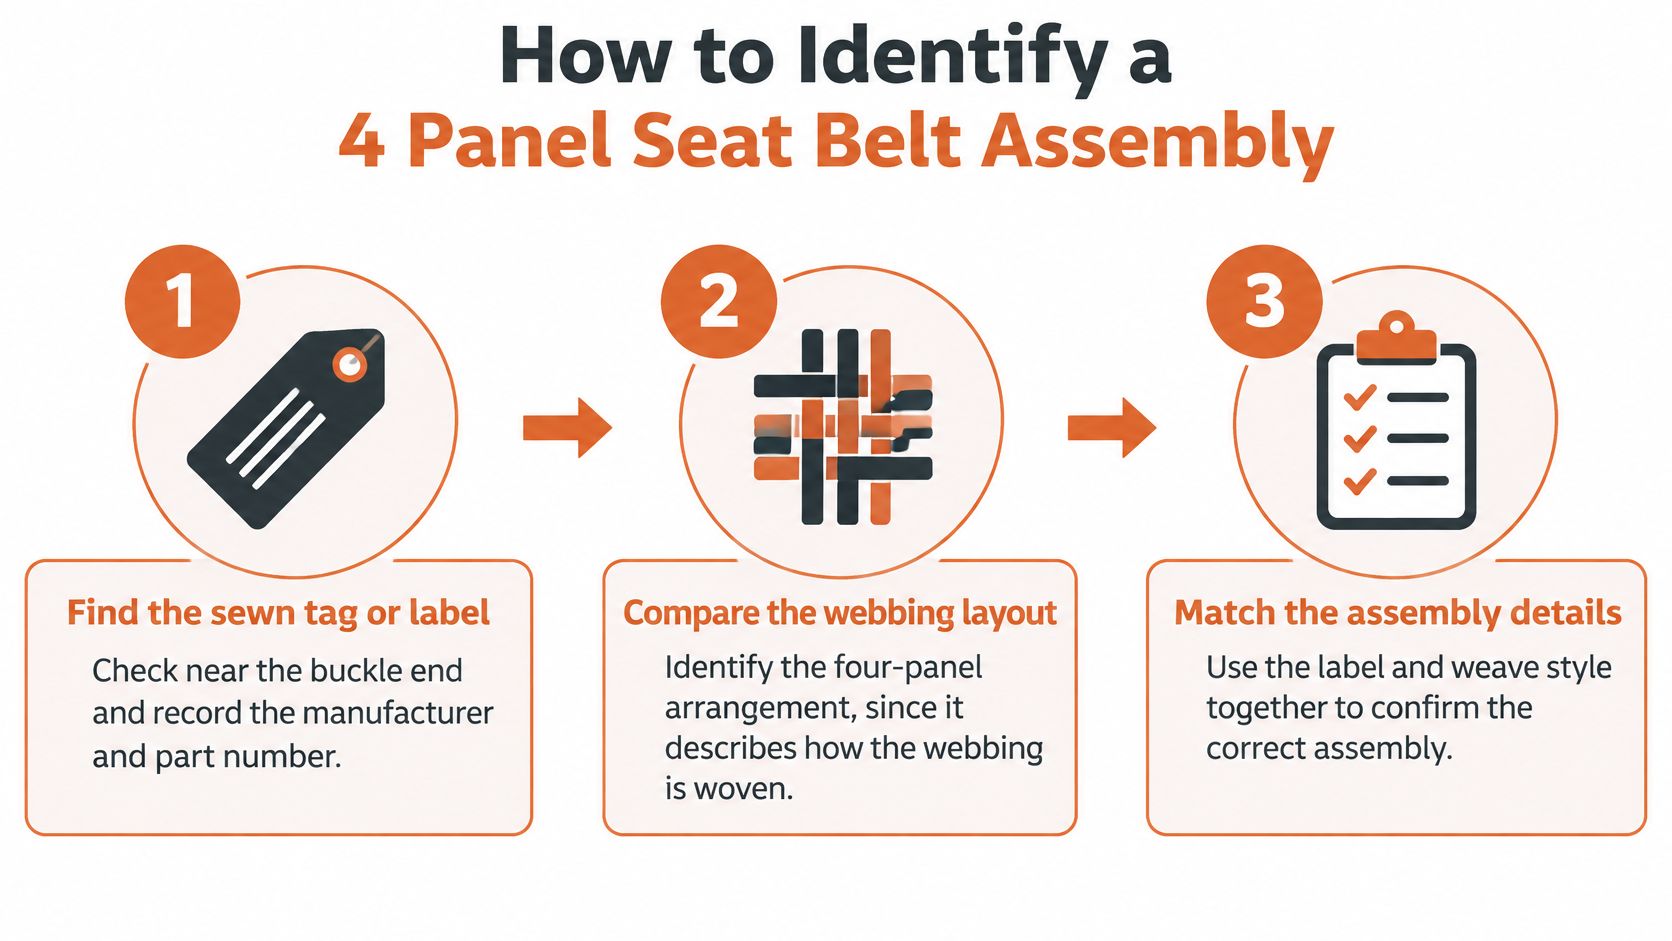
- Find the sewn identification label. Look along the webbing near an attachment or buckle end, recognizing that label placement differs by assembly. Photograph the manufacturer, part number, and other readable identifiers because they provide the best starting point for checking the application.
- Examine the weave in good light. With the assembly installed or held in its correct operating orientation, extend the webbing gently and inspect the longitudinal panel pattern. Don't force a locked belt or mistake a crease, abrasion track, or decorative rib for a construction feature.
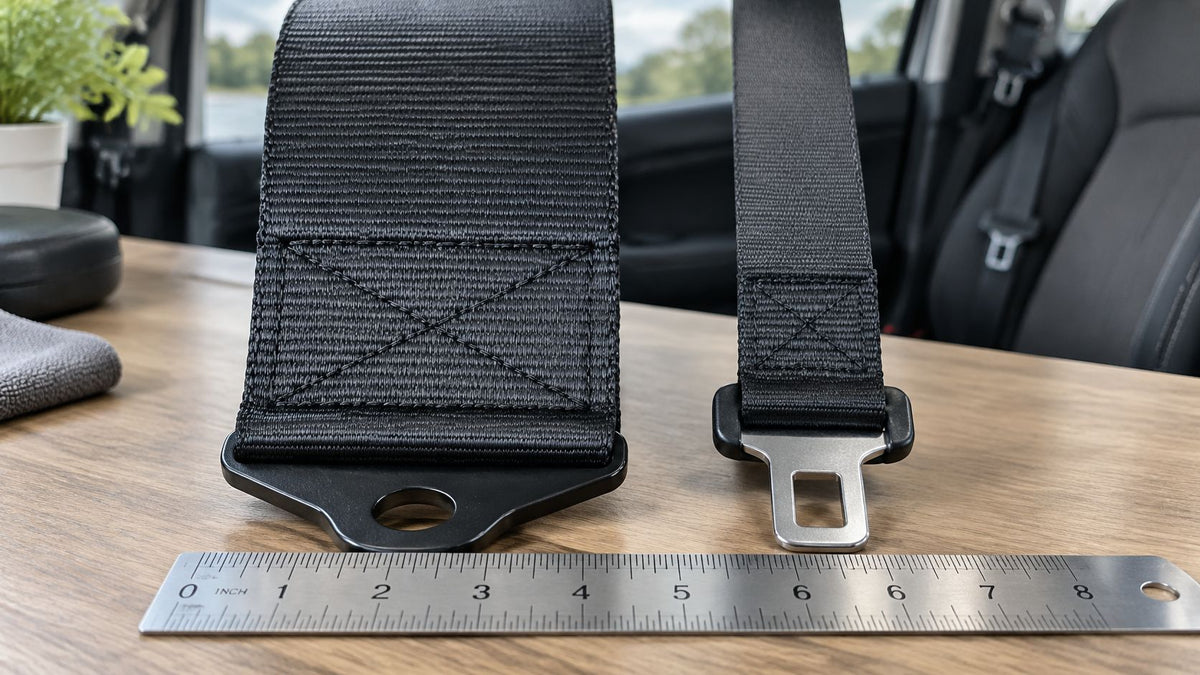
- Measure a flat, undamaged section. Use a ruler or caliper across the full width without compressing or folding the edges. Record the measurement for comparison with the original specification and the applicable occupant-contacting width requirement.
- Document the electrical connections. Use the stage table as an initial service-classification guide, then confirm the assembly against the vehicle wiring and parts information. Photograph connector shapes and locations without probing pretensioner terminals.
- Identify pretensioners and collision history. A pretensioner may be attached to the retractor, buckle, or another belt attachment. Record any known deployment, impact, locked-belt condition, or SRS warning because these affect the service route.
- Match everything to the vehicle. Record the year, make, model, VIN, and seating position. Compare the label, mounting details, electrical configuration, and pretensioner arrangement with the correct service information before buying.
Avoid false matches
A worn label doesn't make a belt interchangeable with the nearest visual match. Neither does a matching bolt hole: a previous owner may have installed an assembly from another seat or vehicle.
Width errors are common when someone measures across a folded section or includes a curled edge. Our guide to wider seat belt webbing and application differences provides useful context when comparing different restraint formats, but wider material isn't an automatic upgrade.
A confirmed identification means the label, dimensions, hardware, and documented electrical configuration agree. A mismatch means stop and resolve it before ordering.
Don't remove tags or cut the strap to send a sample. Photograph the complete assembly and retain the identifying evidence that a technician will need.
FMVSS No. 209 Limits Every Replacement Must Meet
For occupant-contacting webbing, FMVSS No. 209 sets a minimum width of 46 millimeters, approximately 1.81 inches. For Type 2 three-point belts, it also sets minimum breaking strengths for pelvic and upper-torso webbing, limits elongation at a specified load, and requires retained strength after abrasion testing.
Each requirement tests a different property.
FMVSS No. 209 minimums for Type 2 three-point belt webbing
The numeric limits below are from FMVSS No. 209.
| Requirement | Pelvic (lap) webbing | Upper-torso webbing | What it means in practice |
|---|---|---|---|
| Minimum width | 46 mm (about 1.81 in) | 46 mm (about 1.81 in) | Occupant-contacting replacement webbing must meet the dimensional minimum |
| Minimum breaking strength | 22,241 N (about 5,000 lbf) | 17,793 N (about 4,000 lbf) | Webbing must meet the applicable tensile requirement under the specified test |
| Maximum elongation at 11,120 N | 30% | 40% | Stretch must remain within the applicable limit at the specified load |
| Strength retained after abrasion | Applicable retained-strength floor after prescribed testing | Applicable retained-strength floor after prescribed testing | Abrasion performance requires testing, not visual estimation |
What those requirements mean at the bench
Breaking strength is a laboratory measurement, not a recommended working load or a measure of occupant weight. A tug test, hanging weight, or locking retractor cannot verify it.
Elongation matters because the restraint must manage occupant movement. A strap that meets a breaking-strength limit but stretches outside the specified range does not meet that performance requirement. Width alone is no proof of compliance either.
The requirements apply to the restraint application, including compatibility with its hardware and sewn connections. A replacement assembly still needs to meet the applicable requirements after installation.
Documentation should describe the test basis
Seat Belt Repair uses OEM-certified seat belt webbing that meets Federal Motor Vehicle Safety Standards. Material credentials matter, but they do not establish that the finished assembly is correctly configured or functioning.
For a proposed replacement, ask for documentation identifying the applicable specification and test basis. Check whether it addresses the webbing material or the completed assembly, and whether it describes destructive strength testing or operational checks.
The functional testing requirements guide explains the operational side. Smooth extension, correct retraction, secure latching, and appropriate SRS checks matter, but none alone verifies tensile strength.
Color, texture, and nominal width cannot establish that webbing meets these limits. Select a documented material and assembly suited to the application.
Why Panel Layout and Stitching Decide Strength
A chain can have sound links and still fail at a connection. A seat belt has the same vulnerability: strong webbing doesn't compensate for an unsuitable seam or a damaged attachment fold.
The load has to pass from the strap through the sewn connection into the hardware. Stitch location, fold alignment, thread distribution, and the transition between material thicknesses all affect that transfer.
Abrasion resistance is a test requirement
NHTSA's interpretation of FMVSS No. 209 explains the requirement to retain at least 75% of the applicable original breaking-strength requirement after the specified abrasion test; using the regulatory minima gives approximately 16,681 N for pelvic webbing and 13,345 N for upper-torso webbing.
Those are controlled-test criteria, not permission to keep using a visibly worn belt. You can't estimate remaining tensile strength from the depth of a fuzzy edge or the amount of discoloration.
Sewing too close to damaged edges, misaligning folded material, or concentrating thread in a small area can create localized stress. Abrupt thickness changes can also make the strap rub or hesitate as it travels through a guide.
Inspect the complete webbing path
Use bright light and examine both faces, especially where the strap folds or contacts hardware.
- Edges: Look for fraying, cuts, pulled yarns, and pet damage.
- Stitch lines: Check for broken, loosened, or pulled stitches. Don't add a household-machine seam over the original pattern.
- Folds: Look for distortion, shifted layers, and damage hidden inside attachment loops.
- Contamination: Note oil, stains, discoloration, or unknown chemical exposure. Don't use aggressive solvents to make damaged material look clean.
- Travel through hardware: Check for smooth passage through the guide and retractor, without forcing a locked mechanism.
Frayed, cut, stained, discolored, or pet-damaged webbing should be replaced. Rewebbing means replacing the strap, not patching the damaged spot. Melting frayed edges, gluing loose fibers, and sewing a patch over a cut don't restore a qualified restraint.
If damage occurs repeatedly at the same guide, inspect that guide before fitting new webbing. Otherwise, the retained hardware may damage the replacement material too.
Judge the work as a whole assembly. A strong strap isn't enough if its completed seam fails first.
OEM Matching, Color and Label Issues
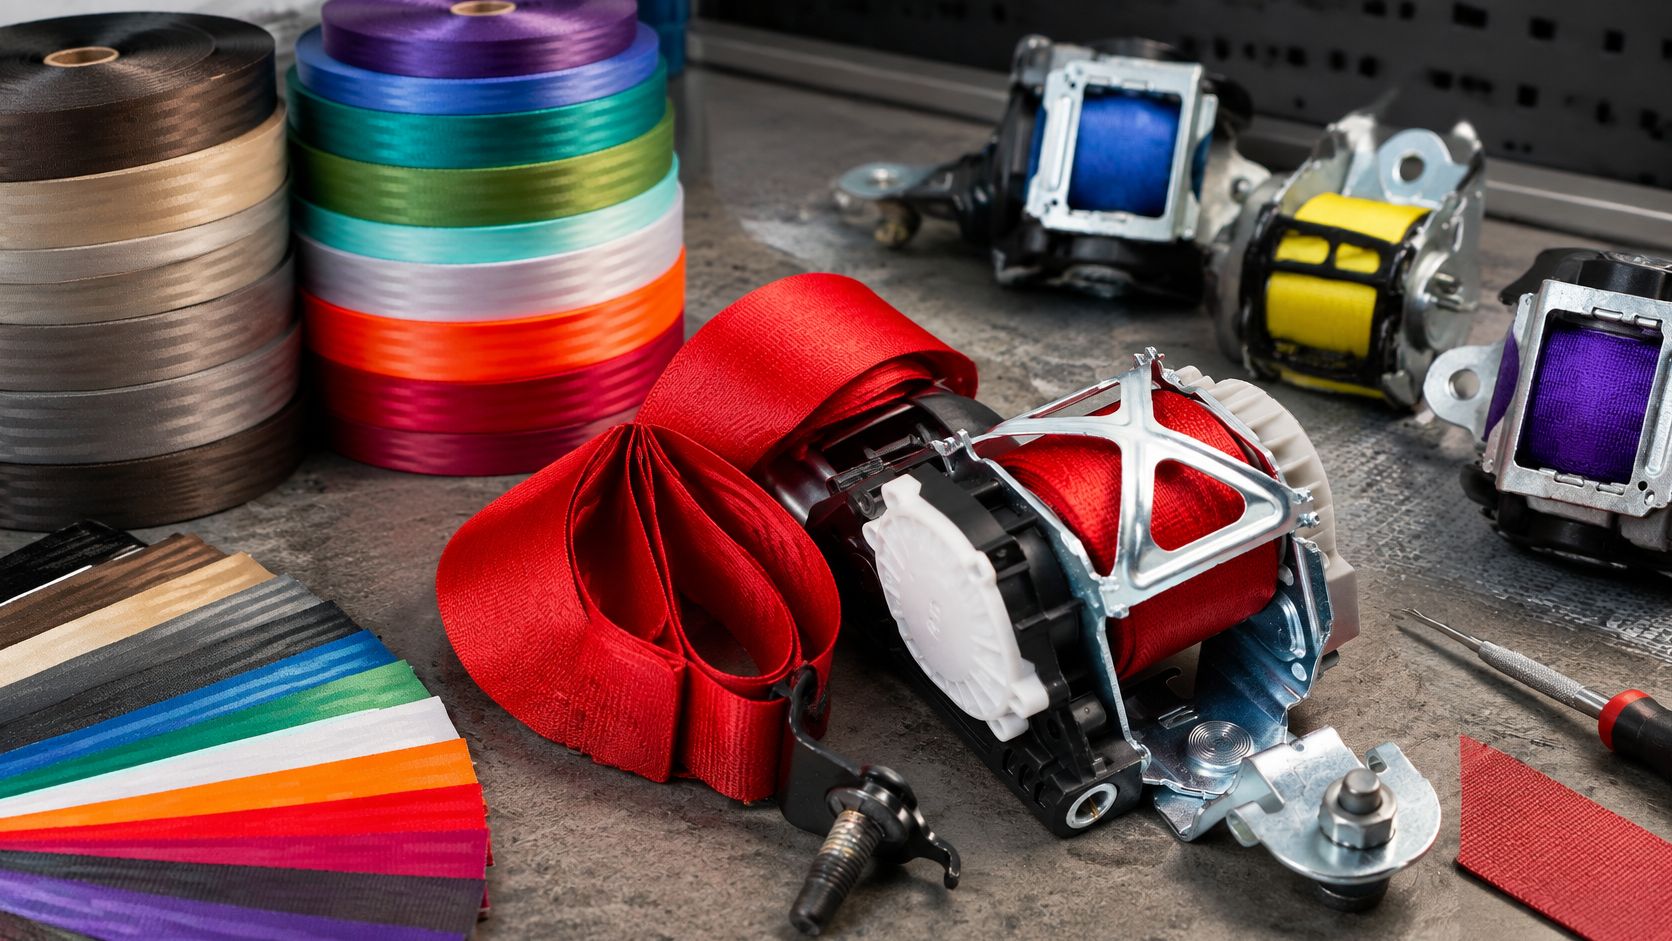
A faded driver belt next to a darker rear belt shows the first problem with color. Interior lighting hides the difference, daylight exposes it. Hold a swatch against the adjacent belt and trim in daylight, then record the tag data before anything ships: part number, build codes, and panel face and width. That record is what lets the shop match construction and keeps identification straight if the tag is worn.
| Issue | What to check | Why it matters |
|---|---|---|
| Color mismatch | Compare swatch to adjacent belt and trim in daylight, get written swatch approval | Faded originals and shop lighting distort the match |
| Missing or faded tag | Recover the part number or verify the assembly against service data | Identification becomes harder without the original information |
| Different panel layout | Compare the weave face, width, and handling with the original | Material must suit the hardware path and stitch pattern |
| Custom or aftermarket color | Ask for the material specification and test basis in writing with the swatch | Confirms the replacement strap suits the assembly |
| Tag removed during repair | Confirm whether the original tag was preserved and restitched | Original identification helps later inspection and parts verification |
Preserve identification without overstating it
Each seat belt is disassembled, rewebbed, and restitched with reinforced stitching, and original manufacturer tags are preserved whenever possible. Seat Belt Repair offers custom color seat belt webbing replacement with OEM-grade material, and each quantity selected corresponds to one seat belt webbing replacement.
A preserved tag helps identify the original assembly. It does not turn the tag into a new certification. Keep the repair paperwork with the vehicle records so a later technician can separate original assembly information from subsequent work.
Compare appearance in the right conditions
For our Seat Belt ReWebbing Service - Any Custom Color, customers choose a seat belt color or request a custom color match. Frayed, cut, stained, discolored, or pet-damaged webbing is replaced with brand new high-quality material. Compare the swatch in daylight because faded originals shift under warm interior bulbs.
For the broader difference between original-equipment and cosmetic replacement choices, T1A Auto's door handle replacement options explained provides a useful non-restraint comparison. A trim part tolerates a visual substitute. A belt does not.
Settle the material specification, tag treatment, and color match before authorizing work. An attractive sample never substitutes for identifying what will be installed.
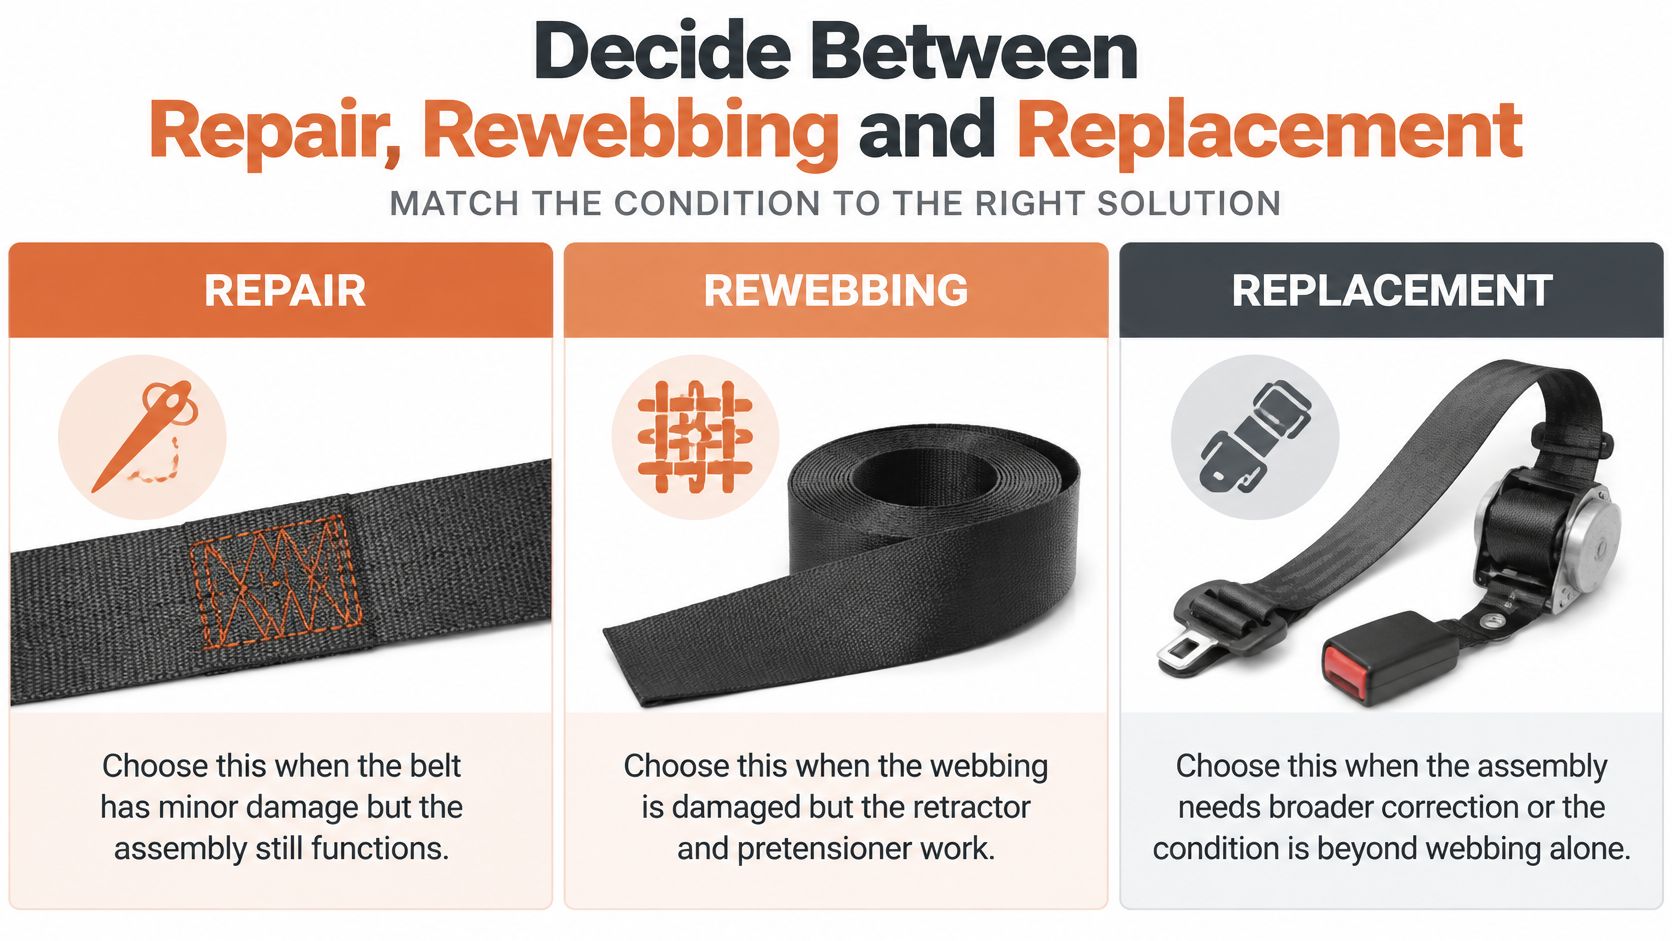
Decide Between Repair, Rewebbing and Replacement
| Condition | Likely route | Why it fits |
|---|---|---|
| Frayed, cut, stained, or pet-chewed webbing with a verified working retractor and pretensioner | Rewebbing | Damaged webbing can be replaced while suitable hardware is retained |
| Belt locked or not retracting after a collision | Pretensioner or assembly service as permitted by vehicle service data | Deployment and mechanical faults require the correct procedure, not just fresh fabric |
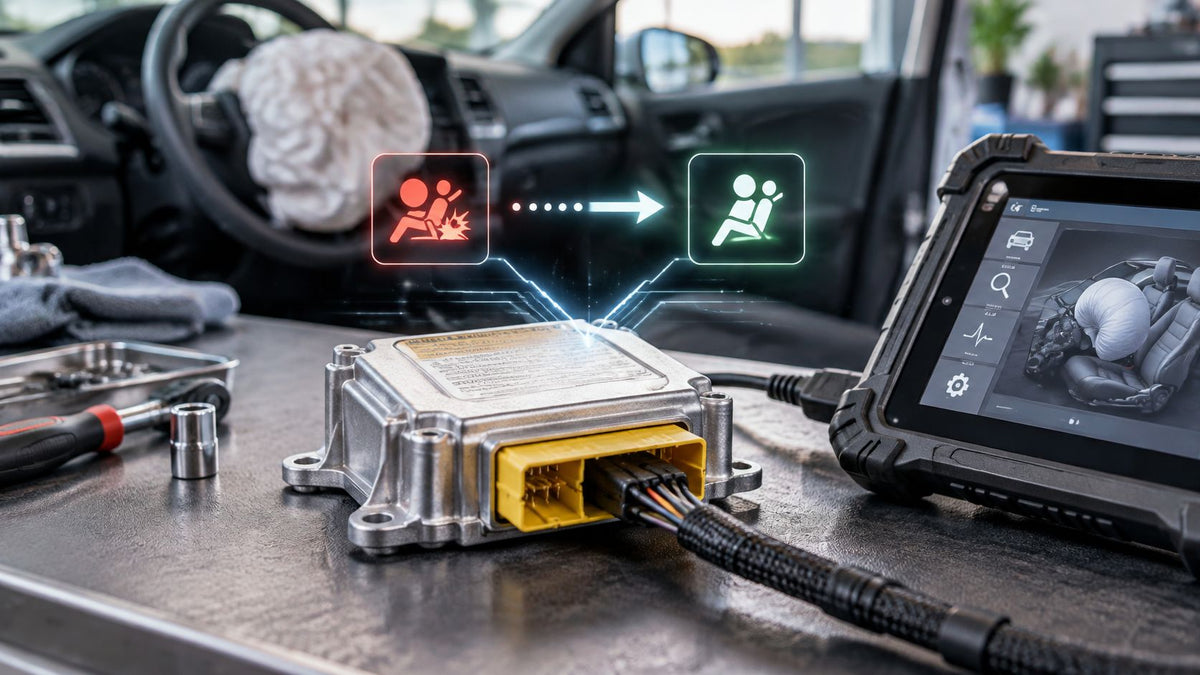
| SRS warning after impact | Diagnose the module, pretensioners, wiring, and related faults first | Webbing replacement alone doesn't resolve an electrical or deployment fault |
| Color change or classic restoration | Rewebbing in a matched or custom color | Suitable original hardware can remain after inspection |
| Unknown part, missing tag with unresolved identification, or damaged buckle or anchor | Matched replacement assembly and attachment inspection | Unverified identity or damaged hardware can't be corrected by changing the strap |
Repair the actual fault
Rewebbing makes sense when the defect is confined to the material and the retained assembly is suitable for continued service. It avoids discarding sound, correctly matched hardware just because the strap needs replacement.
A deployed pretensioner is different. Don't assume every manufacturer permits rebuilding it: follow the vehicle's service requirements, and replace components when the specified procedure requires replacement. Likewise, don't use a module reset to bypass unresolved crash damage or diagnostic faults.
Choose the least extensive route that fully corrects the fault, not the route that merely makes the belt move again.
How mail-in service fits
- Remove the identified components safely. Follow the vehicle's SRS disabling procedure, specified waiting period, and removal instructions. Don't probe pretensioner terminals or open pyrotechnic housings.
- Ship according to the provider's instructions. Confirm packaging and carrier requirements for the particular components, and include the vehicle details and fault description.
- Receive the serviced components after functional testing. Review the work performed and identify any additional vehicle-side repairs still required.
- Reinstall and verify. Use the prescribed fasteners, routing, and torque specifications, then complete the required restraint and SRS checks. Use a qualified local shop if you can't perform those steps correctly.
Mail-in service doesn't include installation. Don't operate the vehicle with required restraints removed or nonfunctional.
Treat unknown-history belts cautiously
A salvage belt isn't exempt from restraint performance requirements, but an intact appearance doesn't establish its collision history, chemical exposure, or deployment status. Missing identification makes verification harder; even a readable tag doesn't prove the belt escaped damage.
The comparison of new, used, and repaired seat belt assemblies helps separate those purchasing choices. For collision-related insurance questions, Professional Insurance Advisors, LLC's coverage guidance for Florida motorists offers context for discussing the repair with an insurer, not a guarantee of coverage.
Confirm the part number, documented stage configuration, and actual fault before ordering. Then select the route that restores the complete restraint rather than just its appearance.
Seat Belt Repair offers mail-in seat belt pretensioner repair, webbing replacement, and SRS module services, with original-color matching or custom webbing options. Visit Seat Belt Repair with your assembly label, connector photographs, and fault description to identify the appropriate service for your four-panel belt.

Laisser un commentaire
Ce site est protégé par hCaptcha, et la Politique de confidentialité et les Conditions de service de hCaptcha s’appliquent.