
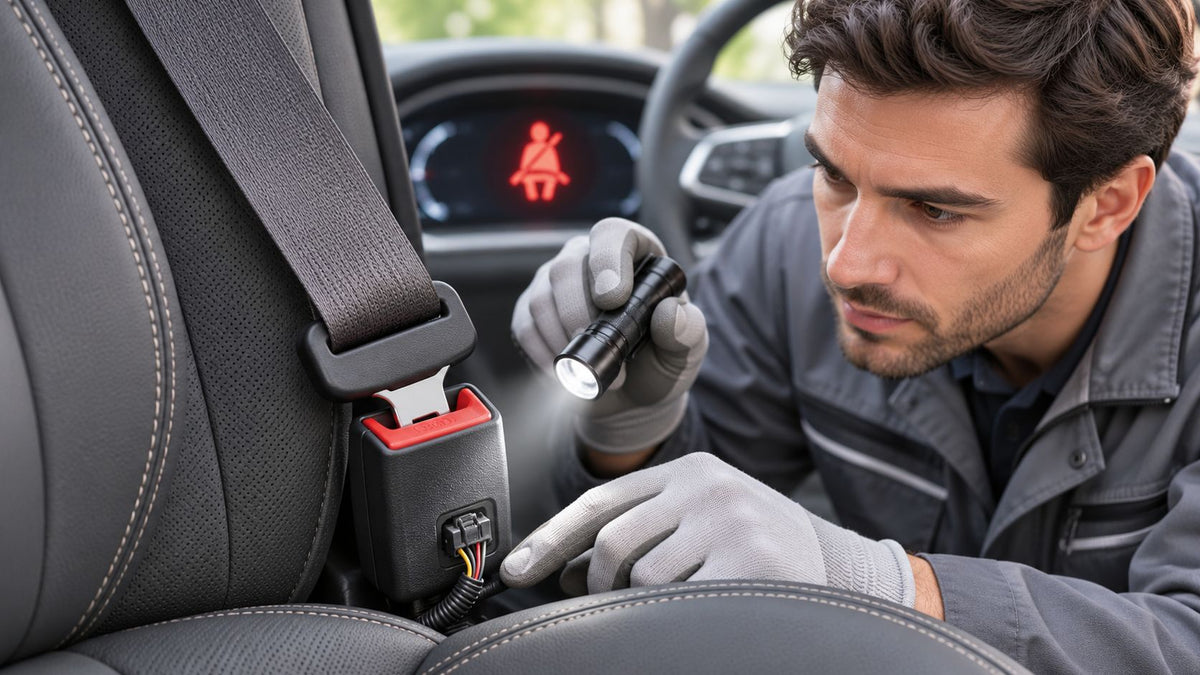
You buckle the passenger belt, hear the click, and expect the warning to stop. Instead, the belt icon stays lit while the driver side stays quiet. That points to a signal the car isn't receiving, but the fault could be in the buckle switch, its wiring, or another part of the restraint system.
A persistent warning isn't a reason to silence the chime or assume the belt is safe because it latches. First identify what the warning is reporting and whether the vehicle has a collision history.
Table of Contents
- What the Buckle Sensor Actually Reports
- Buckle Sensor Symptoms and What They Mean
- How to Test the Buckle Sensor
- Choose Repair or Replacement for Your Buckle
- Remove the Buckle and Avoid Unsafe Shortcuts
What the Buckle Sensor Actually Reports
A belt icon that stays lit with the buckle latched points first to the buckle switch or its wiring, not automatically to the pretensioner.
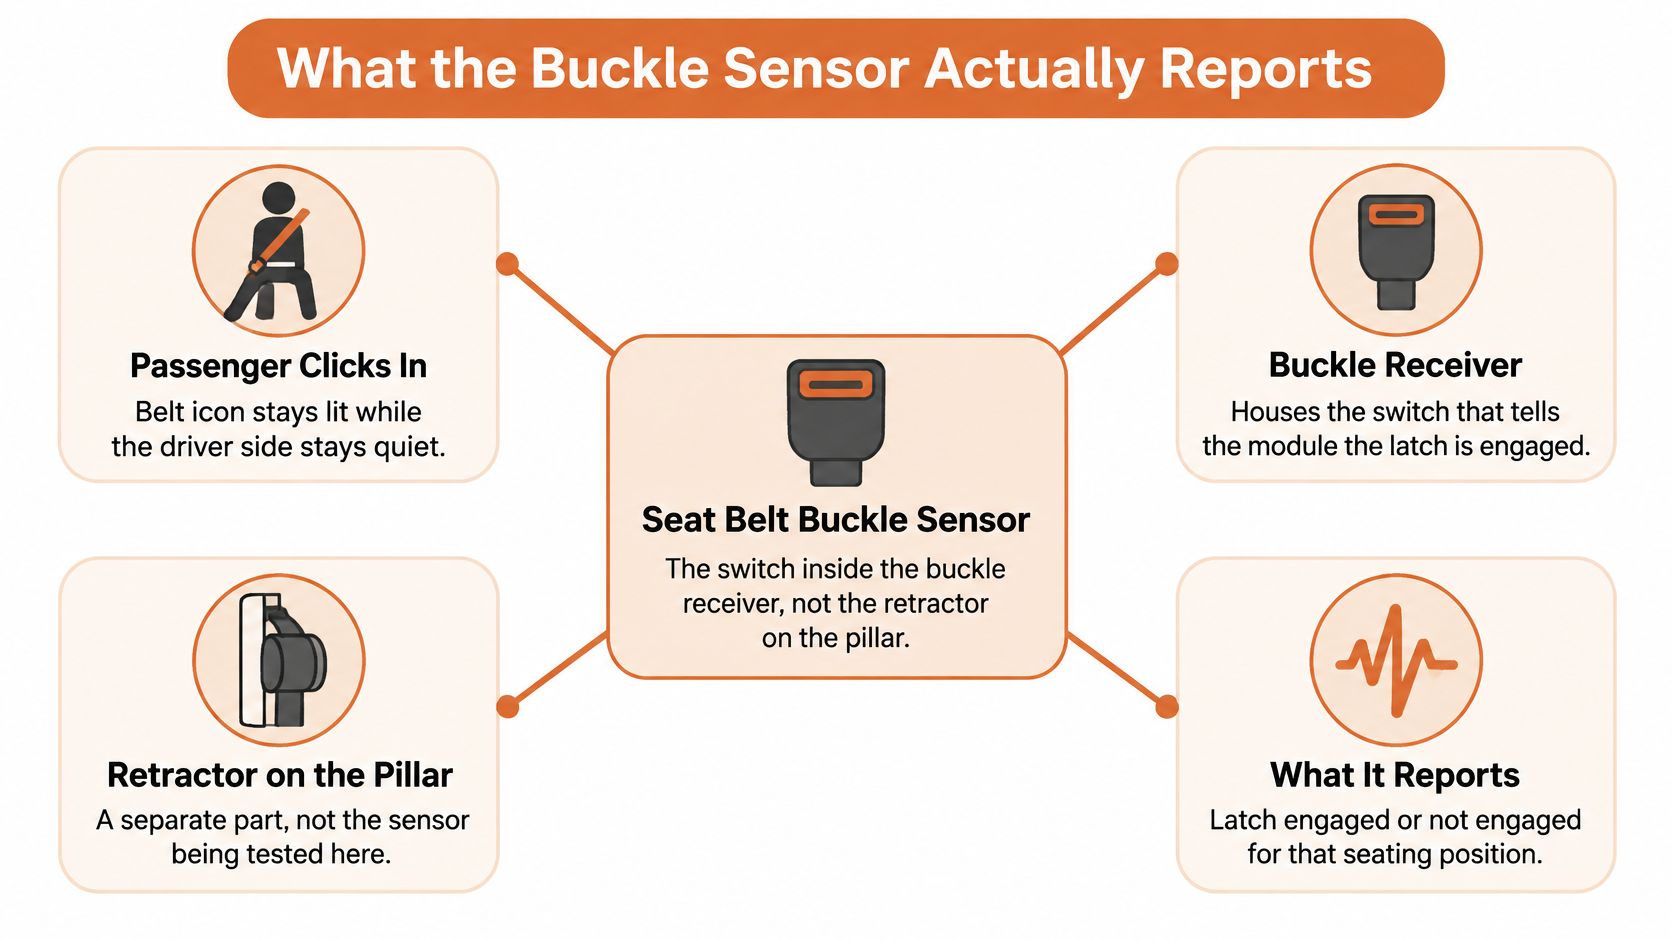
The seat belt buckle sensor is a switch housed in the buckle receiver, the part fixed beside the seat that accepts the belt's metal latch plate. It isn't the retractor mounted near the pillar. When the latch plate seats, the switch changes electrical state, and the vehicle's body or restraint controller can register that seating position as buckled.
That signal has more than one job. It can turn off the seat belt icon and reminder chime. In many vehicles, buckle status also feeds restraint logic, including passenger airbag decisions, in combination with other inputs such as occupant classification. The exact arrangement varies by make and model, so a warning alone doesn't identify the failed part.
Important distinction: The buckle switch reports whether the belt is latched. A buckle pretensioner is a separate pyrotechnic device that can be built into the same stalk. In a collision, it fires to pull the buckle down and tighten the restraint. It isn't an electrical switch that can be replaced or reset by simply making the warning disappear.
Consider a 2016 Honda CR-V with no crash history and one seat belt icon that stays lit after a firm click. The likely starting points are that seat's switch, debris in its receiver, or a damaged wire. A belt that became short or locked after a collision is a different case: the pretensioner may have fired, and the assembly must be treated as a restraint component, not a dead reminder switch.
A label such as “buckle sensor” can be imprecise in parts listings. Before buying anything, name the part you're trying to address: the reminder switch, the wiring, the buckle pretensioner, or a restraint module with stored crash data. This guide to seat belt latches can help distinguish the receiver from the rest of the belt assembly.
Buckle Sensor Symptoms and What They Mean
| What you see | Likely cause | First check |
|---|---|---|
| Icon and chime stay on after a firm click in one seat | Open switch, debris in the latch, or a broken wire | Test that buckle, then inspect the latch slot |
| No chime and icon stays off with that belt unbuckled | Switch stuck closed | Unbuckle and watch whether the lamp ever comes on |
| Light flickers over bumps or when the seat slides | Broken conductor in the seat-track flex loop | With the key on, wiggle-test the under-seat harness |
| PASS AIRBAG OFF stays on with a normal adult seated | Buckle input and occupant mat disagree | Note occupant weight and buckle state; don't bypass either circuit |
| Solid SRS or airbag lamp after a collision | Fired buckle pretensioner or stored crash code | Scan before unplugging; treat it as a restraint event |
| Driver and passenger belt warnings fail together | Shared ground, fuse, or body module | Check power and grounds, then scan |
| Only one rear seating position misbehaves | Failed rear buckle switch | Confirm that position alone, then inspect its connector |
Read the patterns by separating a single-position fault from a broader system problem. A warning isolated to one buckle points toward that buckle, its connector, or the short section of harness serving it. When both front positions fail together, start with shared power, grounds, or module diagnostics instead of ordering two switches.
A flicker tied to bumps or seat movement is a strong clue that the wiring is changing contact as it flexes. Don't tug hard on the harness or pull trim aside while the system is powered. Note when the warning appears, including whether it follows seat movement, and give that detail to the technician.
The passenger airbag indicator needs special care. Buckle status and the seat's occupant-classification input are different signals; if they disagree, don't bypass either one to make the display look normal. A solid SRS lamp after a collision takes priority over an annoying chime because the vehicle may have a fired pretensioner or a stored restraint fault.
Use the final column to choose a safe first check, not to declare a part guilty. If the vehicle has crash history or an SRS warning, don't clear codes until deployment has been ruled out.
How to Test the Buckle Sensor
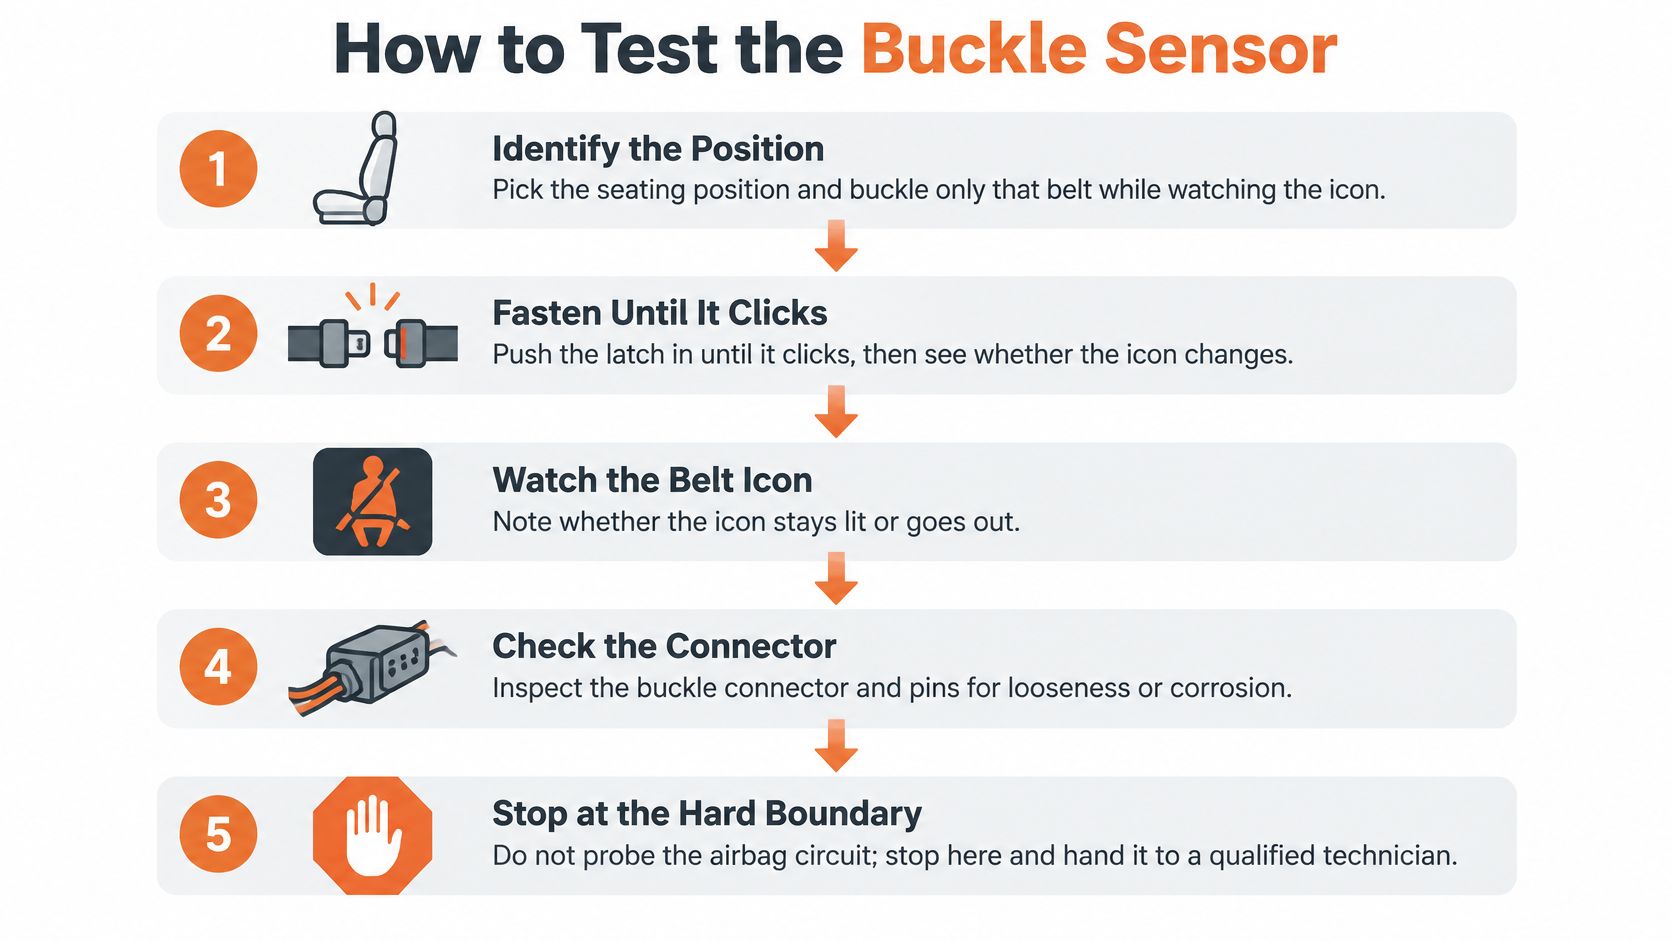
- Isolate one seating position. Park safely, then identify the seat with the warning. Buckle only that belt while watching the dashboard, so another seat's status doesn't confuse the result.
- Fasten until it clicks. Push the latch plate in firmly and confirm it holds. In a basic buckle test, you fasten the belt and check whether the dashboard seat belt light turns off. If it does, the switch is reporting a latched state at that moment.
- Check the receiver opening. Use a flashlight to look for coins, grit, or other visible debris. Don't poke inside with a metal tool or force anything into the slot; damage to the mechanism can turn a simple obstruction into a failed buckle.
- Observe the unbuckled response. Release the belt and see whether the warning returns as expected for that seat. A lamp that never comes on with the belt open can mean the switch is stuck reporting latched, so the car may read the occupant as belted when they aren't.
- Watch for a movement-related fault. If the warning flickers when the seat slides or the vehicle goes over bumps, note the conditions. Flicker under movement points at the flex loop or connector, where conductors make and break contact as the harness bends. Don't pull at under-seat wiring while the system is powered.
- Use scan data only if you have suitable equipment. A scan tool that can read body or SRS data may show belt-status changes and distinguish a circuit-high or circuit-low fault from a crash or pretensioner code. Codes need interpretation for the specific vehicle; a code isn't proof by itself that a particular part has failed. For SRS warning diagnosis, see this guide to diagnosing an airbag light.
- Identify the connectors, then stop before probing. Photograph the buckle stalk and count its plugs for identification. A single small switch connector may serve a reminder circuit, while extra plugs can indicate additional restraint stages. The connector count alone isn't permission to test a pyrotechnic circuit, and no meter leads belong on a pretensioner plug. If any connector is yellow or orange, the SRS lamp is on after a crash, or the buckle is locked short, stop and hand the job to a qualified technician.
| Check | Pass result | Fail result |
|---|---|---|
| Latched buckle with key on | Belt icon and chime clear | Belt icon stays on |
| Unlatched buckle with key on | Chime sounds and icon is lit | Lamp never comes on |
| Harness movement under the seat | No flicker | Flicker points to a flex-loop break |
| Scan-tool belt status | Status changes with buckle state | Circuit-high or circuit-low code |
Pass every check in the table and the reminder switch is doing its job; that result says nothing about the pretensioner or stored SRS crash data behind it. A solid airbag lamp or any collision history takes this out of switch testing and into the SRS checks covered in the symptoms section.
Choose Repair or Replacement for Your Buckle
No crash history, one affected seat, and a switch-only connector: have a local shop fit the correct replacement buckle. A matching buckle is often a straightforward bolt-in job, but the part has to match the vehicle and the seating position.
Crash history, a short or locked stalk, an SRS lamp, or extra stage plugs: a new switch won't substitute for pretensioner service. Have the restraint assembly assessed and follow a repair or replacement path suited to the fired component.
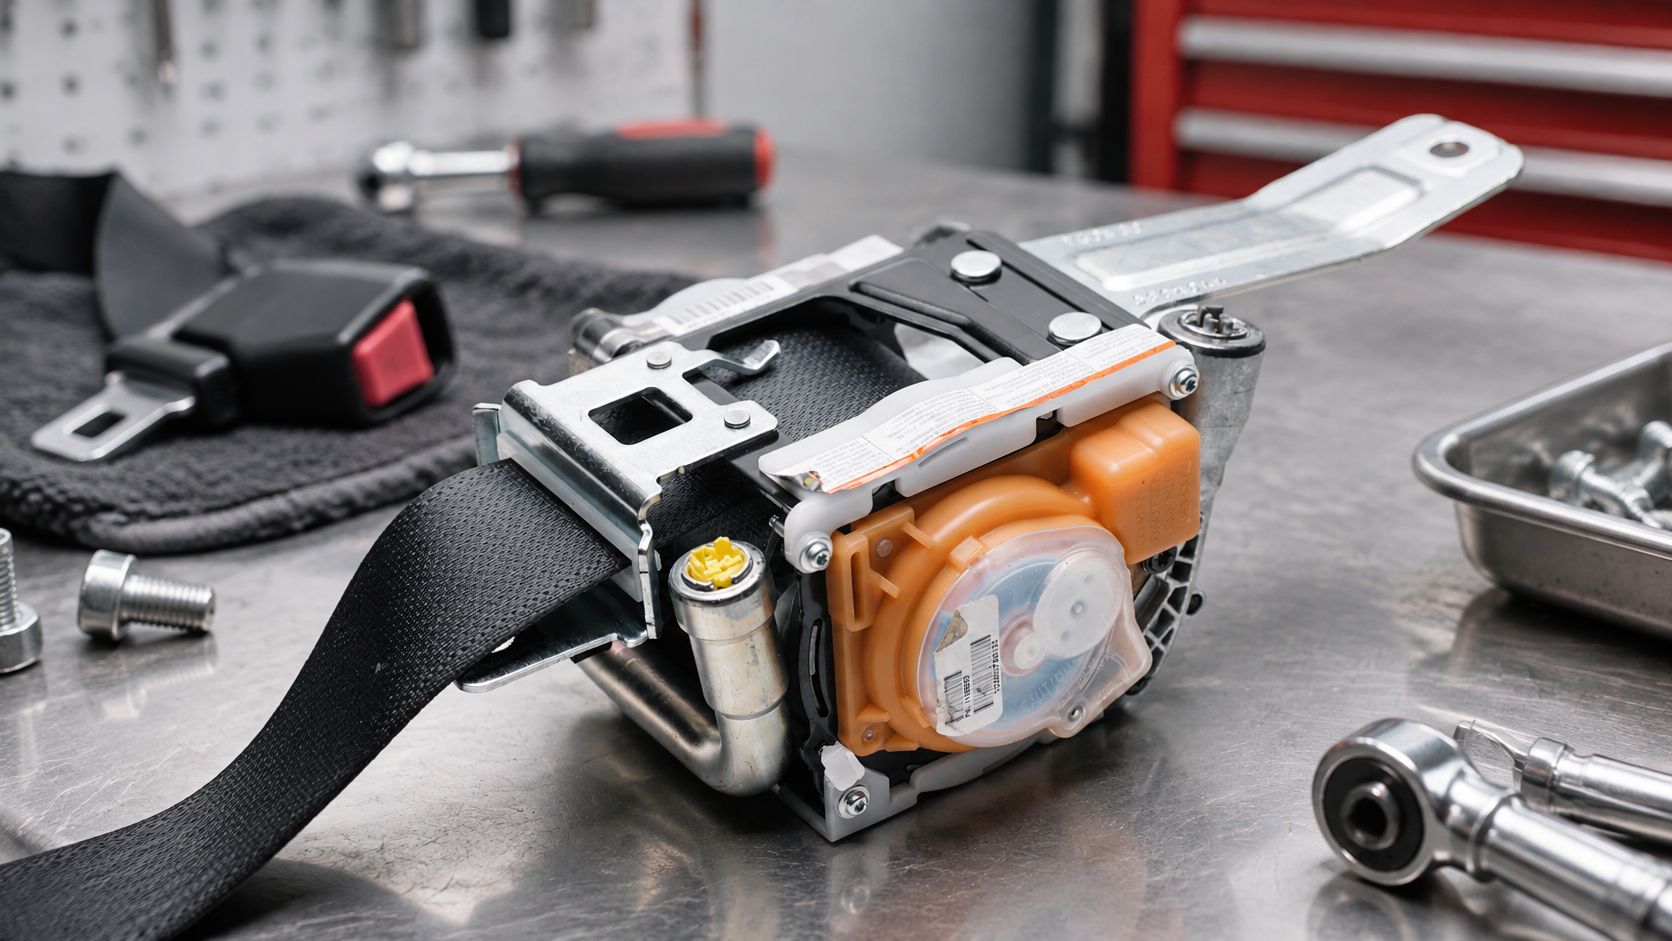
A fired pretensioner is a crash-activated restraint part, and clearing the warning never restores its mechanical function. For a locked or deployed assembly, Seat Belt Repair Near Me After Accident – Any Make Any Model describes a mail-in repair option for original belt assemblies.
Seatbelt Buckle Pretensioner Repair starts from $64.97. Send the removed buckle assembly to Seat Belt Repair, 40 Main St., Westfield, MA 01085. If the plug count is unclear, call 413-707-4984 or text 413-564-1242 with clear photos and confirm the stage type before ordering. Repaired units are tested before they ship back, and reinstallation is handled by you or a local shop.
One more check before you call it done. If the belt works again but the SRS lamp stays lit, the module may still hold crash data or a hard code, so have the system scanned and reset the module when appropriate instead of buying a new unit by default. This explanation of the seat belt pretensioner covers how a fired device differs from a simple switch.
Remove the Buckle and Avoid Unsafe Shortcuts
Treat buckle removal as work on a live restraint system. The reminder switch and the pyrotechnic pretensioner sit in the same stalk, but they fail differently: a switch can be swapped, while a fired pretensioner is a spent device that no amount of clearing or disassembly will reset. If the vehicle has crash history, the stalk is locked or sits shorter than normal, or the SRS lamp is on, stop here and arrange repair before removing anything.
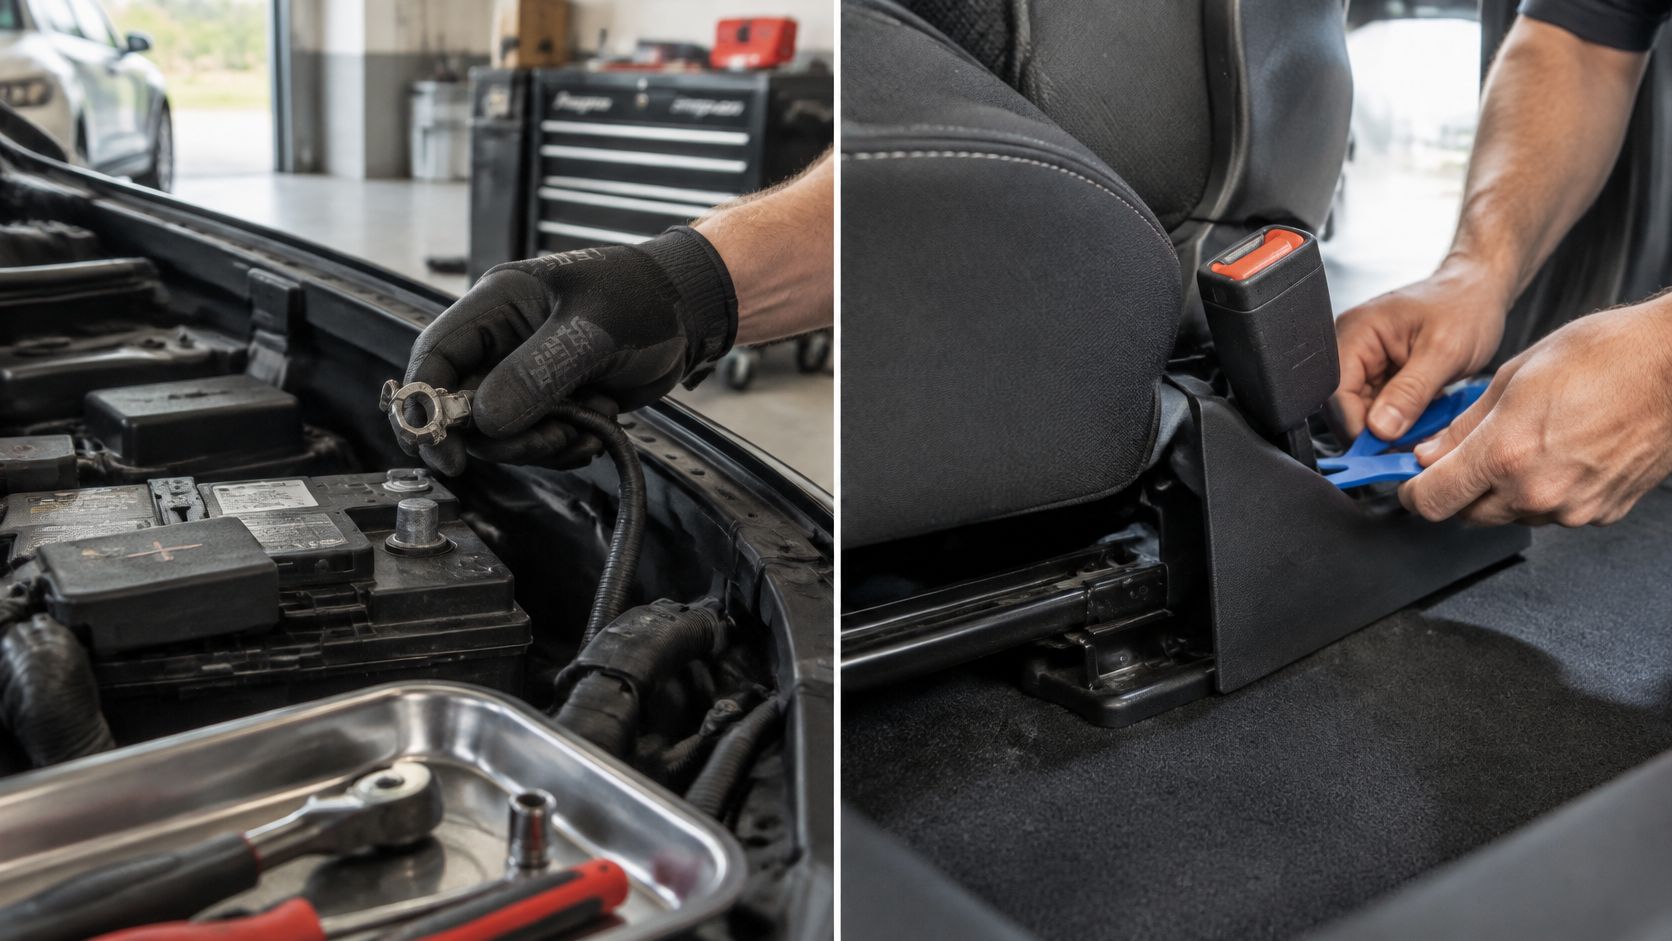
Power down first. Follow the service manual for the vehicle. Where the manual permits this procedure, disconnect the negative battery cable and wait at least ten minutes for reserve power to drain, longer if the manufacturer specifies it. Working on a powered restraint circuit can trigger the device or store a new fault.
- Expose the buckle mounting point. Move the seat for access and release the trim clips with a suitable trim tool. Keep the tool away from the belt webbing, and don't pry against the buckle stalk or pull on wires to shift the seat.
- Remove the mounting bolt carefully. Unbolt the buckle from the seat frame and keep the bolt and any spacer with the assembly. The hardware and its position matter; don't substitute a generic bolt or drop a spacer.
- Release the connector at its lock. Press the tab as designed instead of pulling on the wires. Never back-probe a yellow or orange pretensioner pin, and don't put a meter on the squib side of the circuit.
- Match the replacement to the seat position. If there is no crash history and testing confirmed a simple switch fault, install the buckle made for that exact seating position. Driver and passenger buckles are not interchangeable: connector keying and occupant-classification wiring can differ.
- Leave a fired or locked pretensioner closed. Don't open the pyrotechnic device or try to rebuild it at home. Photograph the plugs and the part label, then identify the stage: Single Stage belts have one plug, Dual Stage have two, Triple Stage have three. A buckle pretensioner can use a different connector arrangement, so confirm against the service manual and part label rather than appearance. If the count is unclear, Seat Belt Repair can identify the type from photos or direct contact.
Seat Belt Repair also provides step-by-step removal instructions for seat belts and airbag modules. Most come out by removing the trim panels and unbolting the component from the vehicle frame, but the exact sequence depends on the model, so follow the service information for your vehicle.
The removal sequence is easier to follow when you can see it:
Reinstall in reverse order. Torque the buckle bolt to the specified value, reconnect the plugs, refit the trim, and reconnect the battery as the manual directs. If the SRS lamp stays on or returns after its initial check, the system needs proper diagnosis before driving.
Finish with a stationary check. With the belt unbuckled, the warning light and chime should behave as designed; with it latched, the reminder should clear. Confirm the passenger airbag status matches whoever or whatever is in the seat, following the vehicle's instructions.
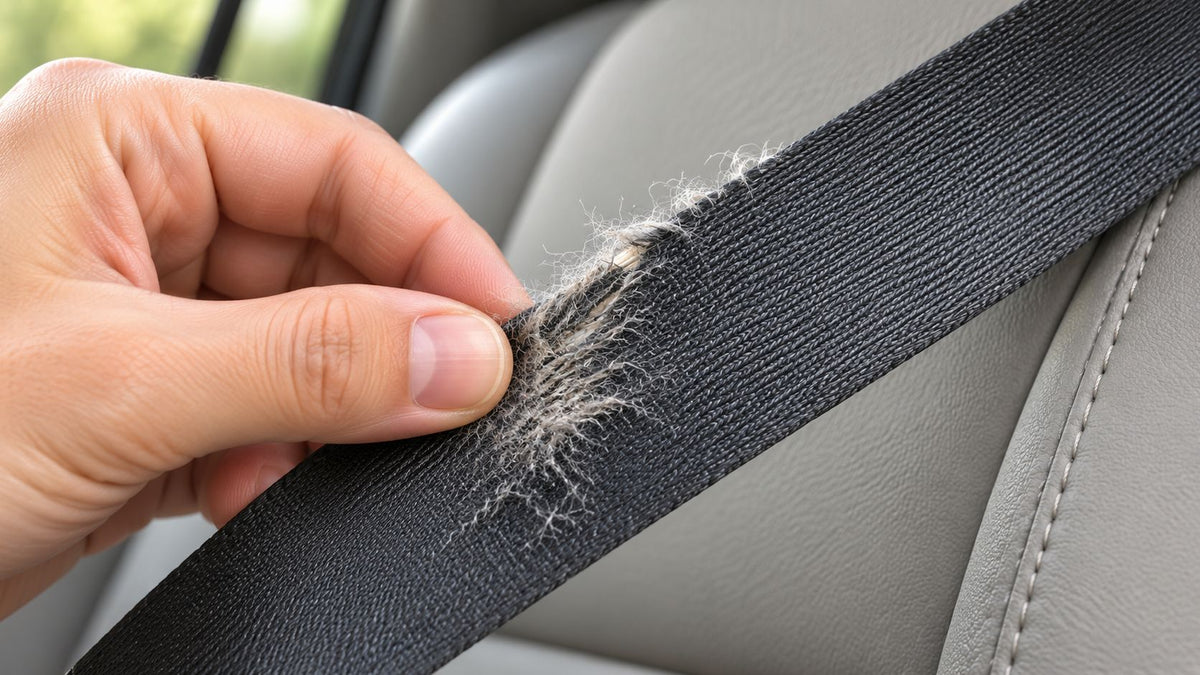
Shortcuts that compromise the system: Don't insert a resistor or a spare latch plate to silence a chime. Don't cut webbing to free a locked belt, and never probe an orange connector. A dark warning lamp is not proof that the restraint will work.
Seat Belt Repair offers mail-in seat belt pretensioner repair, webbing replacement, and SRS airbag control module service for collision-related faults. If the buckle stalk is locked or the warning remains after a crash, visit Seat Belt Repair to review the service options and arrange the right component assessment.


Leave a comment
This site is protected by hCaptcha and the hCaptcha Privacy Policy and Terms of Service apply.