
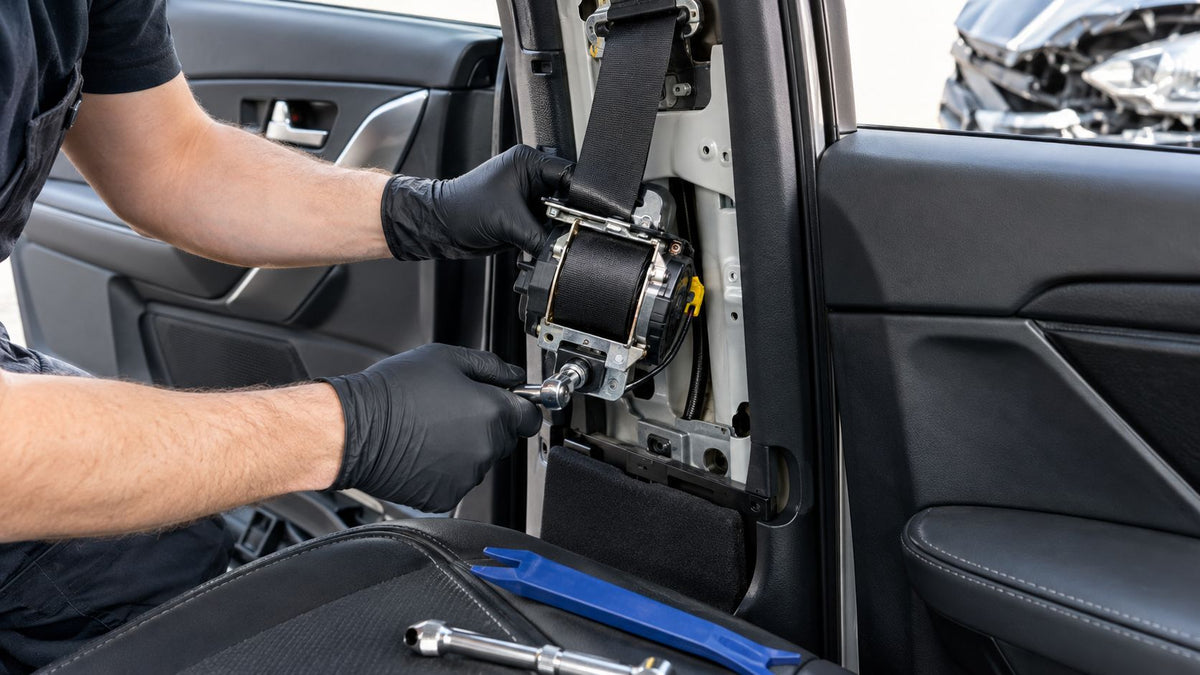
A seat belt retractor stuck or locked after a collision almost always points to a deployed pretensioner, and no scan tool or home fix can reset that hardware. The safe choices are a professional rebuild, OEM replacement, or a verified mail-in repair service.
If that's the situation you're in, you've probably already tried pulling harder on the belt, maybe watched a few shaky videos, and found yourself with a buckle that still won't behave. That's because a post-crash restraint problem isn't the same as a dirty or slow belt. It's a safety system failure, and it needs to be sorted by identifying the exact assembly before anyone starts forcing parts apart.
Table of Contents
- Why a Seat Belt Retractor Stops Working After an Accident
- Why Common DIY Fixes Make Things Worse
- Triage the Belt Before You Touch a Single Bolt
- Removing the Retractor the Right Way
- Repair vs Replace, and Which Shop Path Wins
- Reinstalling the Belt and Clearing the SRS Light
- Quick Decision Checklist Before You Book the Job
Why a Seat Belt Retractor Stops Working After an Accident
The first thing you notice is simple. You reach for the belt after a fender bender, and it feels jammed, locked, or loose in a way it never did before.
Crash lock is not the same as wear
A retractor that won't extend after a collision usually isn't just “stuck.” It often has a fired pretensioner inside it, and that changes the entire repair decision. NHTSA's fatality data shows why this matters, with 40,901 U.S. traffic fatalities in 2023, including 23,959 passenger-vehicle occupants, and 10,484 passenger-vehicle occupants unrestrained among those with known restraint use, about 44% of the total passenger-vehicle fatalities and approximately 49% when only known restraint status is counted NHTSA crash statistics.
A post-crash restraint system is integrated. The retractor, pretensioner, buckle, load limiter, and SRS module all work together. If one part has deployed or stored a fault, the belt can look fine from the outside and still be unsafe.
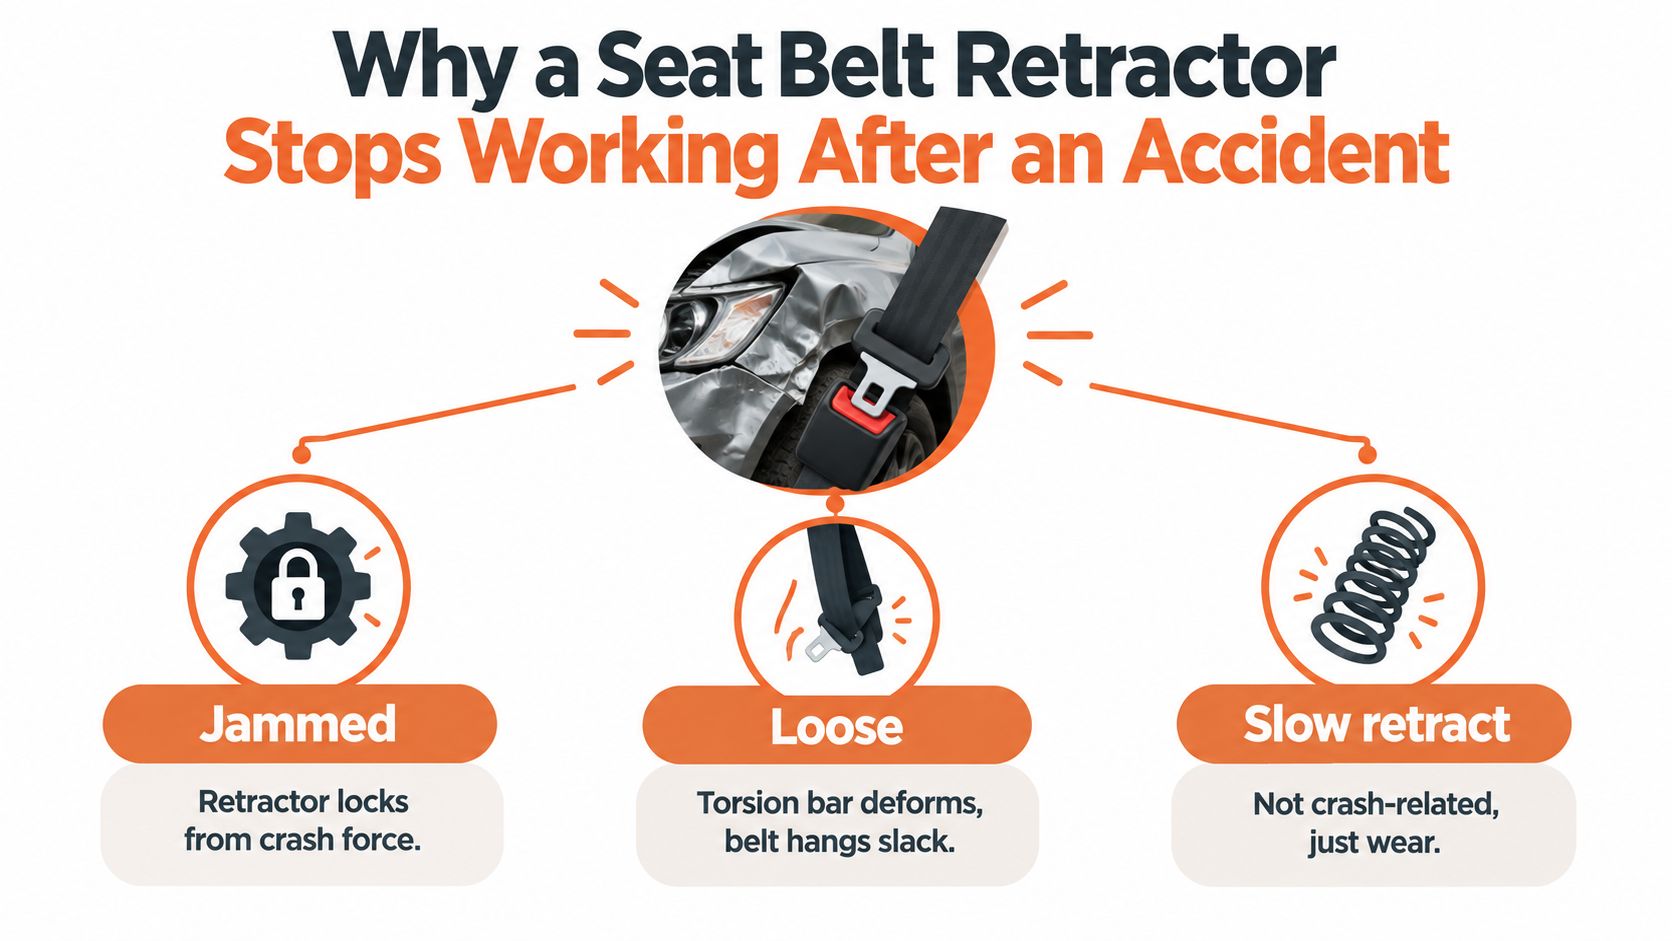
A slow-retracting belt from dirt, twist, or wear is a different problem. That kind of issue can sometimes be corrected by cleaning or replacement of the worn component. A crash-deployed retractor is different because the restraint may have locked on purpose to protect the occupant, then stayed locked because the pyrotechnic device did its job.
Practical rule: if the belt failed after impact, treat it as a restraint event first and a mechanical nuisance second.
The best example is a belt that still won't move even though the cabin looks mostly normal. That's when people assume the reel is dirty or the spring is weak. In reality, the system may be telling you a pretensioner fired, a crash code is stored, or the belt was loaded hard enough that its function changed after the hit.
If you're comparing notes with a body shop or an attorney and need a plain-language explainer of pretensioners after a wreck, a guide for Texas crash victims lays out the issue in consumer terms.
Why Common DIY Fixes Make Things Worse
The biggest mistake I see is treating a post-crash retractor like a stubborn household tool. It isn't one.
The three fixes that look harmless
Spraying lubricant into the retractor seems reasonable to some people because they assume friction is the problem. It can backfire badly. Lubricant can migrate where it doesn't belong, and once it gets into the belt system, you've contaminated parts that were meant to stay dry and predictable.
Forcing the belt hard to “free” it is another bad move. A violent yank can stress the webbing, damage the anchor, or put extra load into the internal mechanism. If the retractor has already been crash-loaded, that yank is working against a system that may already be compromised.
Unspooling the belt all the way in an attempt to reset it doesn't fix a crash deployment either. It can leave the mechanism in a state where it appears to move, but the emergency-locking behavior isn't something you can restore by running the webbing to the end and hoping for the best.
The contrarian part matters here. A belt that retracts normally can still be unsafe if the anchor hardware, load limiter, or stored crash condition hasn't been addressed. The cheapest apparent fix is often the least appropriate one.
Don't confuse movement with safety. A belt that slides in and out can still fail the moment it's needed.
There's also a false sense of progress when the belt starts working again after a tug or a spray. That can mask a deeper problem instead of solving it. The restraint system is supposed to manage crash forces in a controlled way, not just let the webbing move.
If the belt locked after a collision, skip the cleanup mentality until you know whether the pretensioner fired. That one step changes everything about what counts as repair and what counts as replacement.
Triage the Belt Before You Touch a Single Bolt
Before anyone unclips trim or loosens a mounting bolt, start with verification. That saves time, money, and in some cases a free repair that the owner didn't realize existed.
Start with the VIN and the crash history
A VIN recall check comes first because open recalls can involve retractor torsion bars or anchor bolts. If the vehicle has an open recall, dealer remediation may already be the right path at no charge. That's especially relevant when you're diagnosing a retractor that seems mechanically damaged but might be covered by a manufacturer remedy.
Collision history matters just as much. Deployed airbags, dashboard dimples, paint transfer, or an illuminated SRS lamp are all signs that the restraint system may have logged a crash event. If the belt is locked and the warning lamp is on, I'm not interested in guessing.
Inspect the belt before removing anything
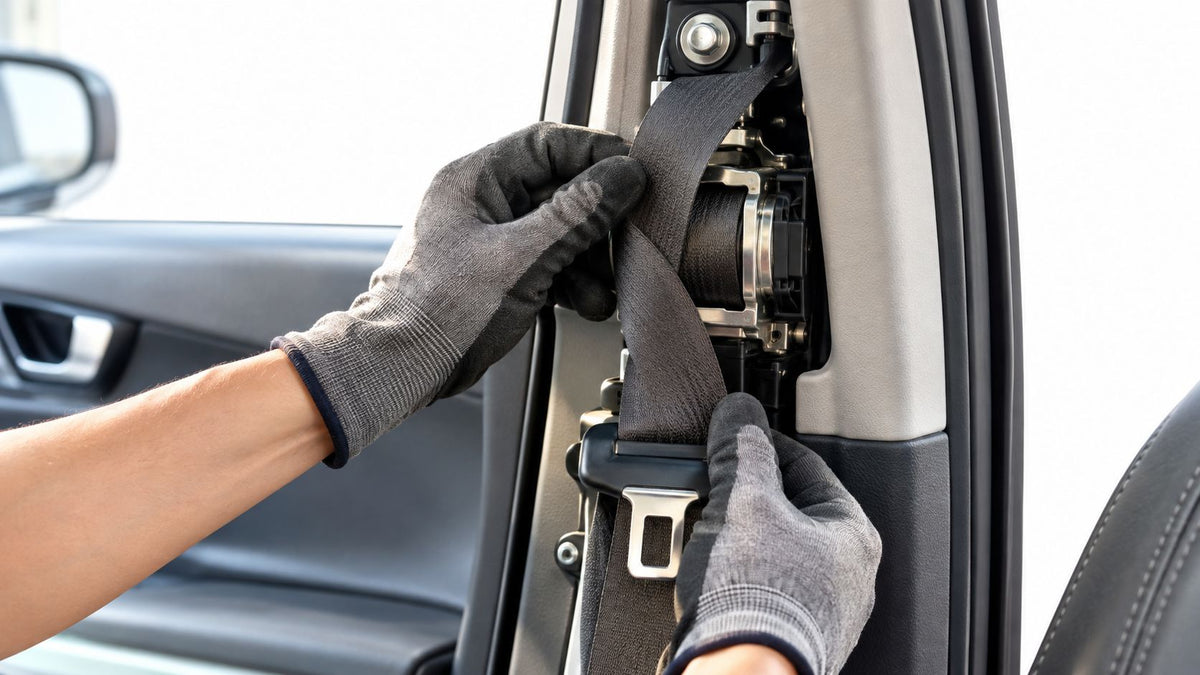
Look at the webbing closely. Cuts, fraying, edge burns, pet damage, and pulled stitching all change the decision. A belt with damaged webbing doesn't become safe just because the spool spins again.
Document the part before it comes apart. Record the original part number, side, seating position, connector pin count, and pretensioner stage so you don't end up matching the wrong assembly later. That matters even more on salvage rebuilds, where “same-looking” parts often aren't the same at all.
Field note: if the SRS lamp is on, don't assume the belt is the only problem. A retractor can be mechanically fine and still be tied to crash data in the module.
For an overview of how evidence and belt use issues can affect post-crash discussions in Texas, the Texas seat belt evidence rule is a useful starting point.
The point of triage is simple. If a recall is open, handle that first. If crash evidence is present, treat the belt as deployed hardware, not a cleaning project. If the webbing is damaged, stop pretending the mechanism alone is the problem.
Removing the Retractor the Right Way
Once the assembly has been identified and the risk is understood, removal has to be done like a restraint job, not like interior trim work.
Make the system safe before disconnecting anything
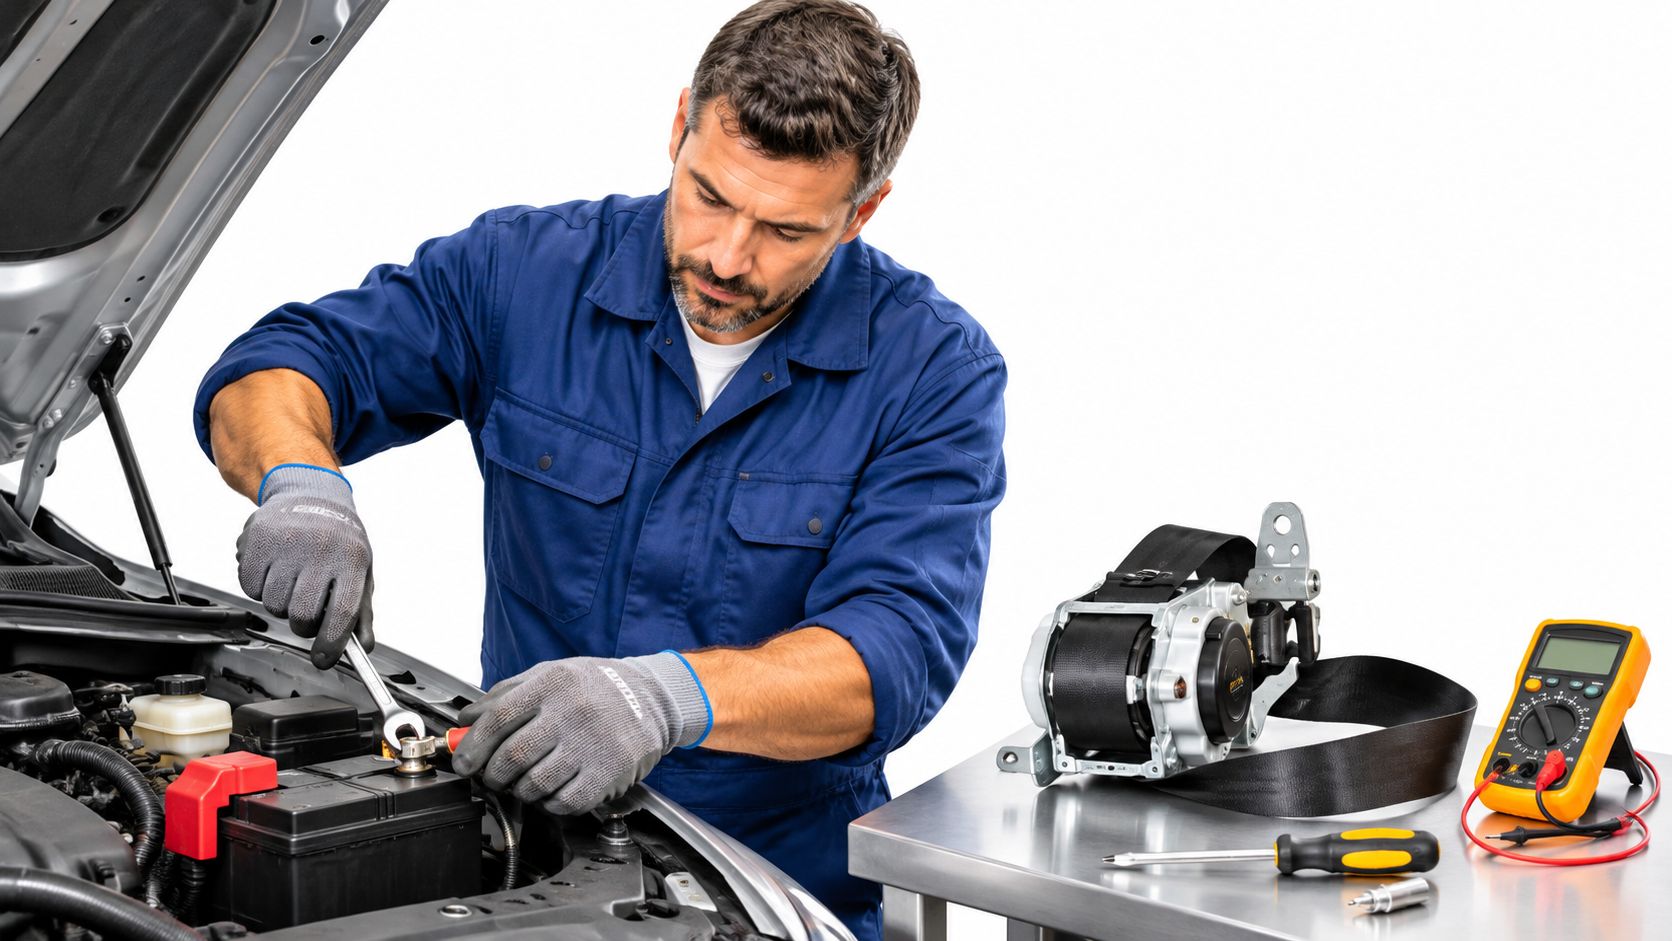
Disconnect and isolate the negative battery cable, then wait at least 60 seconds for the SRS capacitor to discharge, because one NHTSA recall procedure requires exactly that kind of delay before work begins NHTSA recall procedure. Do not rush this part because you're in a hurry to see what's behind the pillar trim.
Use non-marring tools to remove the trim, and keep the belt assembly oriented exactly as it was installed. That orientation helps preserve the angle the load limiter and retractor expect when the system goes back in. If you tip the assembly around casually, you make the reinstallation harder and more error-prone.
Disconnect the pretensioner only after the unit is secured
The connector comes off after the assembly is mechanically secured, not before. That sequence keeps a loose pyrotechnic unit from becoming a hazard while it's still hanging in the vehicle. Reinstalling the unit has to follow the specified order too, with the correct new fasteners where required and the proper torque values.
One NHTSA procedure specifies 39 N·m for a pretensioner mounting bolt and says not to use power tools during installation NHTSA recall procedure. That level of specificity is there for a reason. Seat belt hardware isn't forgiving when the bolt is loose, over-tightened, or installed in the wrong sequence.
The internal warning here is worth repeating. A locked reel is not automatically dirty or worn. It might be a deployed pretensioner, a bent anchor, a damaged webbing section, or a stored crash fault in the SRS controller. If the webbing is cut, frayed, heat-damaged, contaminated, or pulled from its stitching, replace it rather than trying to improvise around the damage.
For a deeper walkthrough of the removal and repair path, this internal reference on how to repair seat belt pretensioner is the right companion piece.
Repair vs Replace, and Which Shop Path Wins
Once the belt is out, the question is which path makes sense. A lot of people assume replacement is the only safe answer, but that's not always true.
Compare the three realistic options
A dealership assembly replacement gives you a fresh unit, but it usually comes with the highest parts cost. An aftermarket replacement may lower the price, but hardware quality and fit have to be checked carefully, especially when the belt is tied to vehicle-specific connectors or pretensioner stages. A professional OEM rebuild keeps the original assembly and restores the restraint hardware without throwing away parts that can be repaired.
For salvage rebuilds, that distinction matters a lot. Vehicles from auctions can come with multiple deployed belts, and full replacement assemblies can blow up a rebuild budget fast. In those cases, keeping the factory buckle, labels, and original fit can be the difference between finishing the car and parking it.
A 24-hour OEM rebuild is often the practical middle ground when the housing is intact and the pretensioner has fired but the assembly is otherwise rebuildable. That route keeps the original configuration while avoiding unnecessary replacement of parts that don't need to be discarded. Seat Belt Repair offers that kind of mail-in service, along with webbing replacement and SRS module reset work, as one option among the available paths.
Seat Belt Retractor Repair Options Compared
| Option | Typical Turnaround | Hardware Quality | Best Fit |
|---|---|---|---|
| Dealership Assembly Replacement | Depends on parts availability | OEM new assembly | New parts, no salvage use |
| Aftermarket Replacement | Varies by supplier | Needs careful fit and safety verification | Budget-focused replacements |
| Professional OEM Rebuild | Often around a 24-hour service window after receipt | Original hardware restored with OEM parts | Fired pretensioner, intact housing, salvage rebuilds |
The cheapest part is not always the cheapest fix. A wrong replacement can cost more in time, fitment trouble, and rework than a proper rebuild.
For a broader comparison of part choices, the internal guide on new vs used vs repaired seat belt assemblies is worth reading before you buy anything.
The decision comes down to compatibility, condition, and cost. If the belt housing is intact and the issue is a deployed pretensioner, rebuild is often the cleanest answer. If the webbing is damaged or the mounting point is compromised, replacement starts to make more sense.
Reinstalling the Belt and Clearing the SRS Light
A repaired belt isn't finished when it comes back from the bench. It's finished when the car proves it can recognize the belt as safe again.
Reinstall first, then reconnect
Mount the assembly to factory torque, use the correct bolt sequence, and keep the battery disconnected until the unit is fully secured. The pretensioner connector only goes back on after the assembly is bolted down. Reversing that order is asking for trouble.
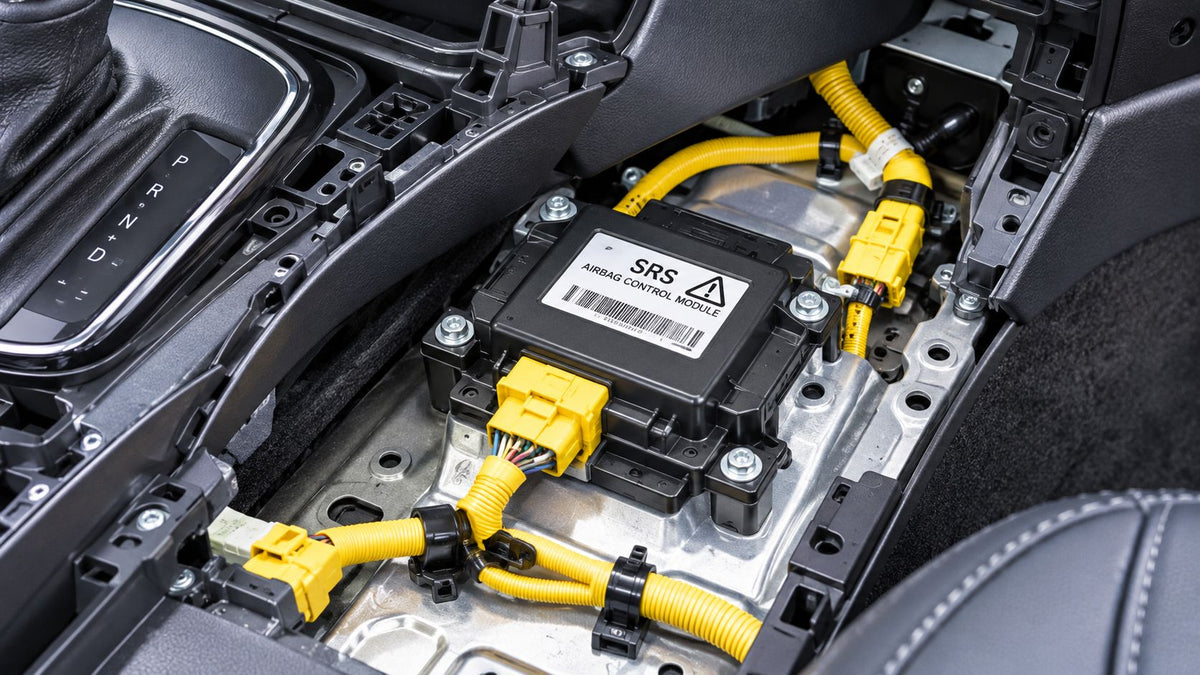
Once the hardware is in place, reconnect the battery and scan the SRS system with an OEM-grade diagnostic tool. You want zero stored crash data, zero hard codes, and pretensioner circuit resistance inside specification. If the airbag lamp stays on, the module still thinks something is wrong, even if the belt itself now moves perfectly.
That's where belt repair and module reset intersect. A clean belt without a reset module still leaves the warning light on. For that side of the job, the what to do when airbag light comes resource is helpful because it frames the warning light as a system issue, not a dashboard annoyance.
Finish with a functional test
After the scan, do a controlled pull test. The belt should extend smoothly, lock positively under a sharp pull, and retract all slack without binding. If it doesn't pass that test, it doesn't go back in service.
NHTSA's compliance testing shows why this isn't a casual check. One seat-belt assembly test report specifies a 22,241 ± 222 N loop load for a pelvic-belt retractor and 13,344 ± 134 N for an upper-torso or continuous-loop retractor NHTSA seat-belt assembly test report. Those are lab qualification loads, not garage-level tests, and they're a good reminder that “it retracts” is nowhere near enough.
If the module retains crash data or a hard fault, don't call the car fixed. Clear the module through the proper diagnostic path, then verify that the warning lamp behaves normally at key-on and goes out as expected. That final scan is just as important as the belt movement itself.
For a focused diagnostic walkthrough, the internal guide on how to diagnose airbag light belongs in your notes.
Quick Decision Checklist Before You Book the Job
If the belt is locked after a collision, run this list before you spend money or time on the wrong fix.
- Check for open recalls. If the VIN shows a recall tied to retractors, torsion bars, or anchor bolts, handle that first.
- Confirm collision evidence. Deployed airbags, an SRS lamp, or visible crash marks point to a restraint event, not simple wear.
- Inspect the webbing. Cuts, frays, burns, contamination, or pulled stitching mean the belt isn't ready to go back in.
- Record the part details. Save the part number, side, seating position, connector count, and pretensioner stage.
- Choose the right repair path. Dealer replacement, aftermarket replacement, or OEM rebuild each has a different fit and cost profile.
- Plan the module reset if needed. A belt can be repaired and still leave the airbag light on until the SRS fault is cleared.
- Verify after installation. Scan the system, confirm no crash codes, then do a controlled lock-and-retract test.
Never lubricate a pretensioner. Never reconnect the belt before bolting it down. Never return a belt to service just because it moves again.
A restraint system is not a trim piece. If you can't check every box on this list, the belt doesn't go back in the vehicle.
If you want the repair handled as a restraint-system job instead of a guess-and-hope project, Seat Belt Repair can rebuild deployed retractors, replace damaged webbing, and reset SRS modules through a mail-in process. Send the right assembly, verify the crash history first, and put the belt back in service only after it passes the scan and pull test.

Leave a comment
This site is protected by hCaptcha and the hCaptcha Privacy Policy and Terms of Service apply.