
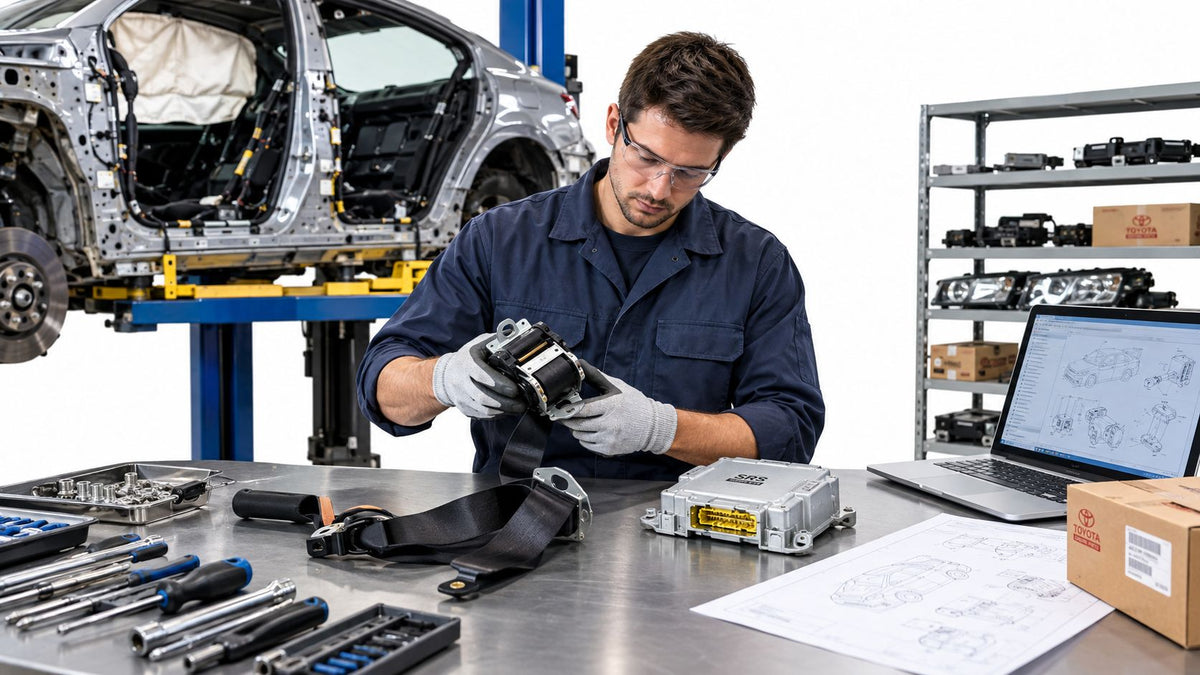
You win a Copart car that looks like an easy front-end hit. Hood, bumper, one headlight, maybe a condenser, maybe a radiator support. The auction photos look manageable. Then the car lands at your shop, the belts are locked, the airbag light is on, the steering wheel bag is blown, and now the rebuild you thought was bodywork has turned into a restraint-system job with title inspection hanging over it.
That's where most salvage rebuilds go sideways.
The body damage is usually the part everybody sees first. The money is made or lost in the parts they don't price correctly on day one. Seat belt pretensioners, SRS modules, impact sensors, wiring damage, and inspection paperwork decide whether a salvage car repair becomes a solid flip, a keeper, or a lesson you pay for twice.
The market is active for a reason. The global auto salvage market was estimated at $75.3 billion in 2022 and is projected to reach $98.7 billion by 2030, with one market summary also noting that U.S. salvage yards increased 8.2% from 2019 to 2022 to 11,800 yards, while average processing time fell from 21 days in 2018 to 14 days according to this industry summary. That tells you the supply chain for salvage car repair is real, fast-moving, and built around parts recovery and rebuilding.
But volume doesn't make every car a deal. Modern rebuilds are less forgiving than older ones. Electronics, scans, calibrations, and SRS verification now matter as much as rails, welds, and paint match. If you don't budget for that up front, you're not buying inventory. You're buying surprise bills.
Table of Contents
- Introduction to Salvage Car Repair and What to Expect
- How to Assess a Salvage Vehicle Before You Start Repairs
- Prioritizing Safety Systems That Make or Break Your Rebuild
- Smart Part Sourcing and When Repair Beats Replacement
- Mail-In Repair Workflow for Seat Belts and SRS Modules
- Passing Inspection and Getting Your Rebuilt Title Approved
Introduction to Salvage Car Repair and What to Expect
A real salvage car repair starts long before paint. It begins when you decide whether the car deserves shop space at all.
A lot of first-time buyers think the process is auction, transport, body parts, alignment, inspection, resale. That's incomplete. The sequence is closer to this: verify title status, confirm damage type, inspect structure, scan every module, identify deployed or locked restraint components, source parts, repair to OEM procedure, document the work, then pass inspection and title restoration. Miss one of those steps and the whole job can stall.
The rebuild that looks easy usually isn't
Front hits fool people most often. The sheet metal can look light while the restraint system tells a different story. A seat belt that won't retract normally, a module storing crash data, or a pretensioner that fired can turn a cosmetic-looking car into a poor buy.
That matters because insurers and states often treat a vehicle as a total loss when repair or rebuild costs reach roughly 60% to 100% of the vehicle's pre-loss value in percentage-threshold states, as outlined in this vehicle-history analysis of salvage title rates. The same analysis found that 13.7% of 273 million vehicles, or 37,546,257 vehicles, carried a salvage or junk title, 21.6% had auction damage history, and 560,475 records were rebuilt titles. In plain English, branded-title vehicles aren't rare. The competition is knowing which ones are worth rebuilding properly.
Practical rule: If the auction photos only show cosmetic damage but the belts are locked and the SRS light is active, price the car as a restraint-system project first and a body job second.
What separates a profitable rebuild from a money pit
The profitable shops don't just ask, “Can this be fixed?” They ask, “Can this be fixed safely, documented correctly, and sold realistically?”
That last part matters because a repaired salvage-title vehicle typically sells for 66% less than a comparable clean-title vehicle, based on the same EpicVIN salvage-title analysis. You don't get paid for over-restoring a branded-title car the same way you would on a clean-title retail unit. You need clean math.
A good salvage car repair candidate usually has:
- Repairable structure with no major dimensional uncertainty
- Contained mechanical damage rather than spread-out systems damage
- Manageable SRS needs that you can diagnose clearly
- Straightforward documentation for inspection and title work
A bad one usually has hidden wiring issues, questionable repairs from a prior hit, multiple system faults, or damage that crosses too many categories at once.
The mindset that actually works
Salvage rebuilding rewards discipline more than optimism. You don't make money by hoping the last warning light will disappear. You make money by assuming every unresolved safety fault is real until proven otherwise.
That's why the smart approach is simple. Buy narrower damage. Diagnose before ordering. Keep OEM procedures in front of the technician. Don't treat belts and modules like small add-ons. On a lot of rebuilds, those are the line items that decide whether the car goes back on the road or sits waiting for one more part, one more scan, and one more inspection trip.
How to Assess a Salvage Vehicle Before You Start Repairs
The best money in salvage car repair is made before the first wrench turns. If you buy wrong, no parts strategy fixes it.
Start with a cold assessment. Ignore the shiny wheel in the auction photo. Ignore the seller's “runs and drives.” A car can roll onto a trailer and still be a bad rebuild candidate.
Read the title and damage story first
Not every branded vehicle should come back. Some are rebuildable. Some belong in parts inventory.
The first pass should answer three questions:
- What title branding does it carry right now
- What event caused the total loss
- Does the damage type match what you see on the car
If those three don't line up, slow down. A front-hit car with obvious interior restraint deployment but vague records needs more caution, not more confidence. Percentage-threshold total-loss rules also matter here because a vehicle can become salvage even when damage doesn't look catastrophic if repair costs stack up against value.
Five checks that save the most pain
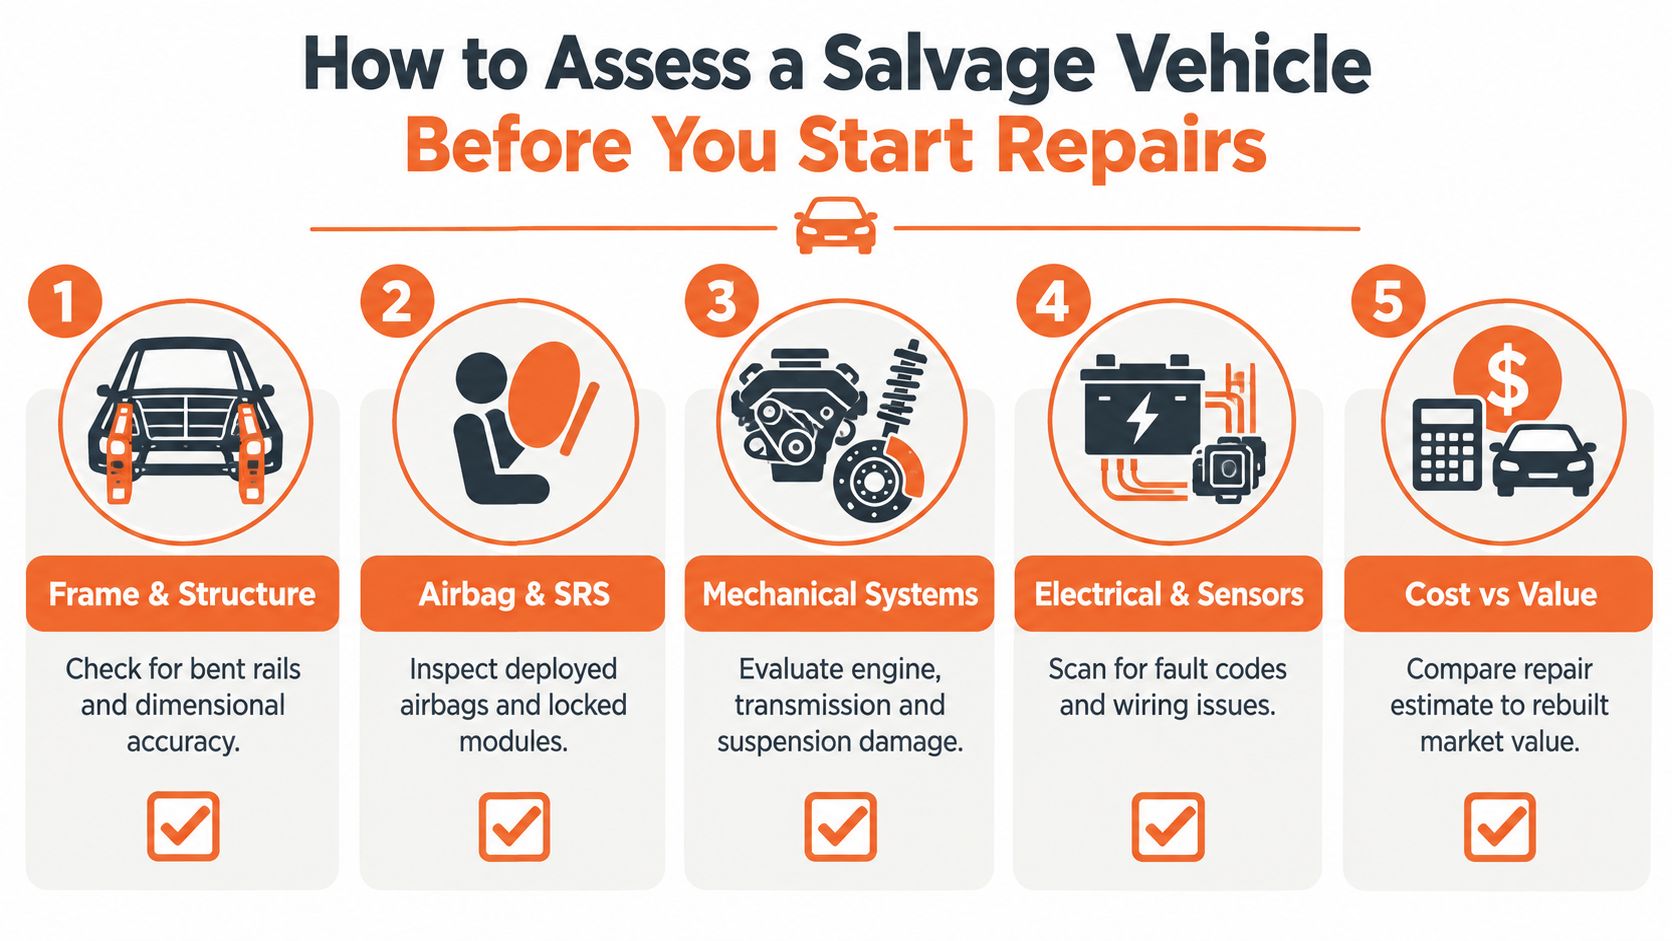
Use the same triage sequence every time. That keeps emotion out of the decision.
- Frame and structure: Check rails, aprons, strut towers, core support mounting points, floor ripples, and suspension pickup areas. A bent bolt-on part is one thing. A rail that moved structure into the firewall zone is a different job.
- Airbag and SRS: Look for deployed bags, locked belts, blown curtain retainers, seat airbag tears, and missing interior trim around replaced components. If the restraint system has already been disturbed, assume nothing.
- Mechanical systems: Check cooling pack, subframe, steering rack area, transmission case, axle position, wheelbase symmetry, and any oil or coolant cross-contamination.
- Electrical and sensors: Run a proper scan, not just a code peek. Modern salvage car repair lives and dies by communication faults, sensor faults, occupancy system issues, and wiring damage near impact zones.
- Cost versus rebuilt value: Estimate the finish-line number, not just parts to make it move. Include scans, calibrations, alignment, SRS work, inspection prep, and the rebuilt-title resale reality.
Buy the car for what it is after repair, not for what it used to be before the accident.
Separate cosmetic from structural from legal
A lot of rebuilders get trapped because they lump all damage together. Don't.
Cosmetic damage is fenders, bumper covers, lamps, trim, some bolt-on panels, and surface refinishing.
Structural damage is rails, pillars, floor sections, intrusion, weld zones, and dimensional correction.
Legal-compliance damage is everything that can stop re-registration even after the car looks finished. That includes SRS faults, bad documentation, improper weld work, and incomplete inspection readiness.
Those are different buckets with different consequences.
Build a go or no-go decision
Use a hard cutoff. If the structure is uncertain, the restraint system is widespread, and the rebuilt resale won't support the repair, walk away. There's always another auction.
A practical go decision usually means the car has one major problem category and a few minor ones. A no-go decision usually means the car has three major problem categories pretending to be one.
Some examples:
- Go: Light front hit, repairable cooling support, no cabin intrusion, clear scan path, limited restraint replacement
- Maybe: Side hit with seat and curtain deployment but clean floor and pillar measurements
- Walk away: Flood exposure mixed with collision, multiple communication faults, questionable previous repair, and missing restraint components
If you need to argue yourself into buying it, it's probably not the one.
Prioritizing Safety Systems That Make or Break Your Rebuild
A salvage build can look 90% done and still be a losing job because the restraint system was priced like an afterthought. Fresh paint, straight bolt-ons, and a clean interior do not matter much if the seat belts are locked, the module is holding crash data, or the SRS light is still on when the inspector plugs in.
That gap catches a lot of buyers.
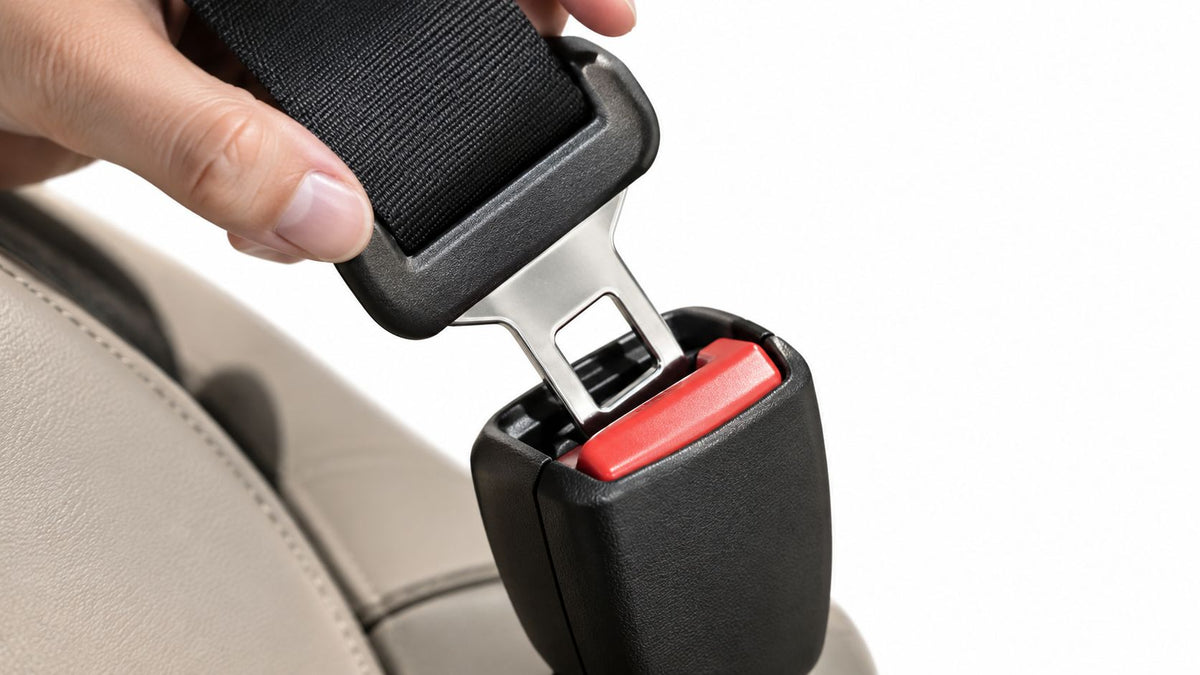
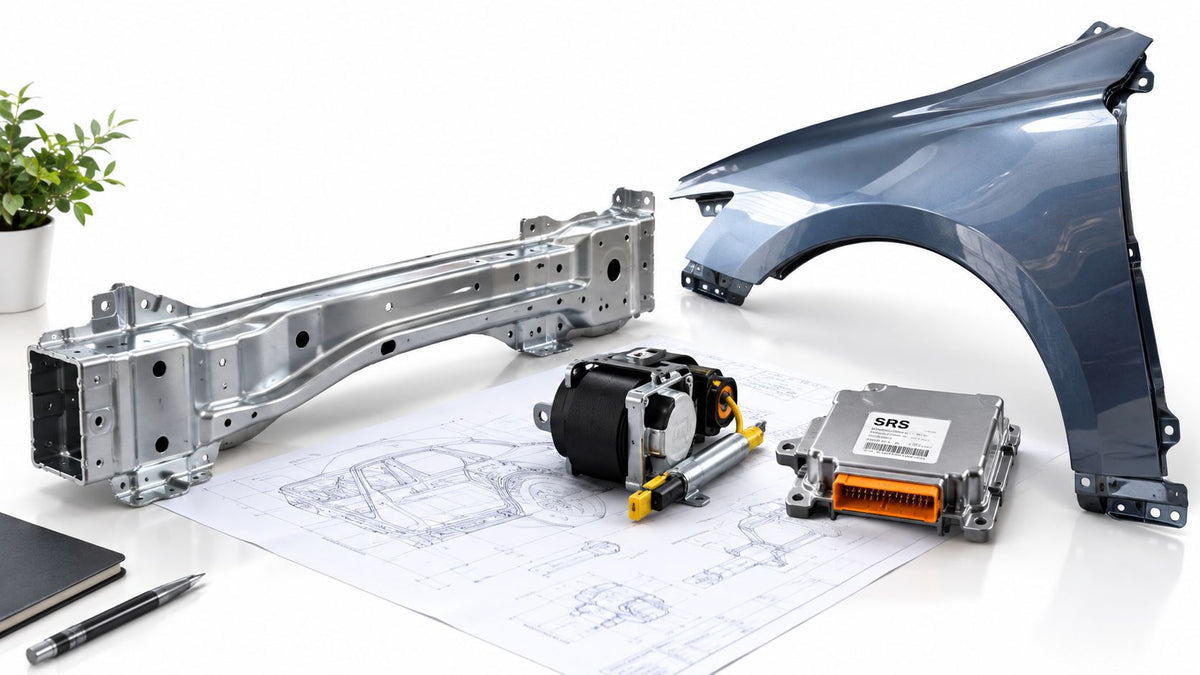
The expensive part is not always the airbag you can see. It is the chain behind it. Pretensioners, buckle switches, under-seat connectors, impact sensors, clocksprings, occupancy sensors, and the SRS module all have to agree with each other. If one part is wrong, used from the wrong trim, or still carrying crash status, the car stays incomplete no matter how good the body side looks.
Why visual inspection fails on SRS work
Restraint work has to be verified, not guessed.
A major safety study found that after a 3-step hands-on repair training intervention, technicians' safety performance improved from 24% compliance at baseline to 71% at follow-up, as reported in this PubMed-indexed post-collision repair study. The training centered on OEM procedures, hidden-damage inspection, and restraint-system checks before reassembly.
That lines up with what shows up in the shop. A cabin can be cleaned up, panels can fit, and the car can still have a bad clockspring, a tripped pretensioner, damaged seat wiring, or stored crash events in the module. None of that is visible from ten feet away.
For a practical parts-by-parts breakdown, this guide on what to replace vs what can be reset in an airbag system after a crash is useful because it treats the system as a whole instead of a pile of separate parts.
What to check before you order anything
Start with a full scan. Then verify the failure at the component.
- Pull every SRS-related code: Separate crash data, resistance faults, communication faults, and low-voltage history before buying parts.
- Check each deployed seating position completely: Inspect the belt, buckle, seat harness, side airbag area, trim seams, and floor mounts together.
- Look for hidden deployment evidence: Locked retractors, disturbed trim clips, melted connector faces, and replaced panels usually tell a more accurate story than the auction listing.
- Inspect webbing condition: Cut, frayed, heat-marked, or contaminated webbing changes the repair decision fast.
- Confirm inspection readiness early: Some states and shops focus hard on warning lights, module communication, and proof that safety repairs were completed correctly. If you wait until the end to sort that out, the car ties up a bay and your margin shrinks.
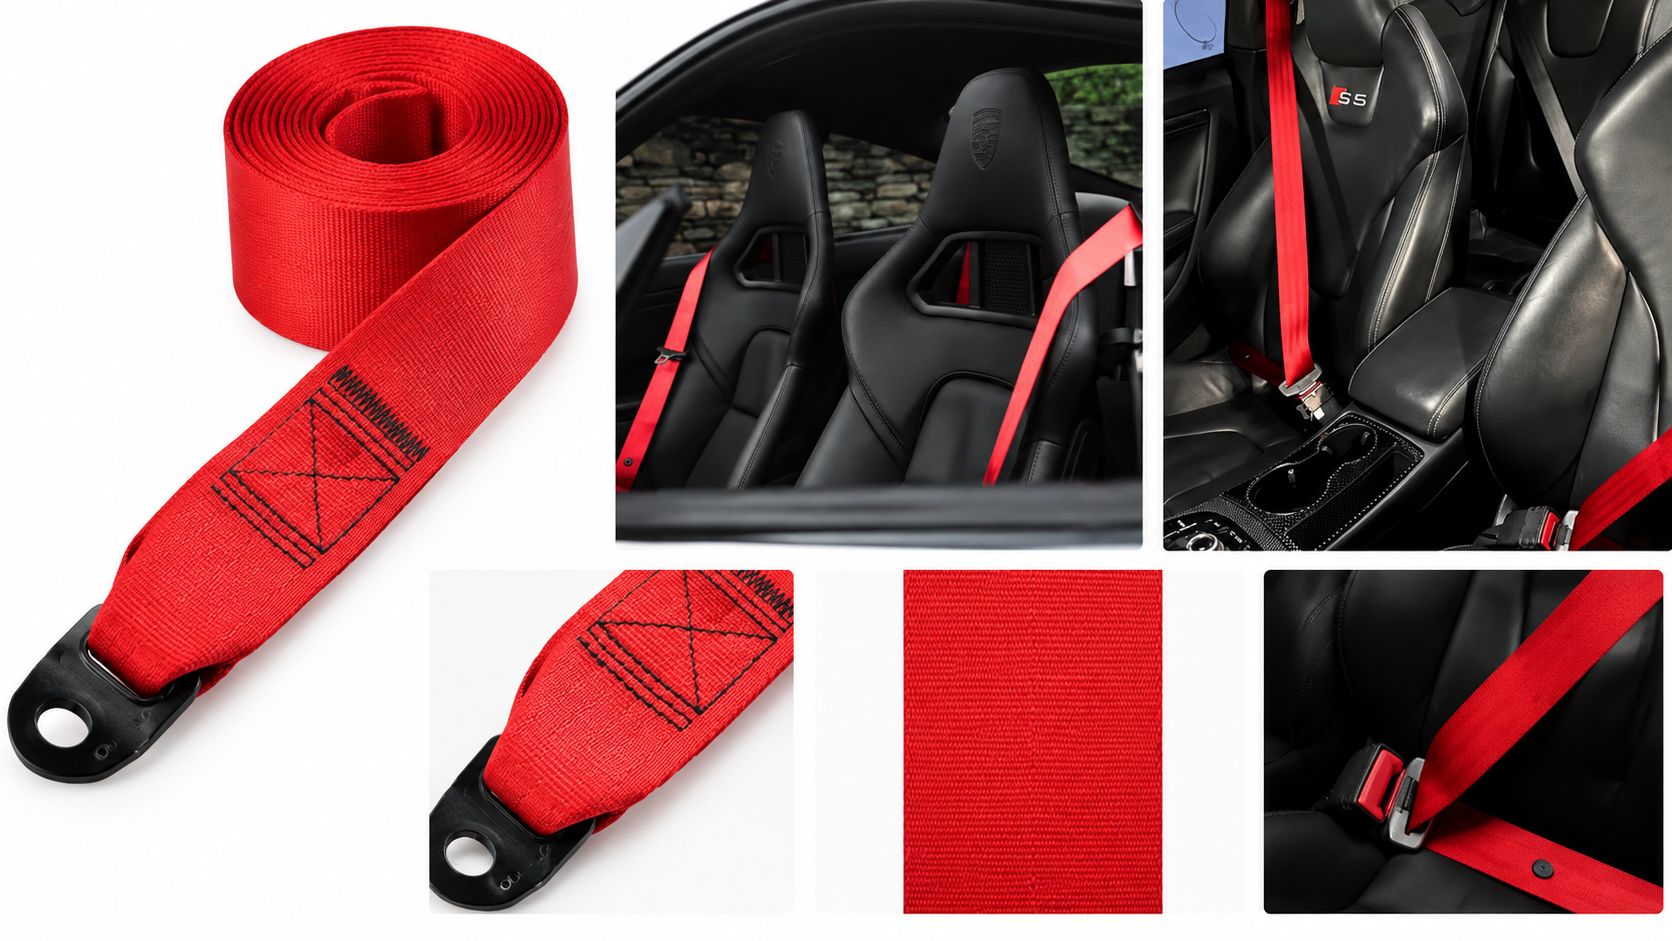
One place this comes up is appearance-sensitive rebuilds and restorations where the hardware is still serviceable but the webbing is not. A product like Ferrari Red Seat Belt Webbing Upgrade Replacement fits that situation because it's a seat belt webbing replacement service for any make, model, and year using OEM-grade, high-strength material, with original manufacturer tags restitched when possible.
The SRS light is not a suggestion. It's the car telling you the repair is incomplete.
Hidden safety-system costs erase rebuild margins faster than panel work
Body damage is easier to budget. Restraint faults are where estimates go soft.
Analysts cited by Repairer Driven News in its summary of a CCC report reported that total repair costs kept rising in 2024 and 2025, with total-loss frequency rising too. For rebuilders, that matters because scans, calibrations, and safety-related diagnosis now eat a bigger share of the job than many auction buyers expect.
I treat seat belts and SRS as an early profit test. If the car needs multiple belts, module work, airbag replacements, sensor chasing, and electrical diagnosis on top of structural or cosmetic repairs, the numbers get ugly fast. A car can be fixable and still be a bad buy.
That is the part many salvage guides miss. The restraint system does not just affect safety. It affects parts cost, labor time, inspection approval, and whether the car can be legally put back on the road without comeback risk.
Smart Part Sourcing and When Repair Beats Replacement
Parts buying is where salvage car repair turns from theory into margin. There's no single answer for every safety component. Some items should be bought new. Some can be sourced used if provenance and condition are clear. Some should be professionally repaired rather than replaced.
The mistake is using one rule for everything.
Pick the option based on failure mode
If the housing is smashed, mounts are bent, or connectors are heat-damaged, replacement usually makes more sense. If the assembly is structurally intact and the deployment event is the issue, repair may be the cleaner path.
Used parts sit in the middle. They can work when you know the donor history and can confirm compatibility, but they create headaches when you're buying someone else's unknown crash history, stretched webbing, or mismatched stages.
For a grounded look at that trade-off, this breakdown of new vs used vs repaired seat belt assemblies is worth reading before you start buying complete assemblies just because they're listed cheap.
Repair vs Replace Decision Matrix for Salvage Safety Parts
| Component Condition | Best Option | Why It Works |
|---|---|---|
| Belt locked after crash, housing intact, mounting points good | Professional repair | Keeps the original matched assembly and addresses deployed internal pretensioner components without chasing another used unit |
| Webbing cut, frayed, chewed, or badly faded, hardware otherwise intact | Webbing replacement service | Restores belt material while retaining the original assembly body when the rest of the unit remains serviceable |
| Retractor housing cracked or physically deformed | New OEM replacement | Structural damage to the assembly body isn't the place to improvise |
| SRS module storing crash data, no external module damage | Module reset service | Restores module readiness without replacing a unit that may still be physically sound |
| Unknown used belt from dismantler with unclear crash history | Usually avoid | Low upfront cost can become wasted labor if the part arrives locked, wrong-stage, or electrically incompatible |
| Airbag component with visible deployment damage | Replace with correct component | Deployed airbag units are not a cosmetic item and need proper replacement |
Where shops waste money
The most common waste isn't paying too much for one part. It's buying parts in the wrong order.
Shops lose time and money when they:
- Order cosmetic parts first: The bumper cover arrives before anyone has confirmed belt stage, module faults, or sensor needs.
- Chase used assemblies blindly: A cheap used seat belt can still have hidden deployment history or connector mismatch.
- Replace complete assemblies unnecessarily: If the shell, mount, and webbing are serviceable, full replacement may be overkill.
- Ignore labor duplication: Swapping in a questionable used part can mean doing the same trim removal twice when it still doesn't solve the fault.
When repair is the smarter play
Repair makes the most sense when the original component is intact and the failure is internal, crash-triggered, or limited to restorable elements. Replacement makes the most sense when the component body is compromised or the repair path would still leave doubt during inspection.
That distinction matters on salvage jobs because your best part is often the one already bolted to the car, assuming it can be restored correctly. It already fits, already matches the vehicle, and doesn't come with someone else's mystery history.
Mail-In Repair Workflow for Seat Belts and SRS Modules
Once you know the original assemblies are good candidates for restoration, the mail-in process is straightforward if you stay organized. The shops that get this wrong usually don't fail on the repair itself. They fail on removal, labeling, or sending only half of what the restraint system needs.
Remove parts carefully and label everything
Disconnect the battery and follow the vehicle's service information before touching SRS components. Then remove the affected belts and the airbag control module with the same mindset you'd use for engine internals. Keep left and right side parts identified. Keep front and rear parts separate. Don't toss bolts, trim clips, and brackets into one bucket and expect reinstall to go smoothly.
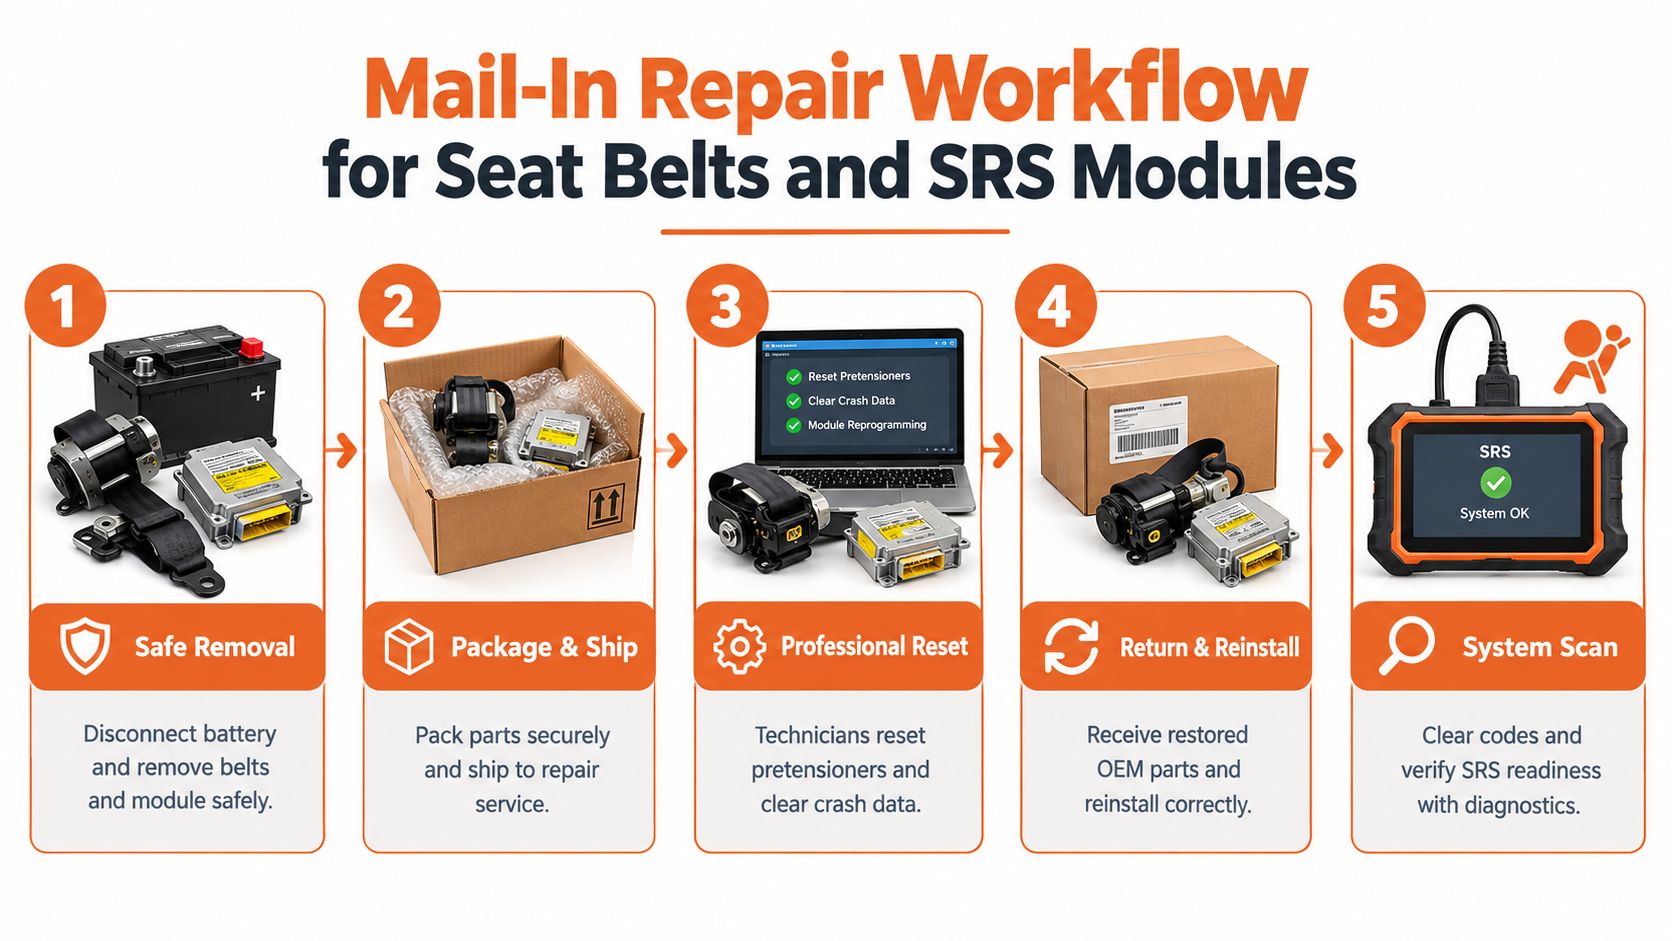
If you're unsure what a professional turnaround looks like, this article on how seat belts are repaired within 24 hours of receiving them and shipped back lays out the process clearly.
Know what you're sending
Pretensioner stage matters. Connector count is one of the practical clues technicians use to identify whether a belt is single-stage, dual-stage, or triple-stage. Don't force a guess. Photograph the connector and label the unit before boxing it.
Good packaging also matters more than people think.
- Wrap each component separately: Keep retractors from banging into module housings during transit.
- Protect connectors: Damaged plugs create avoidable electrical faults later.
- Include clear order details: VIN, year, make, model, and the exact seating positions involved save follow-up calls.
- Send the module when the car stored crash data: Restoring belts while leaving the module faulted often just delays the next step.
Here's a visual walkthrough of the general process in action:
Reinstall, scan, then verify
Once the repaired parts return, reinstall them exactly where they came from. Route webbing correctly. Torque mounting hardware to spec. Reconnect all related connectors fully before powering the car back up.
Then scan the vehicle again. Don't stop at “the light went out.” Verify readiness, clear residual faults if appropriate, and make sure you didn't introduce a new seat occupancy or buckle-circuit issue during reassembly.
A salvage rebuild isn't done when the trim is back on. It's done when the scan is clean and the restraint system proves it.
For shops handling repeat volume, business-account support can simplify the workflow because the same mail-in pattern repeats across Copart and IAAI builds. The key is consistency. Remove carefully, label well, ship complete sets, and verify on reinstall.
Passing Inspection and Getting Your Rebuilt Title Approved
A car can drive perfectly, look finished, and still fail the last mile. Inspection is where sloppy salvage car repair gets exposed.
Most jurisdictions don't care that the paint match is good if the structure, restraint proof, or paperwork is weak. Inspection staff look for evidence that the car was repaired to manufacturer standards, not just made to look complete.
What inspectors usually care about most
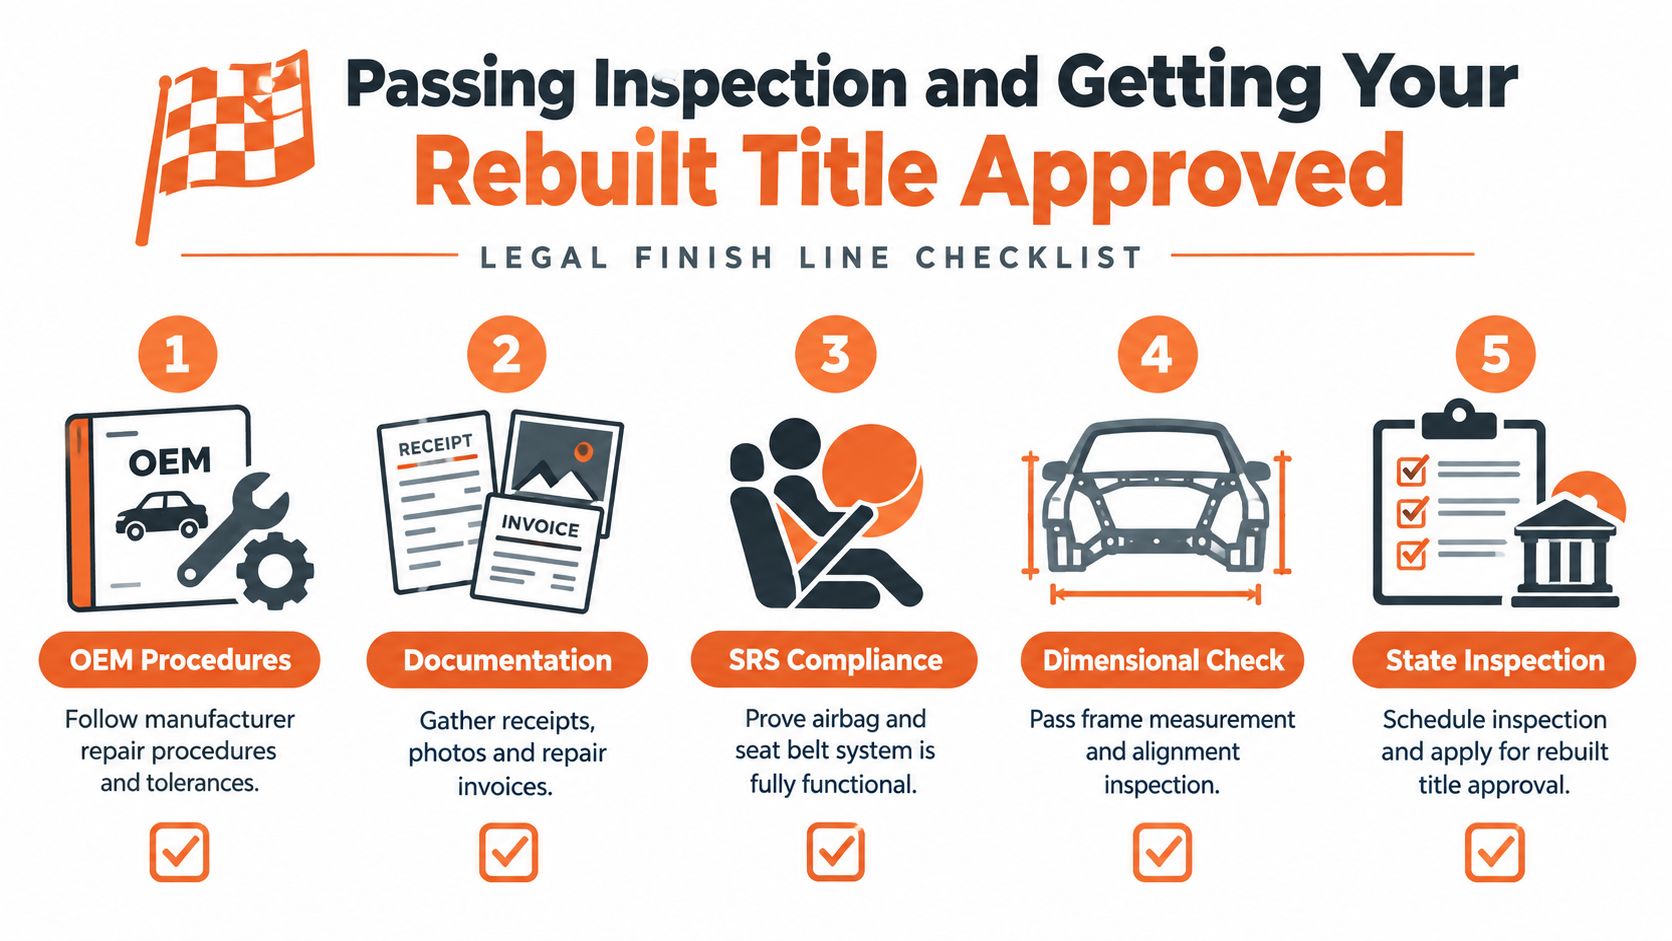
Jurisdictional salvage inspection programs commonly require OEM-specification repairs and can reject vehicles whose structure can't be returned to manufacturer tolerances. Manitoba's rules state that repair plans must include OEM repair procedures for structural repairs, welding must follow the OEM repair guide, and irreparable structural components must be replaced rather than improvised, as shown in the Manitoba inspection guidebook. Access Canberra also requires repaired written-off vehicles with deployed SRS to provide an SRS report from the OEM, an OEM-authorized dealer, or an authorized repairer before re-registration, summarized in that same guidebook.
That tells you what matters at the finish line:
- OEM procedures by VIN
- Measured structure within manufacturer tolerances
- Proof of restraint-system integrity
- Clear identity and repair documentation
Reinspection risk is real
California's revived-salvage guidance says repaired vehicles must pass a vehicle safety systems inspection before registration, and if they fail, the station must inspect all safety systems again, not just the repaired areas, according to the California safety systems inspection guidance. That's the kind of rule that punishes shortcuts. One unresolved issue can send the whole car back through another round.
The paperwork that actually helps
Bring a file, not a pile.
- Repair plan by VIN: Keep the OEM procedures you used for structural and restraint-related work.
- Parts receipts: Show where major components came from and match them to the repair.
- Before and after photos: Especially useful for structural areas before covers and trim went back on.
- Scan documentation: Keep evidence that the SRS system was addressed and verified after reassembly.
- Alignment and measurement records: If the car needed structural correction, keep proof it was brought back to tolerance.
- Airbag and belt records: If those systems were repaired or restored, keep the documentation with the car file.
Inspectors don't fail rebuilt cars because they dislike salvage. They fail cars when the repairer can't prove what was done.
Common reasons rebuilt projects stumble late
The late failures are usually avoidable:
- Incomplete OEM documentation
- Visible replacement without hidden-system verification
- Non-OEM structural shortcuts
- Unresolved warning lights or incomplete scans
- Missing receipts for key parts
- Assuming one repaired area is all the inspector will care about
The cleanest path is boring on purpose. Follow OEM procedures. Document every major step. Treat restraint proof like a required deliverable, not a side note. If the car is safe, measured, scanned, and documented, the title process gets much easier.
If your rebuild has locked belts, damaged webbing, or an SRS module holding crash data, Seat Belt Repair handles mail-in pretensioner repair, webbing replacement, and airbag control module resets using OEM components and returns parts quickly after receipt. If you're trying to finish a salvage car repair without wasting money on unnecessary full assembly replacement, visit Seat Belt Repair and match the service to the exact restraint issue before you book inspection.

Laisser un commentaire
Ce site est protégé par hCaptcha, et la Politique de confidentialité et les Conditions de service de hCaptcha s’appliquent.