
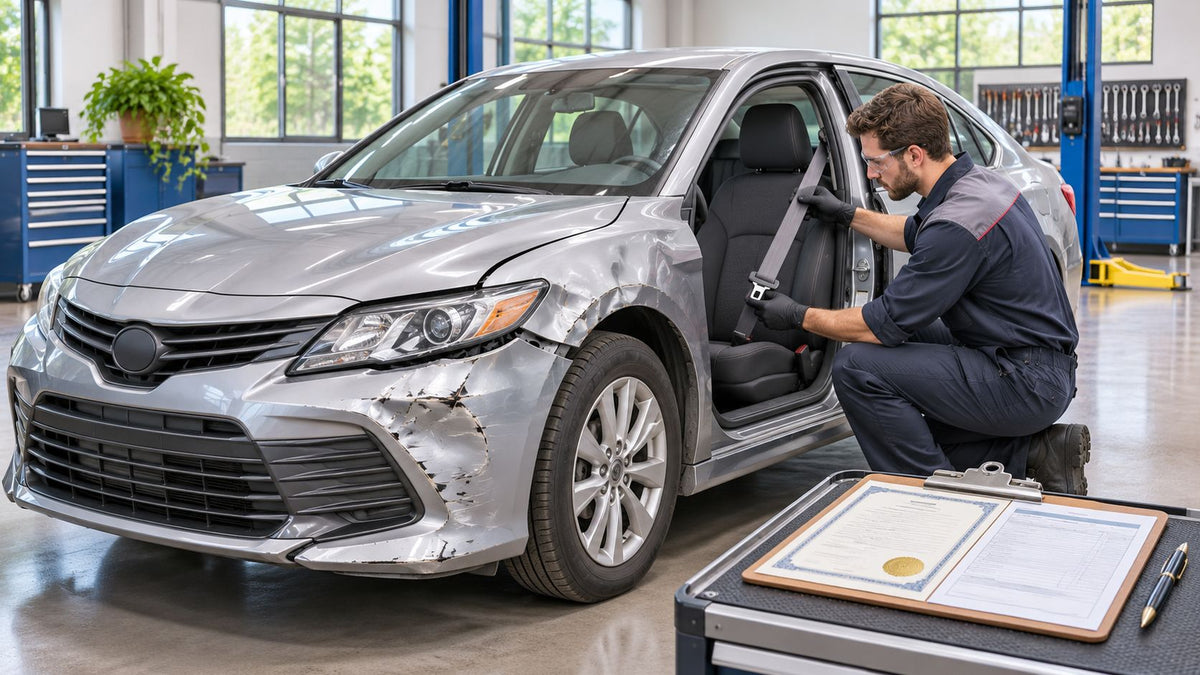
A Copart sedan can look like a bargain in the auction photos: clean paint on the undamaged side, no obvious wheel damage, and a repairable-looking hit. Then the estimate adds locked belts, a deployed pretensioner, and an SRS module holding crash data. The auction price was only the start of the rebuild cost.
Repairing a totaled car can make sense when the structure is sound, the title can return to the road, and the restraint repairs fit the budget. The insurer's total-loss label answers a financial question for the carrier. It doesn't tell you whether the car is safe to rebuild or whether you should buy it.
Table of Contents
- Decide Whether This Totaled Car Is Repairable
- Sort the Salvage Title Before You Buy Parts
- Inspect Seat Belts Airbags and the SRS Module
- Weigh Repair Cost Against the Car's Value
- Mail In Belts and the Airbag Module
Decide Whether This Totaled Car Is Repairable
| Case | What you are seeing | Lean |
|---|---|---|
| Clean theft recovery | Straight structure, missing stereo or glass, restraints may be untouched | Repair if the title is convertible |
| Light collision | Rails and strut towers straight, belts locked or bags fired | Inspect, then repair restraints |
| Kinked unibody or rail | Apron, rail or tower damage in photos or on a lift | Walk away in most cases |
| Flood above the carpet | Water line, silt, or corrosion in connectors and the module | Walk away for SRS and electronics |
| Prior salvage, no records | Rebuilt title with unknown airbag or belt history | Inspect before any money goes in |
A total loss is the insurer's decision that paying for repairs doesn't make financial sense compared with settling the claim. The insurer's calculation is not a structural inspection, and the label doesn't prove the car is either scrap or safe. Your job is to judge the shell, the restraint system, and the title path separately.
Look past the auction photos
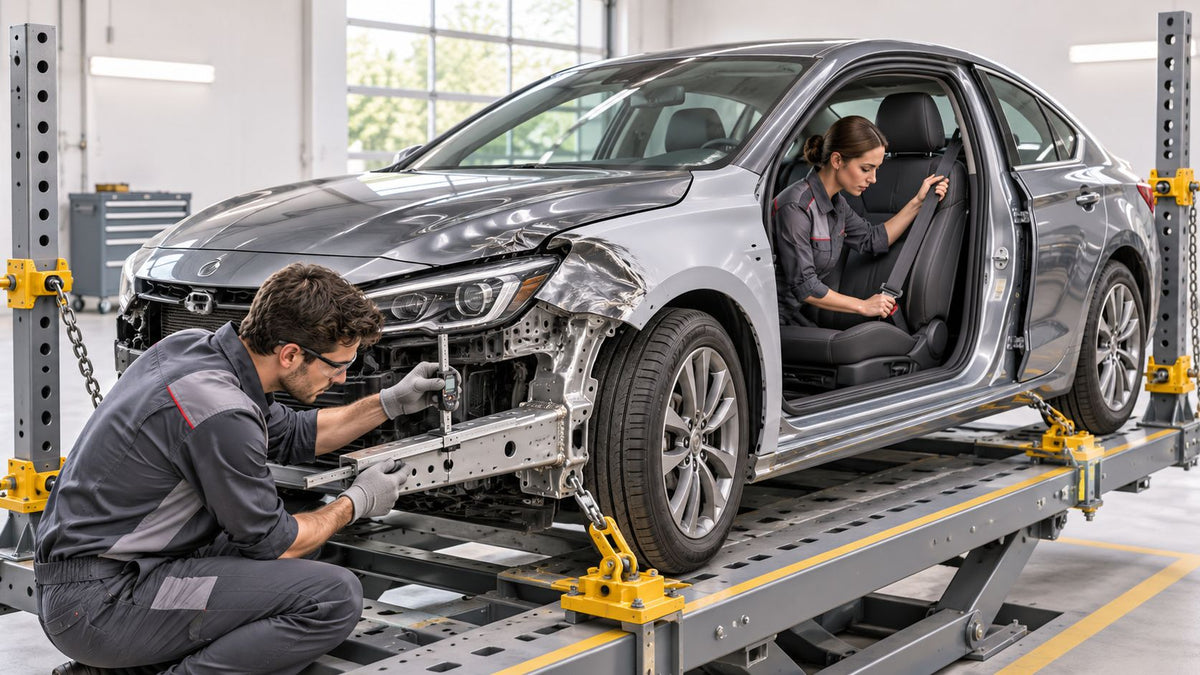
Photos can show crushed panels and broken glass, but they're a poor way to judge whether the rails, aprons, or strut towers have shifted. A kink, buckle, or uneven gap near a suspension mounting point can turn a panel repair into a structural job. If the seller allows an in-person preview, use it. Otherwise, make any purchase conditional on a body-shop inspection where possible.
A clean-looking theft recovery may still need glass, wiring, or interior trim. That can be a manageable repair if the structure is straight and the title can be converted. A collision car with straight rails can also be viable, even if bags fired, but those restraints need a real parts-and-labor estimate before you commit.
Make three checks before paying for parts
- Have a body shop inspect the structure. Ask for a close look at the aprons, rails, and strut towers, preferably on a lift. If the shop finds a kink or questions the mounting geometry, stop and price the structural work before buying anything else.
- Write down the restraint damage. List which belts are locked, which webbing is cut or damaged, which airbags deployed, and whether the SRS warning light is on. “Airbags deployed” is not a complete repair estimate.
- Verify the title route. Find out whether the brand can be converted to a rebuilt title in the state where you plan to register the car.
Practical rule: If the structure fails inspection, stop. If it passes and the major surprise is the restraint bill, the project may still be worth pricing.
Sort the Salvage Title Before You Buy Parts
Title work can stop a rebuild after you've already bought the belts, bags, and body panels. Check the vehicle's brand and your local process before ordering parts. A car that can be repaired mechanically may still be ineligible for road registration.
The salvage-title guide is a useful starting point for understanding why the brand matters. Use your state motor-vehicle agency's current requirements to make the final decision, since the process isn't uniform across states.
Work through the paperwork in order
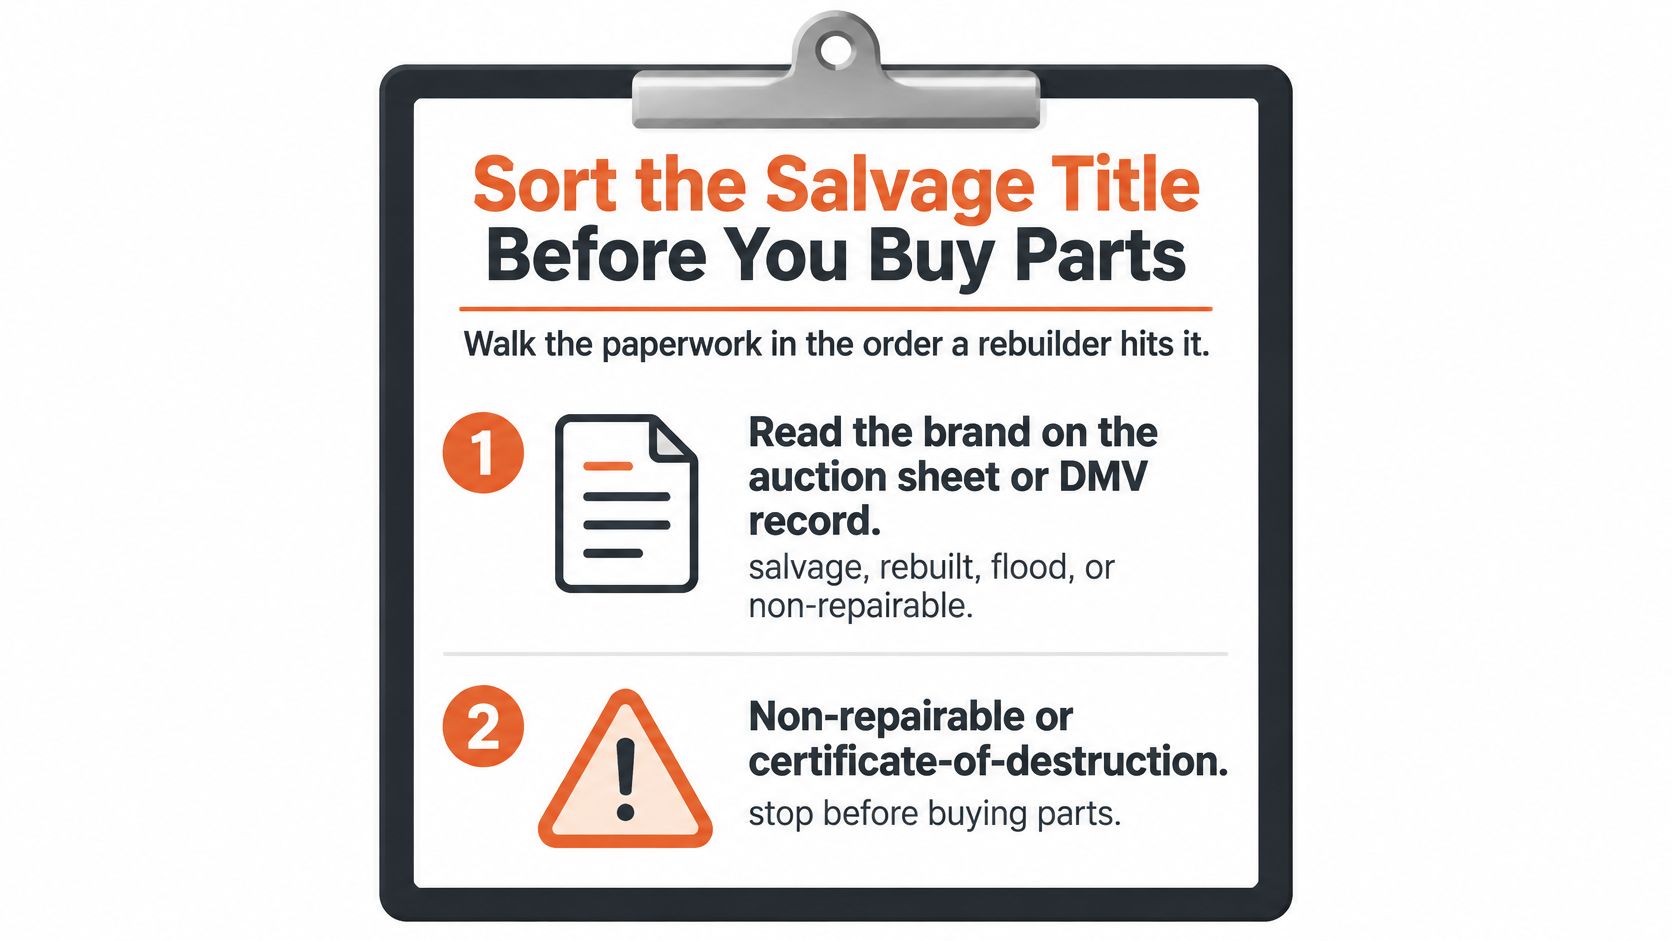
- Read the brand on the auction sheet or DMV record. Identify whether the car is marked salvage, rebuilt, flood, or non-repairable. Don't rely only on the seller's description; check the actual title record and ask what the brand means where you'll register the car.
- Stop if the title is non-repairable. A non-repairable or certificate-of-destruction brand usually ends the road-car project. Confirm that directly with the relevant motor-vehicle agency before spending money. A flood brand is also important: repainting and replacing the interior won't erase it.
- Check the inspection requirements. Ask what the state requires to convert a salvage vehicle to a rebuilt title. The inspection may involve safety equipment, proof of ownership for major parts, and records showing how the car was repaired. Don't assume every state checks the same items or accepts another state's paperwork.
- Keep the paper trail. Save the bill of sale and every parts invoice, especially receipts for airbags, belts, and other safety components. Inspectors may ask where key parts came from, and complete records are easier to defend than a box of loose receipts at the end.
- Resolve ownership and driving restrictions. If a lender has a lien, confirm that the lien will be released and that you can legally take ownership before you start the repair. Don't drive the car on public roads until it's titled and insured, unless your state has issued a permit that allows it.
- Tell your insurer the car has a salvage history. Disclose the brand when you arrange coverage. Hiding it can create a problem if you later make a claim or the insurer discovers the title history.
Some states won't accept an out-of-state salvage title for conversion. A lienholder may also control whether you can retain or repair the vehicle. Put any uncertainty to the DMV or lender in writing before ordering parts.
Pause every parts order until you know the local DMV will convert that brand to a rebuilt title. That one check can save you from finishing a car you can't register.
Inspect Seat Belts Airbags and the SRS Module
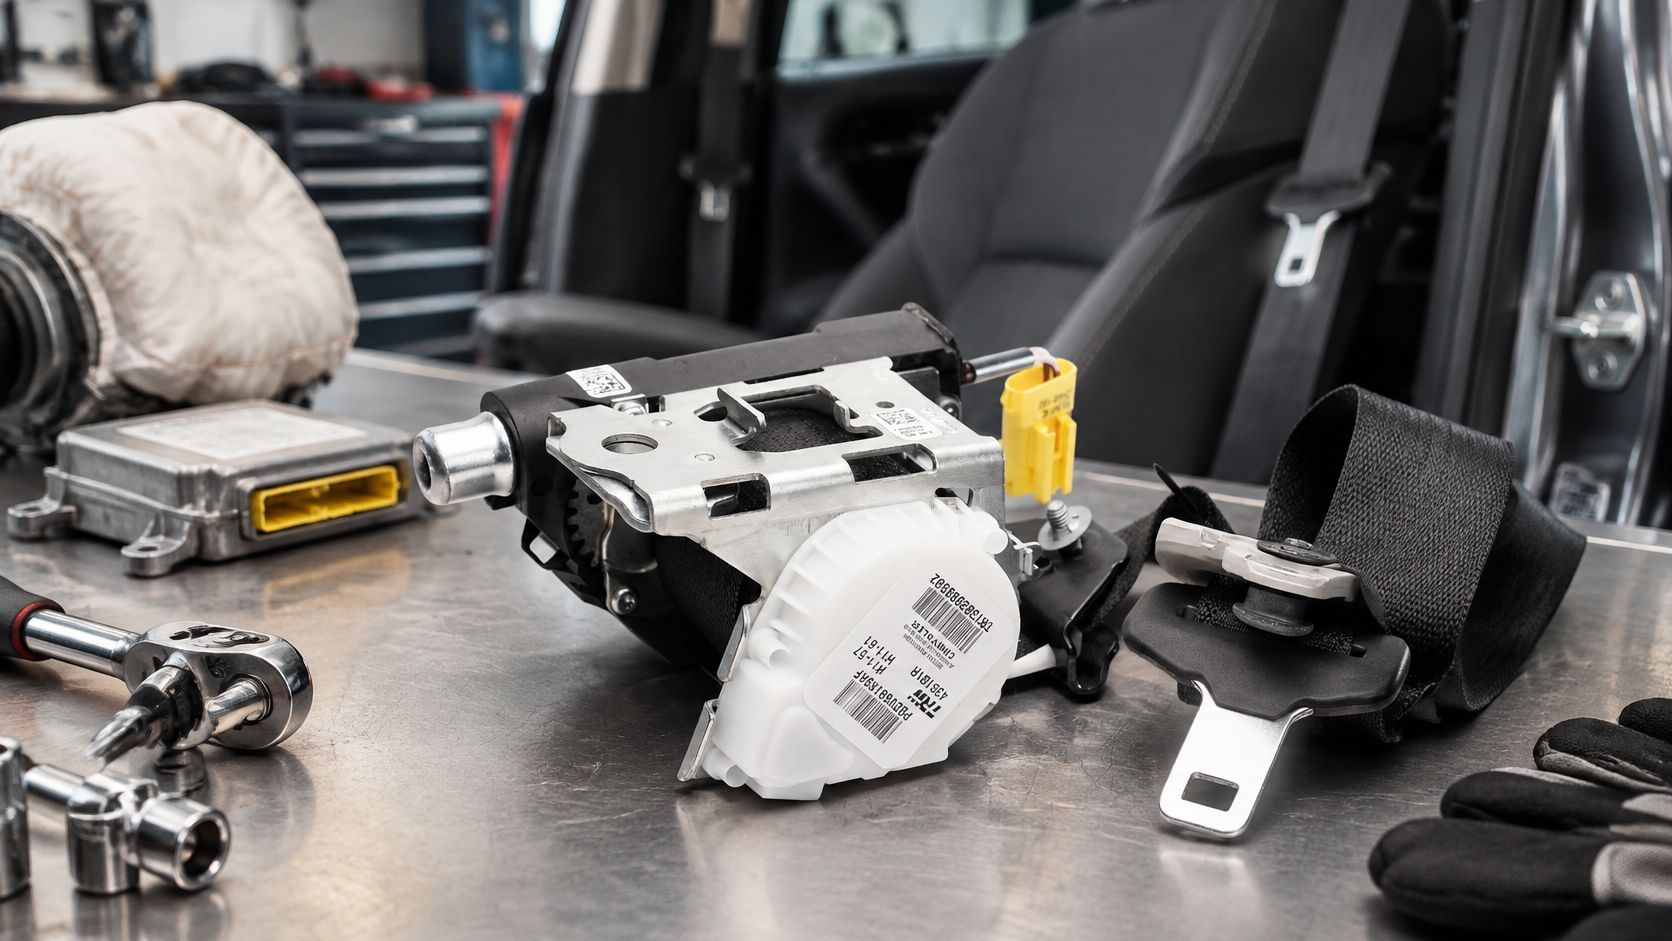
The restraint inspection is a parts-ordering exercise. Look for deployed airbags, identify each locked or damaged belt, and find out whether the SRS module needs attention. A warning light alone doesn't tell you which components are reusable, damaged, or still holding crash information.
Check each restraint by hand
- Photograph the cabin first. Take clear pictures of the steering wheel, dashboard, seats, pillars, and headliner. Look for torn covers, deployed bags, and trim that may have been removed. These photos help you match what you see to the repair list.
- Pull each belt slowly. A belt that won't extend, won't retract, or stays tight can have a fired pretensioner, even if the belt looks new. Don't yank it or try to force the retractor open. Note the seat and side of the car so you can identify the right part later.
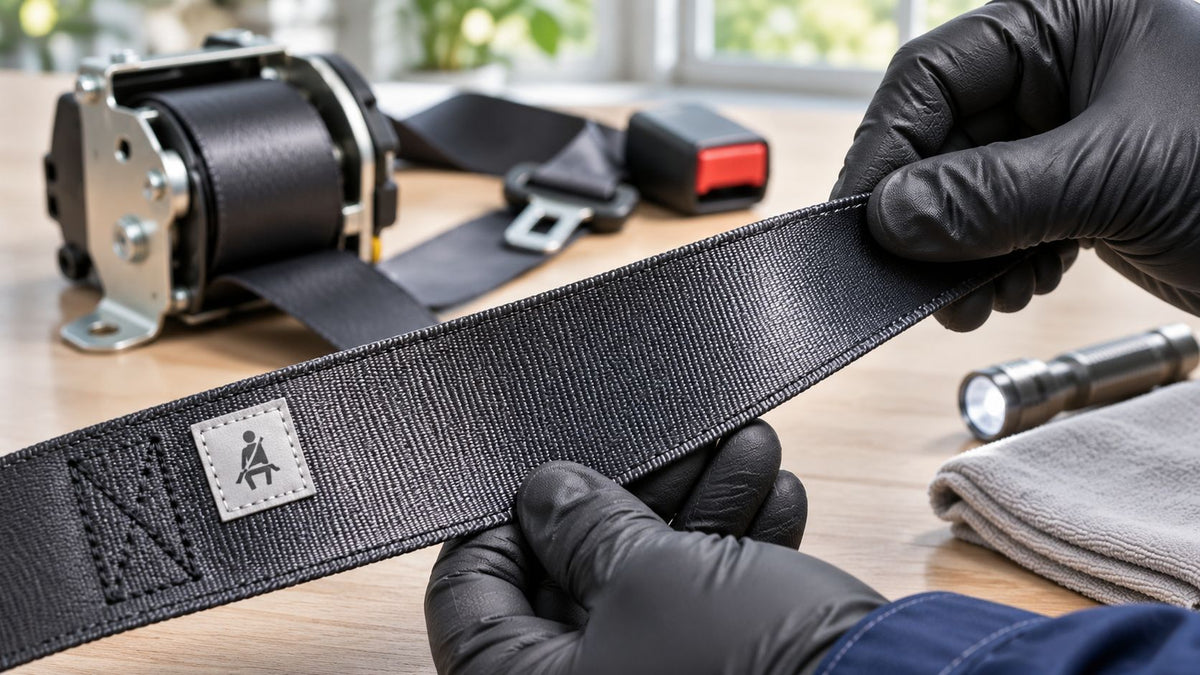
- Inspect the webbing separately. Look for cuts, fraying, glazing, chew marks, and other damage. A functional retractor doesn't make damaged webbing safe, and replacing webbing is a different repair from addressing a locked pretensioner.
- Tag the belts before removal. Mark each one as driver, passenger, or a specific rear position. Count the connector pins as a clue to whether the belt is single-, dual-, or triple-stage, then keep the connector and label together. Similar-looking belts aren't necessarily interchangeable.
- Find the SRS module. It's commonly under a seat or in the console area. If an airbag or pretensioner fired, plan for the module to have crash data or hard codes that need proper attention. A basic code reader that turns off the lamp hasn't necessarily repaired the system.
- Replace deployed airbag cushions. A deployed cushion isn't rebuilt the way a retractor can be. Use the correct replacement part for the car and its restraint configuration, and don't treat a cover or a warning-light reset as a substitute.
A stuck belt after a collision often points to an activated pretensioner. The Fix a Stuck Seat Belt After Accident – OEM Seat Belt Repair Service describes a mail-in option for restoring the original retractor when the housing and webbing are suitable for repair. It's not a reason to reuse cut webbing or a damaged assembly.
For a broader parts decision, use this guide to what may need replacement or resetting after a crash. Your written inspection list should name every locked belt, every webbing defect, every deployed bag, and whether the module is being sent with the belts.
Weigh Repair Cost Against the Car's Value
| Component | Typical replacement path | Repair path |
|---|---|---|
| Locked front or rear belt | New assembly, with labor and any needed programming | Rebuild the original retractor and pretensioner |
| Cut or chewed webbing | Often requires replacing the full belt assembly | Replace webbing on the original assembly when suitable |
| SRS control module | New module plus programming | Reset to factory specifications and clear crash data when supported |
| Deployed airbag cushion | Replace the bag with the correct part | No rebuild; budget for a replacement bag |
| Bent rail or tower | Structural body labor dominates | Not a mail-in fix; usually walk away |
Build the budget from four lines: purchase price, body and structural labor, restraint parts, and title-related costs. Include tax, transport, and the state inspection in that last line. Keep an allowance for damage that becomes visible after trim or damaged panels come off.
A dealer-style replacement can be the cleanest route when an assembly is damaged or a repair isn't appropriate. But a locked belt with an intact housing and sound webbing may not need a complete assembly. The straight-talk guide to airbag repair costs can help you frame the questions to ask when you're comparing a full replacement estimate with repair options.
Separate repairable parts from stop signs
A repair path may reduce the restraint line when the retractor housing is intact and the webbing is usable, or when damaged webbing can be replaced on the original assembly. That doesn't apply to a deployed airbag cushion, which needs the correct replacement bag. Bent rails or towers aren't a belt-repair problem at all. Price the structural work before you decide whether the car is worth saving.
The savings from a belt repair can't rescue a project where body labor already approaches the value of a comparable clean car. Likewise, a cheap auction price doesn't compensate for a title brand that can't be converted. Put those costs on the same page rather than treating each new invoice as a separate decision.
Set a ceiling before you commit
Use the car's likely personal-use or resale value as the top of the comparison. Subtract the purchase, transport, bodywork, restraint repairs, title expenses, taxes, and inspection costs. What remains is your cushion for unknowns and the branded-title effect.
If the structure is modest and the restraint repairs are the spike, it can make sense to repair those components and keep sound original equipment that still fits correctly. If the structure is questionable, the title path is blocked, or the full cost leaves less margin than you'd accept on an ordinary used car, walk away.
Mail In Belts and the Airbag Module
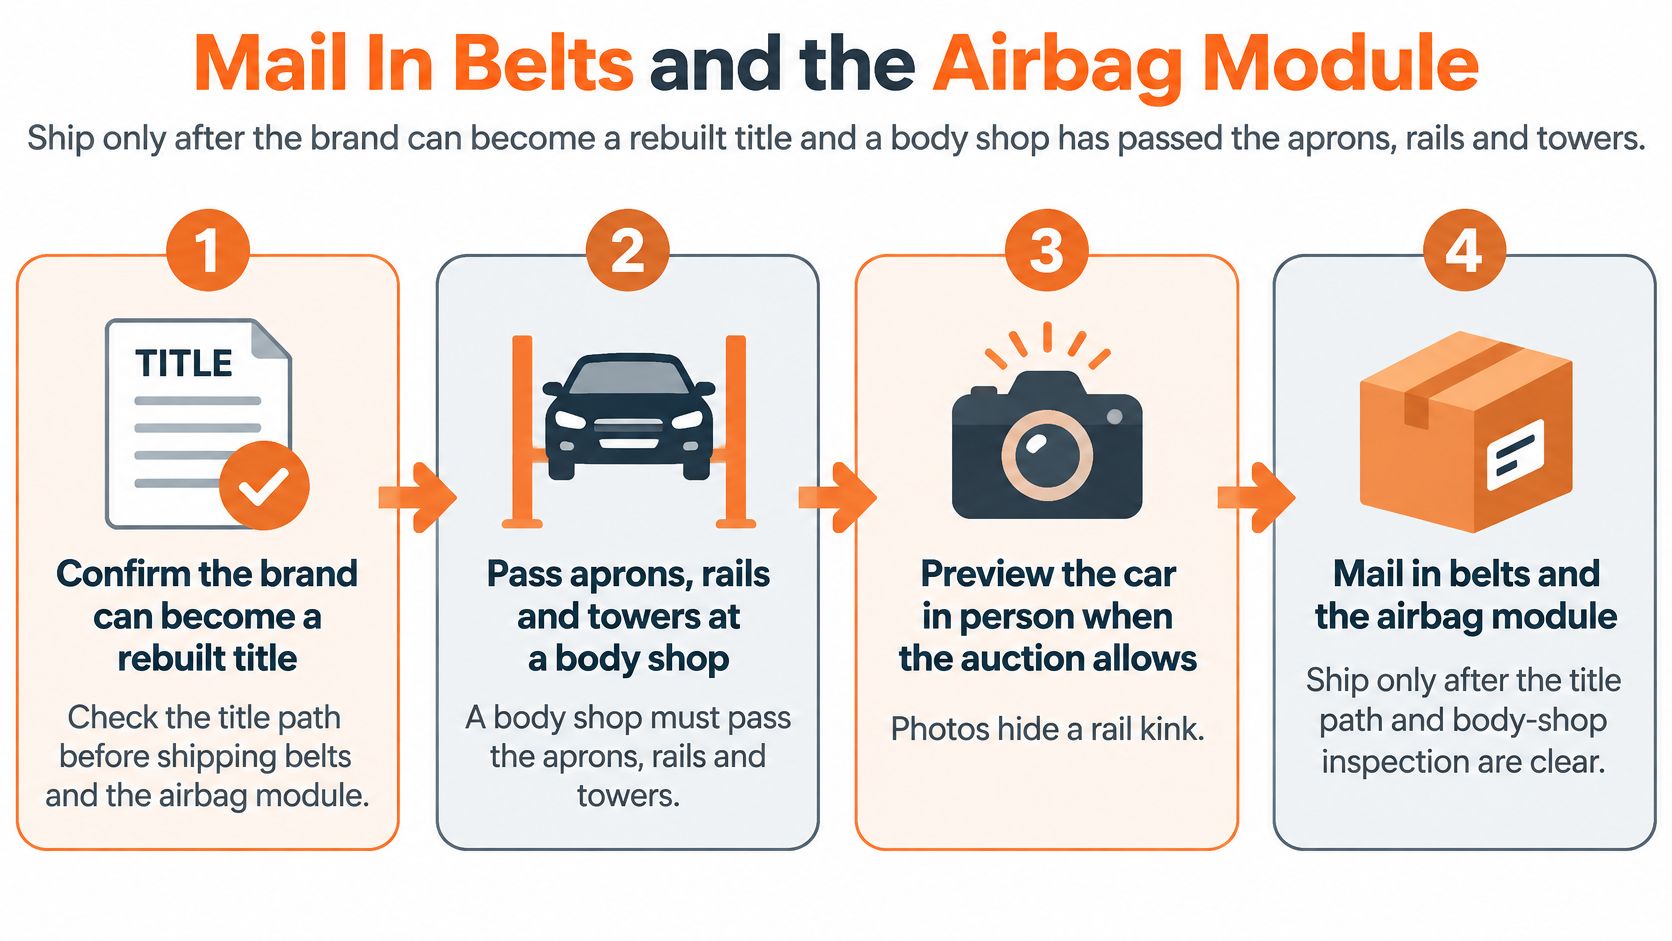
Ship parts only after a body shop has passed the aprons, rails, and towers and you've confirmed the title can become rebuilt. If the auction allows a preview, inspect the car in person before it's hauled away. Photos can hide a kinked rail, and no mail-in repair can make a bent structure safe.
Remove and label the right parts
- Disconnect the battery and document the connectors. Photograph each connector before unplugging it, and follow the vehicle's service procedure for safely working around SRS components. Keep the photos with your repair notes so the installer can match each connection.
- Remove each locked retractor carefully. Access the lower anchor, upper mounting bolt, trim, and pretensioner connector without cutting the belt or damaging the wiring. If you aren't comfortable removing interior trim or handling restraint components, have a local mechanic or body shop do the work.
- Label every assembly by position. Mark driver, passenger, and each rear seat separately. Record the connector-pin count and belt stage where you can identify it. A similar-looking unit from another seat may have a different connector or restraint configuration.
- Keep the car's own SRS module. A junkyard module may have a different part number or its own stored crash data, so it's not a simple swap. If a bag fired or the SRS lamp is on, include the original module for assessment and reset where appropriate. Replace deployed airbag cushions rather than reusing them.
Package and send the components
For a retractor repair, remove the faulty or locked unit, package it securely, and ship it to the service address. Keep the webbing from folding sharply or getting trapped under heavy parts. Include the module when it needs attention, and add a note identifying the car and each component's position.
Seat Belt Repair accepts mail-in repairs at Seat Belt Repair, 40 Main St., Westfield, MA 01085. The service rebuilds original retractors, replaces the pretensioner mechanism with OEM components, and can replace damaged webbing when that repair is appropriate. It also resets SRS modules to factory specifications and clears crash data and hard codes. Repaired components are tested before they're shipped back, ready for installation.
The business's turnaround for these repairs is within 24 hours of receipt. That is the repair turnaround, not a promise about transit time. A car with straight rails and a small number of locked belts may be a reasonable mail-in candidate. A car with a kinked rail isn't.
Reinstall and check locally
Seat Belt Repair doesn't install repaired components. You can reinstall them yourself or have a local body shop or mechanic do it. Follow the vehicle's service procedure and use the correct fasteners and torque specifications rather than guessing or reusing damaged hardware.
After installation, check that each belt extends and retracts smoothly and locks as designed. Turn the ignition on and confirm the SRS lamp completes its normal bulb check and stays off. If the lamp remains on or a belt behaves abnormally, don't put the car back into service. Have the system diagnosed before driving.
The video below shows the mail-in process.
If the car's structure and title path check out, Seat Belt Repair offers mail-in service for locked belts, deployed pretensioners, damaged webbing, and SRS modules. You remove the parts and reinstall them yourself or through a local shop; Seat Belt Repair returns repaired components ready for installation.

Laisser un commentaire
Ce site est protégé par hCaptcha, et la Politique de confidentialité et les Conditions de service de hCaptcha s’appliquent.