
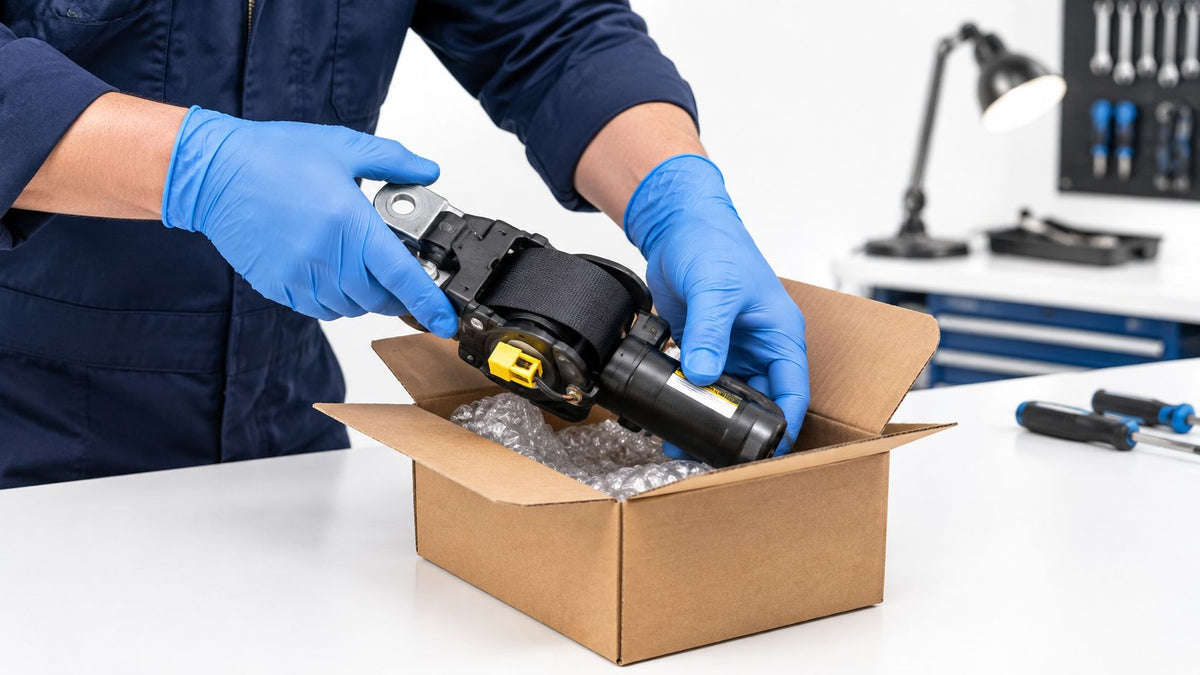
Most advice on a locked belt gets this wrong. If the pretensioner fired in a crash, you're not dealing with a simple reset, you're dealing with a pyrotechnic restraint component that has already done its job and may no longer be safe to reuse. Treating that as a quick scan-tool fix is how people end up with a belt that looks normal but isn't ready for the next impact.
Table of Contents
- Why Pretensioner Repair Is Not a Simple Reset
- What Happens Inside a Deployed Seat Belt System
- How to Remove a Seat Belt Pretensioner Safely
- The Mail-In Repair Process From Start to Finish
- Reinstalling a Repaired Pretensioner Correctly
- When to Use Professional Service Instead of DIY
Why Pretensioner Repair Is Not a Simple Reset
A seat-belt pretensioner is part of the Supplemental Restraint System, not a convenience feature. Once it deploys, the belt can lock hard, the connector may be isolated, and the system may keep the SRS lamp on until the fault is corrected and the vehicle is checked the right way. That's why a “locked belt” after a collision needs diagnosis, not guessing.
The mistake I see most often is confusing an electrical fault with a fired restraint device. Those are different jobs. A non-deployment wiring issue may point to harness damage, connector problems, or a module fault, while a deployed pretensioner means the belt assembly itself has likely reached the end of its safe service state unless a vehicle-specific repair procedure says otherwise.
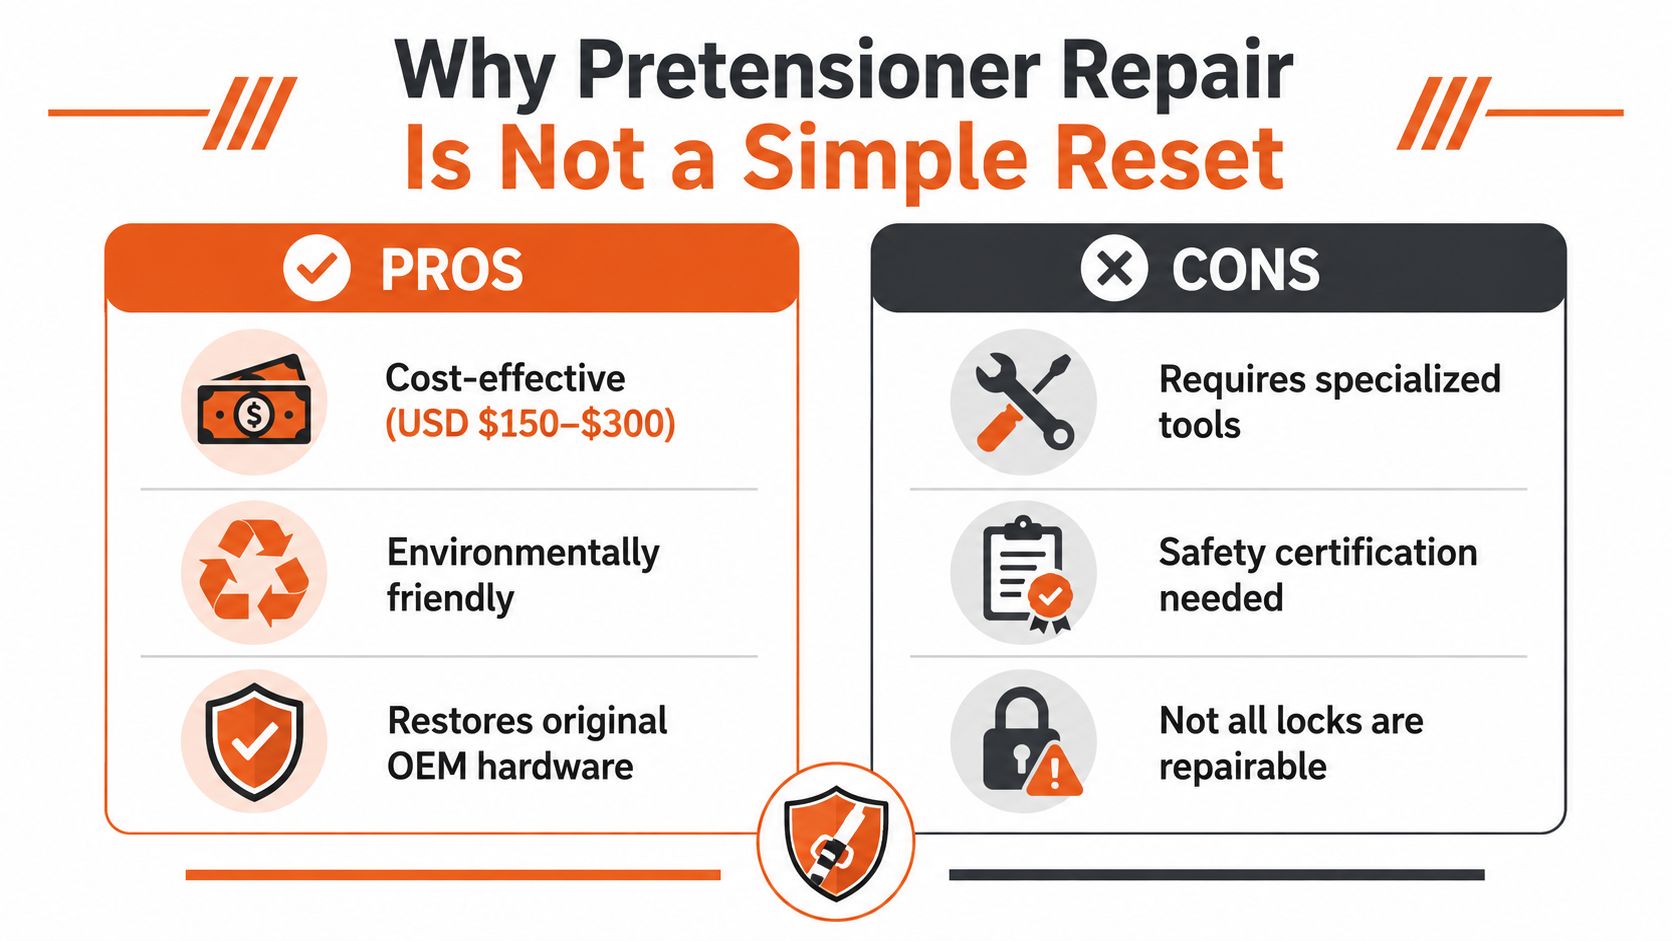
Practical rule: if the belt locked because the pretensioner fired, don't treat it like a frozen reel. Confirm the VIN, check recalls, and work from the manufacturer procedure before anyone starts pulling trim or clearing codes.
The reason this matters is simple. NHTSA says lap-and-shoulder belts reduce the risk of fatal injury to front-seat passenger-car occupants by 45% and moderate-to-critical injury by 50% when they're used, and seat belts saved an estimated 374,276 lives in the United States from 1975 through 2017 NHTSA seat-belt data. A pretensioner is part of that protection chain, so a repaired belt has to be correct in both the mechanical and electronic sense.
There's also a legal line you can't ignore. If a recall applies, the remedy may be replacement, inspection, or scrapping of the removed part, not an improvised rebuild. That's why the key decision is not “reset or not,” it's whether the unit is a valid candidate for professional rebuild, or whether the OEM recall path is the only responsible option.
What Happens Inside a Deployed Seat Belt System
A pretensioner is built to react fast. During a crash event, the system uses a small pyrotechnic charge to tighten the belt instantly, which removes slack before the occupant loads the restraint. That's good engineering during impact, but it also means the device has already been mechanically activated.
Why software can't undo a fired pretensioner
Software can clear certain fault memories, but it can't put a fired pyrotechnic mechanism back into its original state. Once the charge has triggered, the internal parts aren't just “stuck,” they've been used. If the belt stays locked after a collision, the problem usually lives in the assembly, the mounting, or the SRS logic that needs proper verification after the physical repair.
That's also why the same symptom can hide different failures. A belt that won't retract might have a deployed pretensioner, damaged webbing, a connector issue, or a retractor fault. You can't read one symptom and assume one fix.
For a deeper mechanical overview, this explainer on seat belt pretensioner basics is useful background, especially if you're trying to separate crash deployment from a straight electrical problem.
Why system type matters
Not every vehicle uses the same design. Single-stage, dual-stage, and triple-stage systems aren't interchangeable, and connector count alone doesn't tell the whole story. A shop that works on mixed inventory sees that difference fast, because one wrong assumption can leave you with the wrong part in the wrong car.
A belt assembly can look identical from the outside and still need a different service path inside.
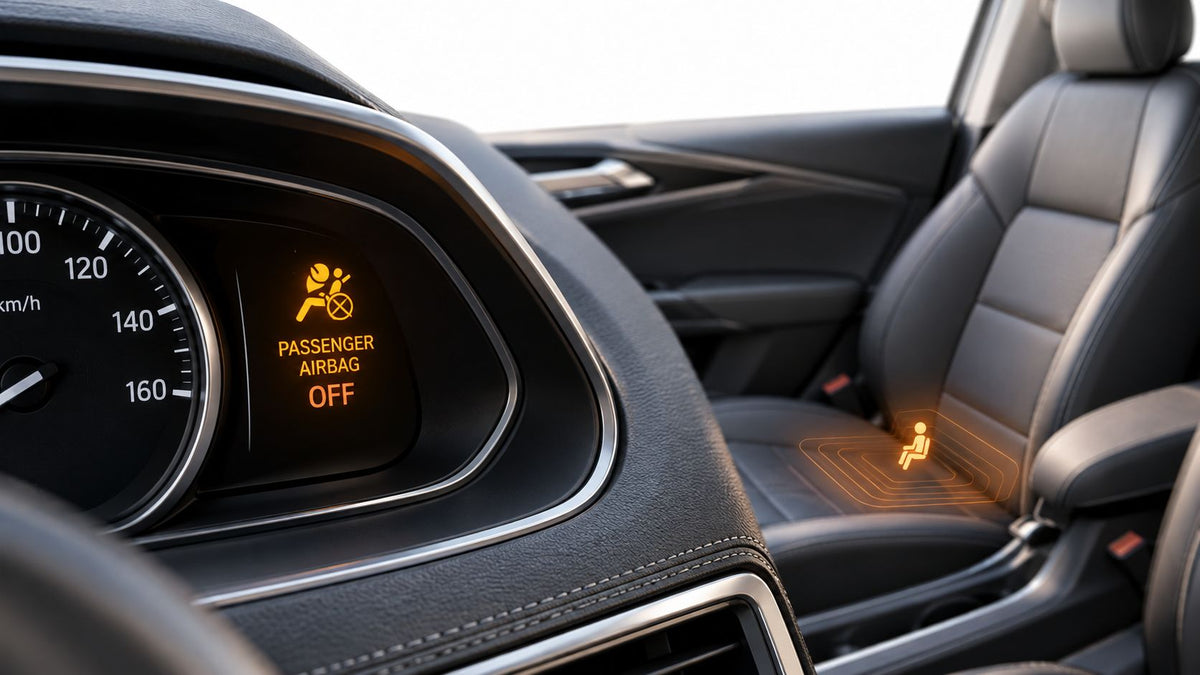
That's also why the SRS warning light matters. It's not a cosmetic reminder. It tells you the restraint system still needs a proper repair path, and that path often includes belt work plus a post-repair electronic check, not just one or the other.
How to Remove a Seat Belt Pretensioner Safely
Safe removal starts before a wrench touches the car. Published manufacturer procedures tied to NHTSA material call for switching the vehicle off, disconnecting the negative 12-volt battery cable, removing trim in the right order, and keeping the pretensioner connector disconnected until the unit is fully installed and torqued. That sequence matters because you're working around a pyrotechnic safety device, which calls for a different handling routine than a standard retractor.
The removal sequence that keeps you out of trouble
Start by matching the VIN to any open recall and pulling the exact service procedure for that vehicle. Disconnect power, wait for the system to go quiet, then remove the interior trim and seat hardware carefully so you do not damage the anchors, clips, or harness routing. Keep bolts and trim organized. Rushed reassembly is where a lot of repair attempts go sideways.
One documented procedure specifies a pretensioner mounting-bolt torque of 39 N·m (29 lb-ft), a battery-terminal torque of 4.4 N·m (3.2 lb-ft), and final seat-bolt torque of 41 N·m (30 lb-ft) NHTSA service procedure. Those numbers are not trivia. They separate correct anchorage from a repair that is out of spec.
What not to do during removal
Do not reconnect the connector early. Do not probe the unit casually. Do not assume a generic reset strategy is enough. NHTSA describes these procedures as intended for skilled technicians with proper tools and equipment, which is why careful teardown matters more than speed.
If the vehicle is under an active safety recall, follow the authorized remedy first. Under an active recall, the authorized remedy is replacement.
A good removal also includes visual checks of the belt path, anchor points, and harness. If you find crash deformation, heat damage, or connector distortion, stop treating it like a mail-in candidate and treat it as a full restraint-system decision.
The Mail-In Repair Process From Start to Finish
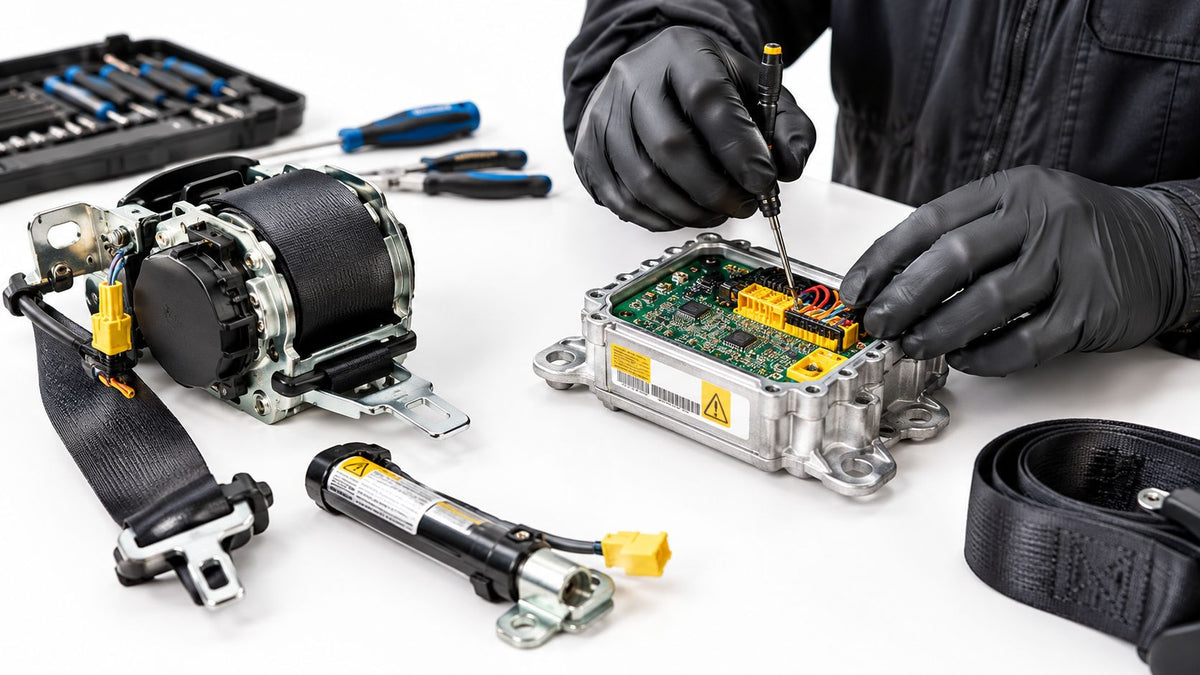
Once the assembly is out, the mail-in side needs order, not improvisation. Pack the unit so the connector, housing, and webbing cannot be crushed in transit, and include vehicle details that let the technician match the exact configuration. A specialist can only rebuild what can be positively identified. For a clear example of the intake-to-return workflow, see how seat belts are repaired within 24 hours of receiving them and shipped back: how seat belts are repaired within 24 hours of receiving them and shipped back.
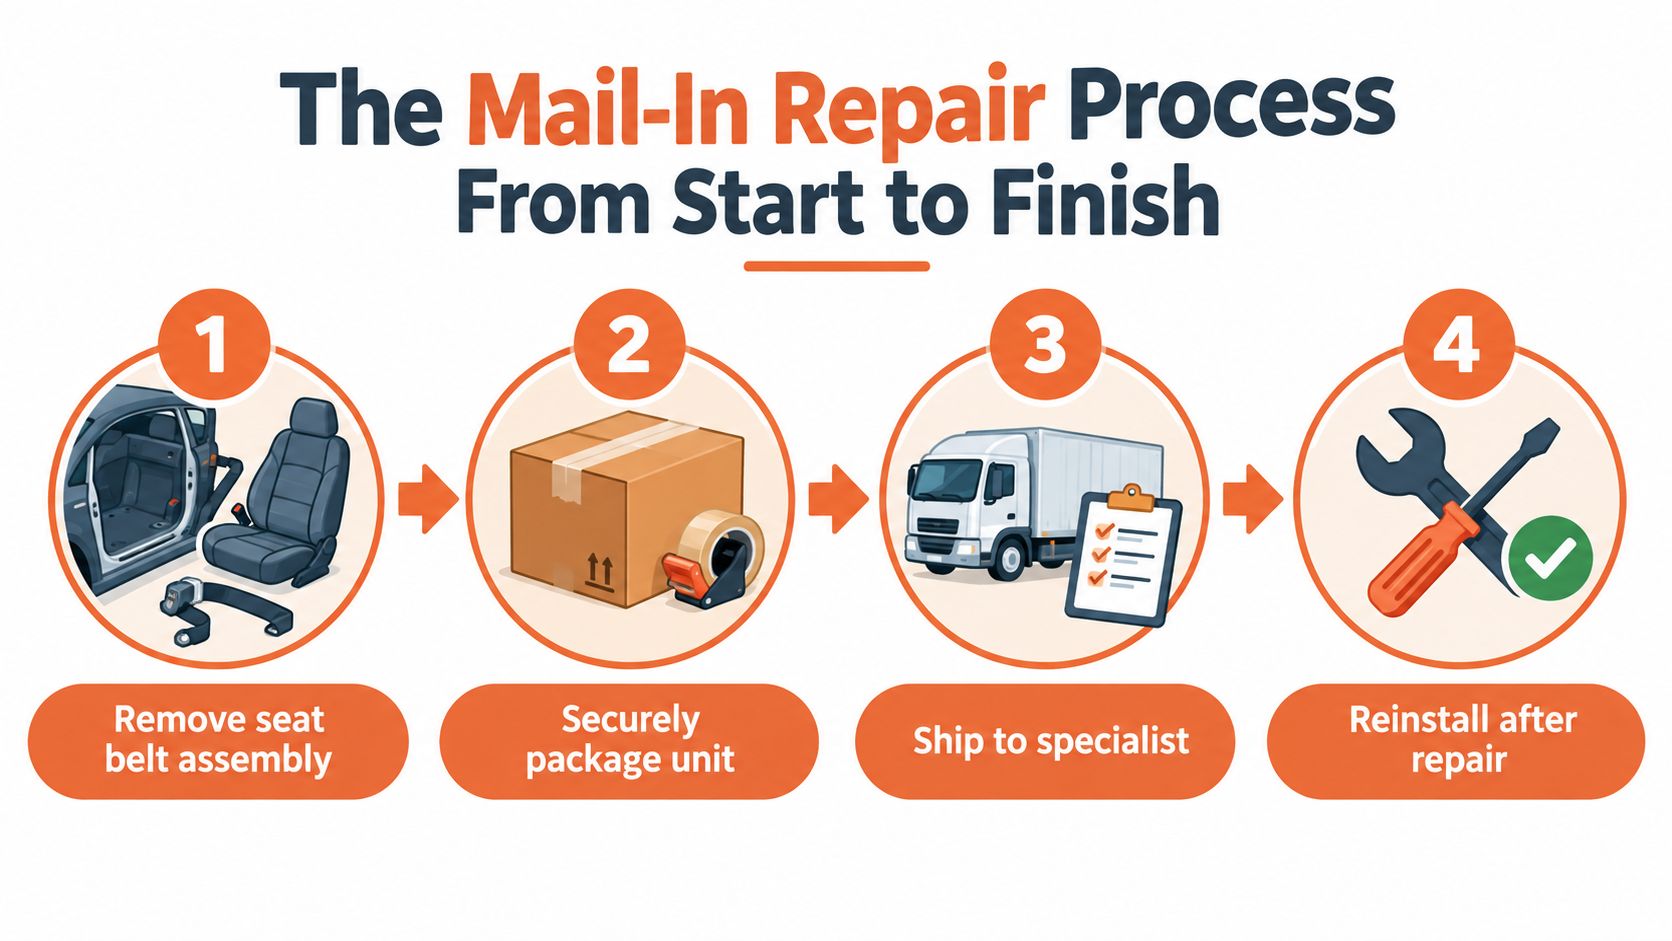
The workflow is simple enough on paper. Remove the assembly, secure it for shipment, send it to a shop that understands restraint systems, then reinstall it after the repair is complete. The true test is whether the repair facility works to the exact belt architecture, not a generic “fits most” assumption.
A repaired belt should be checked for correct operation before it leaves the shop, and the shop should be able to explain its checks in plain terms. For a closer look at functional testing requirements, review what a proper bench verification covers before the part goes back into a vehicle. A pretensioner that only looks right is not enough.
Seat Belt Repair offers a 24-hour repair turnaround after items are received, with typical return shipping within 24 to 48 hours. The service uses 100% OEM parts, follows processes aligned with manufacturer specifications and FMVSS, and performs functional testing before shipment. That is the kind of control you want after a crash event has already stressed the part.
If you are comparing options, use the repair bench as your filter. A sound rebuild should preserve the original hardware's intent, not just its appearance. If a shop cannot explain what gets tested, what gets replaced, and how the unit is verified before shipping, keep looking.
Reinstalling a Repaired Pretensioner Correctly
Reinstalling a repaired pretensioner is where solid work can get undone. The assembly has to go back in with the correct routing, the right fasteners, and the connector left disconnected until the unit is fully mounted and torqued. Skip that sequence and you can chase a fault code, pinch a harness, or end up with a belt that will not react the way it should in a crash.
Torque, routing, and final checks
Use the manufacturer's procedure for every fastener. The documented figures above, 39 N·m, 4.4 N·m, and 41 N·m, show why “tight enough” is the wrong standard; the full torque table is in the procedure cited in the removal section. Cross-threading, under-torquing, and over-torquing can all create problems that stay hidden until the system is loaded.
Once the unit is installed, reconnect the battery, power the vehicle on, and verify the SRS indicator behaves correctly. One documented procedure requires the indicator to illuminate for approximately 6 seconds before switching off, which gives you a basic check that the module is awake and the system is self-testing as expected.
What a clean reinstall should include
- Harness routing: no pinch points, no sharp edges, no twisted lead.
- Connector engagement: fully seated, locked, and not strained.
- Belt travel: smooth pull and return, without abnormal drag.
- Buckle operation: positive latch and release.
- Fault memory: scanned with manufacturer-compatible diagnostic equipment.
That last point matters because clearing a light is not the same as restoring a restraint system. The car needs to pass visual, mechanical, and diagnostic checks together. For a closer look at functional testing requirements, review what proper bench verification covers before the part goes back into a vehicle.
If you are coordinating a tow or a body-shop handoff, National Car Transport resources can help owners think through vehicle movement and post-repair logistics. It is not a substitute for restraint repair, but it can be useful when a damaged vehicle has to move before the final reinstall.
When to Use Professional Service Instead of DIY
Some pretensioners are good candidates for rebuild, and some are not. If the unit is part of an active recall, shows evidence of abnormal deployment, or has structural damage at the anchor, cable, or connector, replacement under the OEM procedure is the safer path. A mail-in repair is only sensible when the specific unit and repair method are appropriate for that vehicle.

A good rule is simple. If you're looking at debris from an abnormal deployment, a distorted mount, a chewed-up connector, or a belt that doesn't match the vehicle's recall status, stop treating it like a part swap and start treating it like a safety decision. Clearing codes without fixing the physical fault doesn't make the restraint system safe.
There's a practical reason professionals separate the belt repair from the module reset. The physical restraint has to work, and the SRS system has to confirm it. When those two pieces are restored together, you get a proper end state instead of a warning light that was merely erased.
For owners who want a service model built around that workflow, Seat Belt Repair handles mail-in pretensioner repair, webbing replacement, and SRS module reset as a specialized safety component service. If you're deciding whether your belt is a repair candidate or an OEM-replacement job, start with the recall status and the visible damage, then choose the path that preserves the restraint system instead of just making the light go out.
If your belt is locked, your SRS light is on, or you've got a crashed vehicle that needs restraint components handled the right way, send the part to a service that works on the safety system, not just the symptom. Visit Seat Belt Repair to arrange a mail-in pretensioner repair and get the assembly back to a condition that's ready for proper reinstallation.

Laisser un commentaire
Ce site est protégé par hCaptcha, et la Politique de confidentialité et les Conditions de service de hCaptcha s’appliquent.