
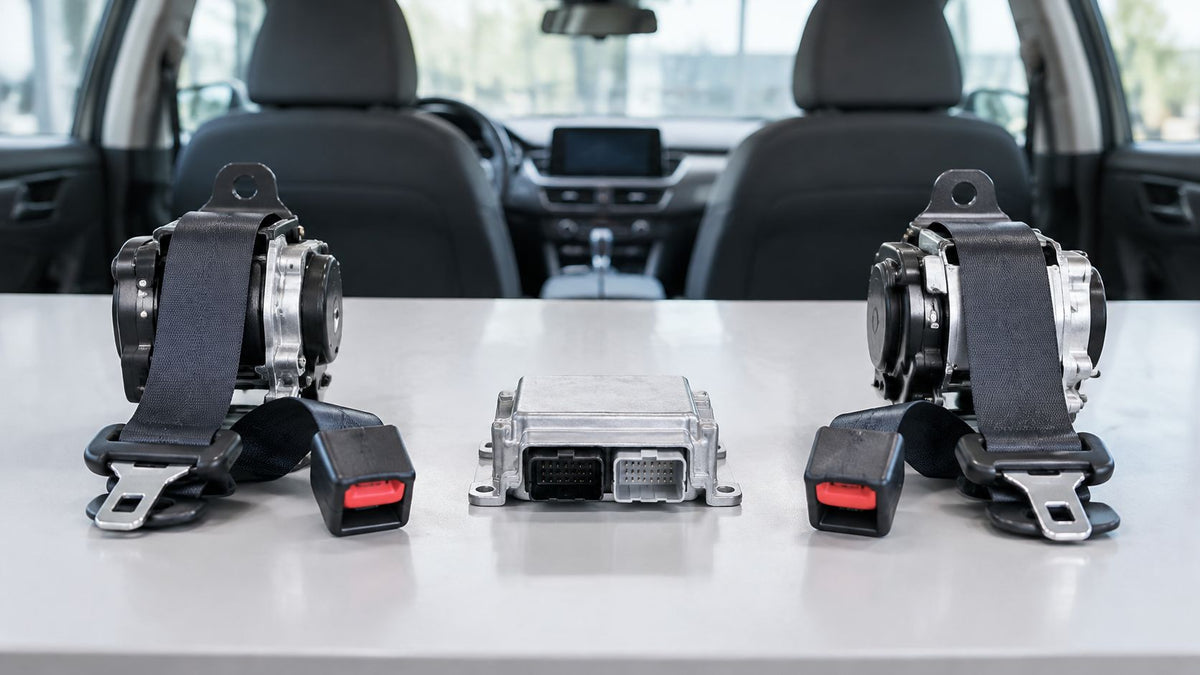
A collision can leave a driver with a seat belt that won't pull out and an airbag warning lamp that stays lit. The estimate may offer a new original part, a replacement from another manufacturer, or a repair of the existing component. Those are not interchangeable choices: the right route can differ between the belt, its pretensioner and the SRS control module.
The useful comparison isn't OEM versus aftermarket. It's whether each affected component should be replaced, rebuilt or reset, and whether the quote includes the work needed to return the restraint system to service.
Table of Contents
- OEM vs Aftermarket Seat Belt and SRS Parts at a Glance
- How Fit Gets Checked Before Anything Is Installed
- Safety Standards Behind Seat Belt and Airbag Parts
- Reliability After Repair or Replacement
- Repair Cost Comparison for Seat Belts and SRS Parts
- Which Route Fits Your Vehicle and Situation
- Decide Between OEM, Aftermarket and Repair Before You Order
OEM vs Aftermarket Seat Belt and SRS Parts at a Glance
| Criterion | OEM part | Aftermarket part |
|---|---|---|
| Fit | Matches factory mounting points, housing and connector count | Often matches common applications; check the part number and connector count |
| Safety standard documentation | Made to the vehicle manufacturer's specification | Ask for documentation identifying the exact part and its safety claims |
| Reliability record | Original design has a history in the vehicle application | Manufacturer and available field history differ by product |
| Repair cost | A new dealer assembly is often the highest-cost route | New parts may cost less; rebuilding may cost less still |
| Traceability and warranty | Original part number and dealer warranty | Traceability and warranty depend on the seller and manufacturer |
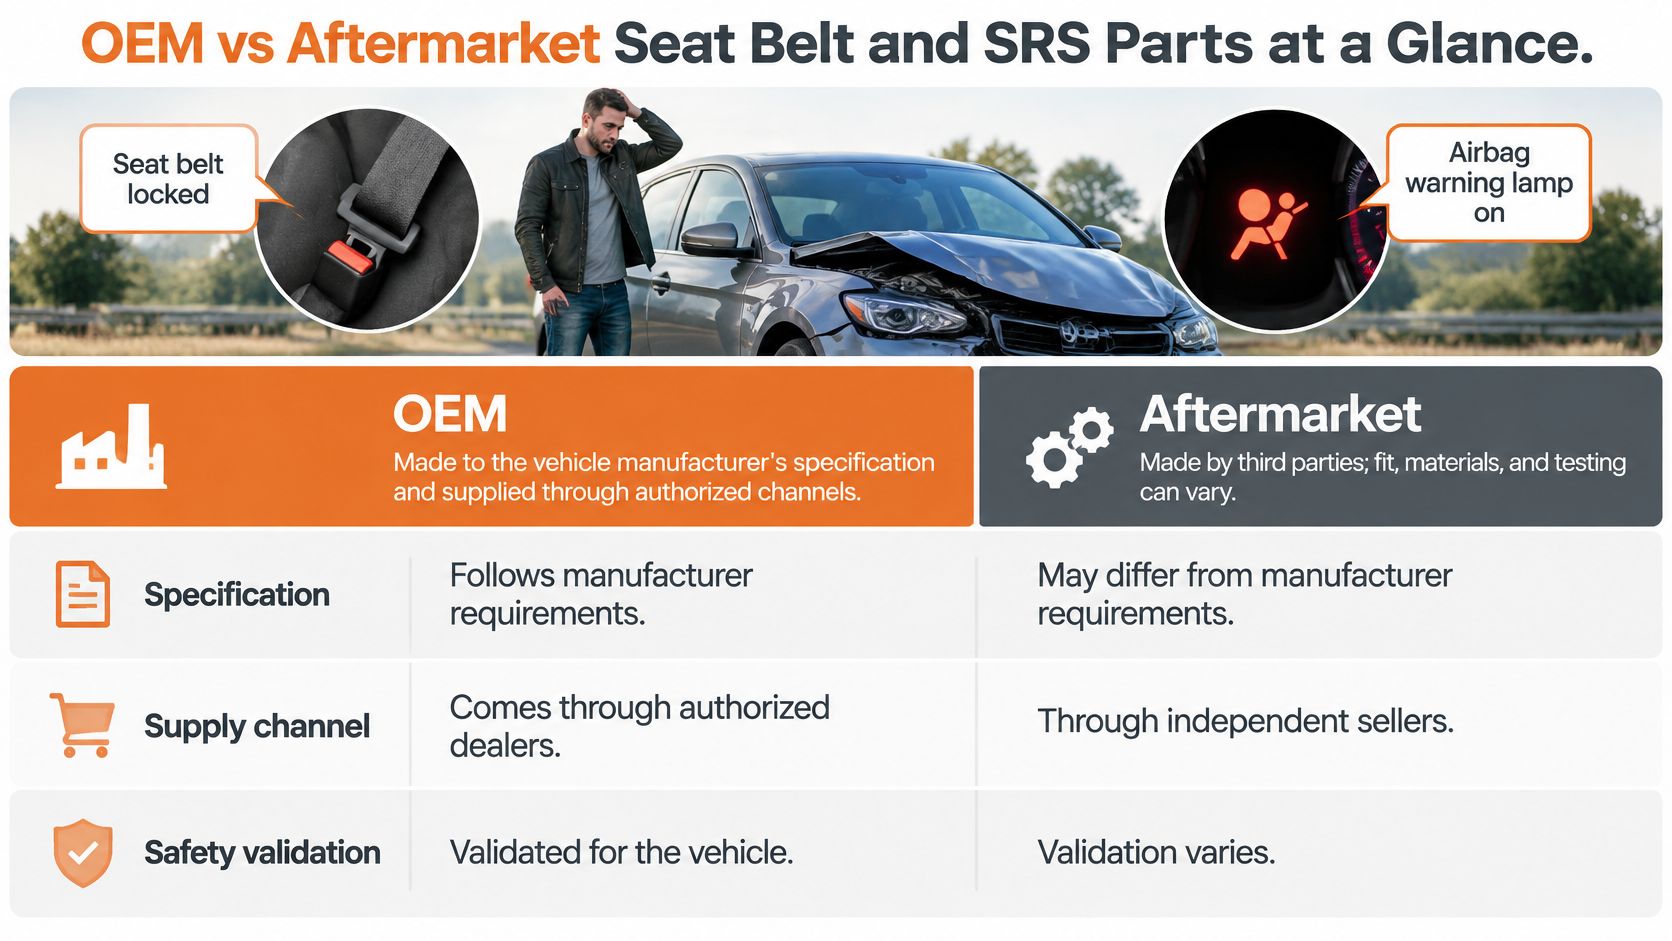
OEM parts are made to the vehicle manufacturer's specification and supplied through dealer or other OEM channels. Aftermarket parts are made by independent manufacturers for the same application. The label alone doesn't tell you whether a particular part matches the original's stage, connector arrangement, calibration or test history.
That matters because “fits this model” can mean the part bolts into place, not that the restraint system will operate correctly. A new assembly, a rebuilt original and an electronic reset address different problems. A fired pretensioner can't be reused as it is; the decision is whether to replace the assembly or have its relevant components professionally rebuilt.
Practical rule: Compare the scope of the repair, not just the part name on the estimate.
The rankings in the table can change with the component and vehicle. A well-documented aftermarket assembly may be a reasonable option for an application, while an original part with unknown crash history may not be. For a deployed belt with intact housing, rebuilding may be a distinct alternative to buying either a new OEM or aftermarket assembly. Fit, documentation, reliability and total cost need to be assessed for each component.
How Fit Gets Checked Before Anything Is Installed
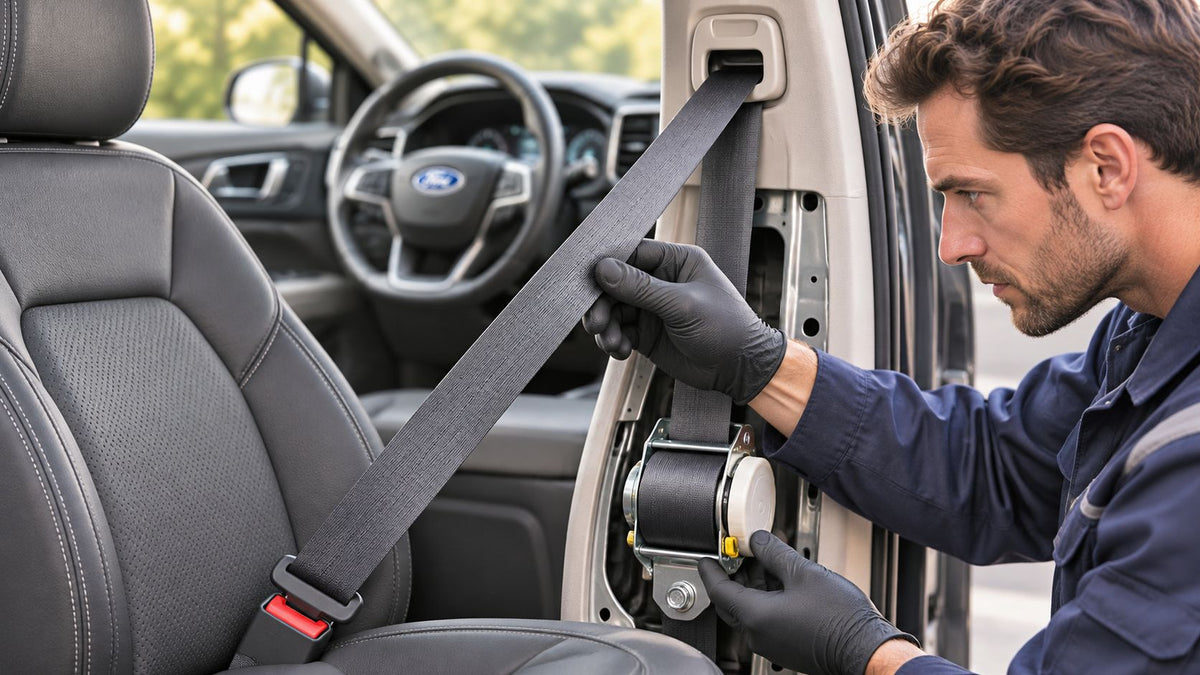
Fit isn't just whether the bolt holes line up. A seat belt's mounting points, retractor housing and buckle orientation must suit the vehicle, and the pretensioner stage and electrical connectors must match. For an SRS module, the correct part number and sensor configuration matter even if the module fits physically.
Check the belt before ordering it:
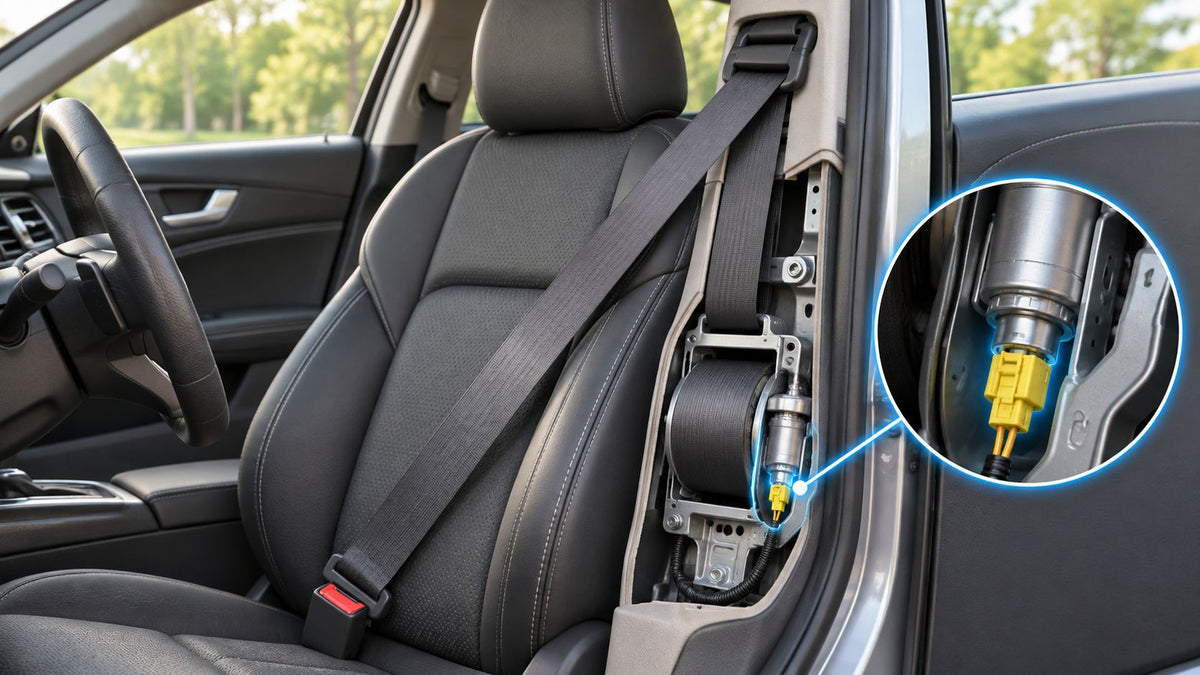
- Count the connectors. The connector arrangement helps identify whether a belt uses a single-, dual- or triple-stage pretensioner. A visually similar belt can have a different stage, so don't identify it by appearance alone.
- Match the part number. Compare the number on the original label with the replacement listing. If the label is missing or the listing is ambiguous, confirm the application using the vehicle identification number and the manufacturer's parts information.
- Check the mechanical details. Compare the anchor points, mounting orientation, retractor housing and buckle position. A belt that sits differently can interfere with installation or normal use.
- Ask about the module after installation. Find out whether the SRS module needs calibration, programming or a reset, and whether that work is included in the repair quote.
For a rebuild, the original housing and mounting points remain in use. Seat Belt Repair's pretensioner repair includes a full retractor rebuild and replacement of the pretensioner igniter or inflator using OEM parts. That preserves the original assembly's fit, but it doesn't make inspection of the housing, webbing and mounting points unnecessary.
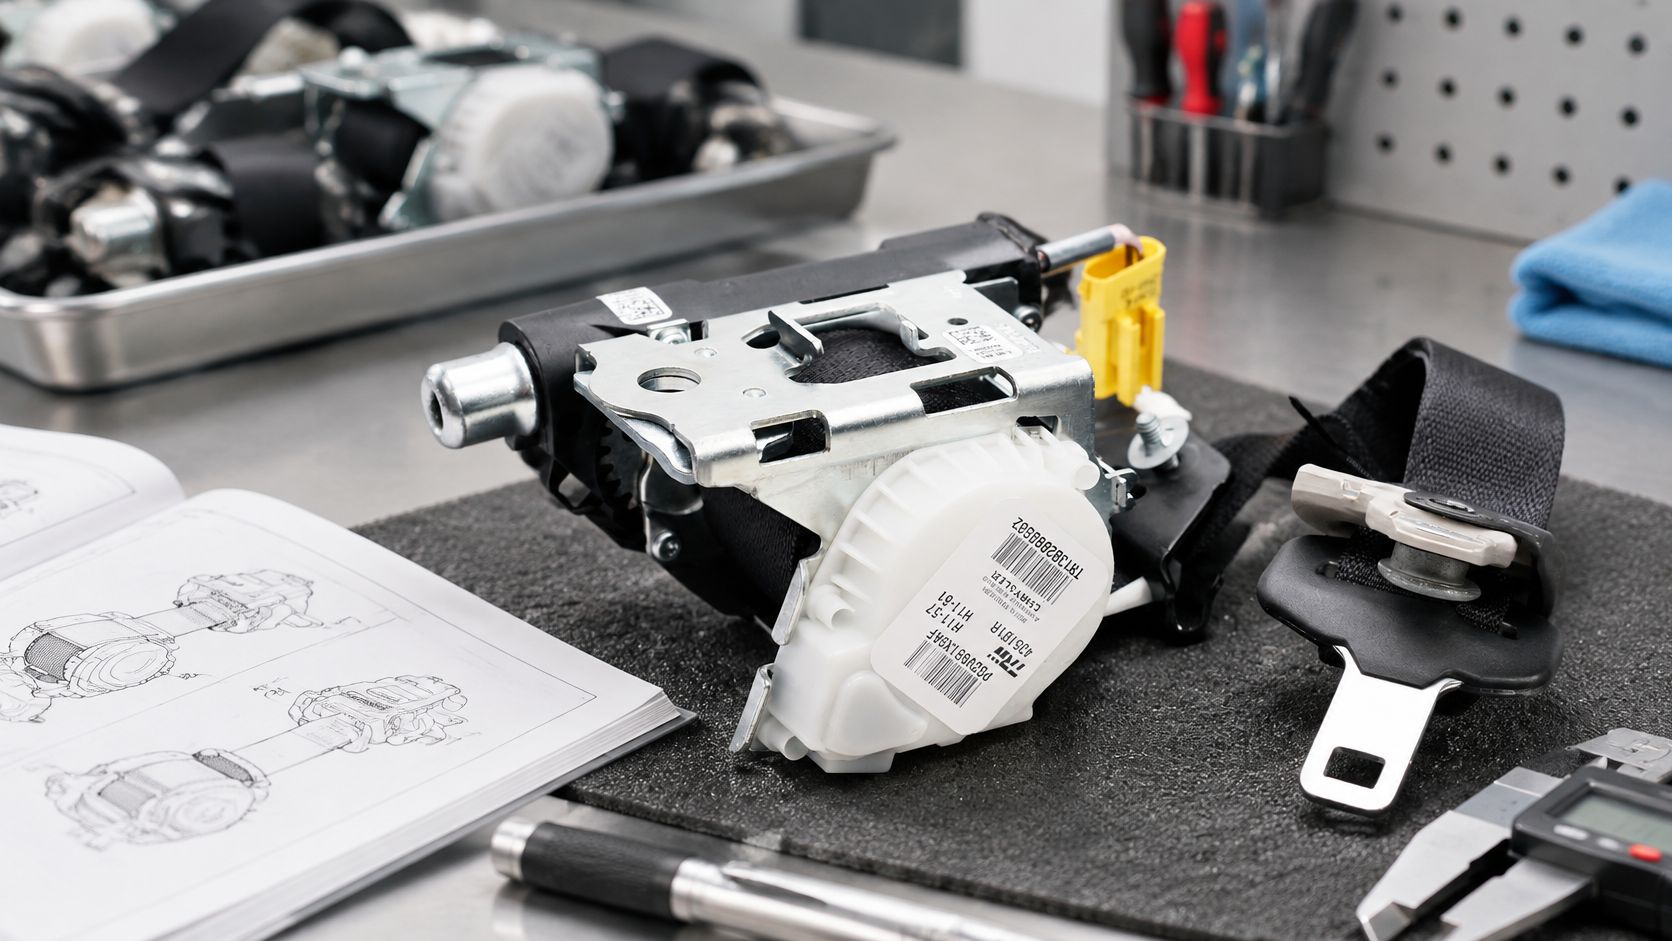
A locked belt after a collision may indicate that its pretensioner deployed. The Fix a Stuck Seat Belt After Accident – OEM Seat Belt Repair Service describes a mail-in rebuild of the original unit; ask how the repair applies to the belt's exact configuration before sending it.
Before ordering, write down the vehicle identification number, original part number, connector count, belt position and any visible damage. Confirm the replacement or rebuild matches those details, and separately confirm what the shop will do about the SRS module.
Safety Standards Behind Seat Belt and Airbag Parts
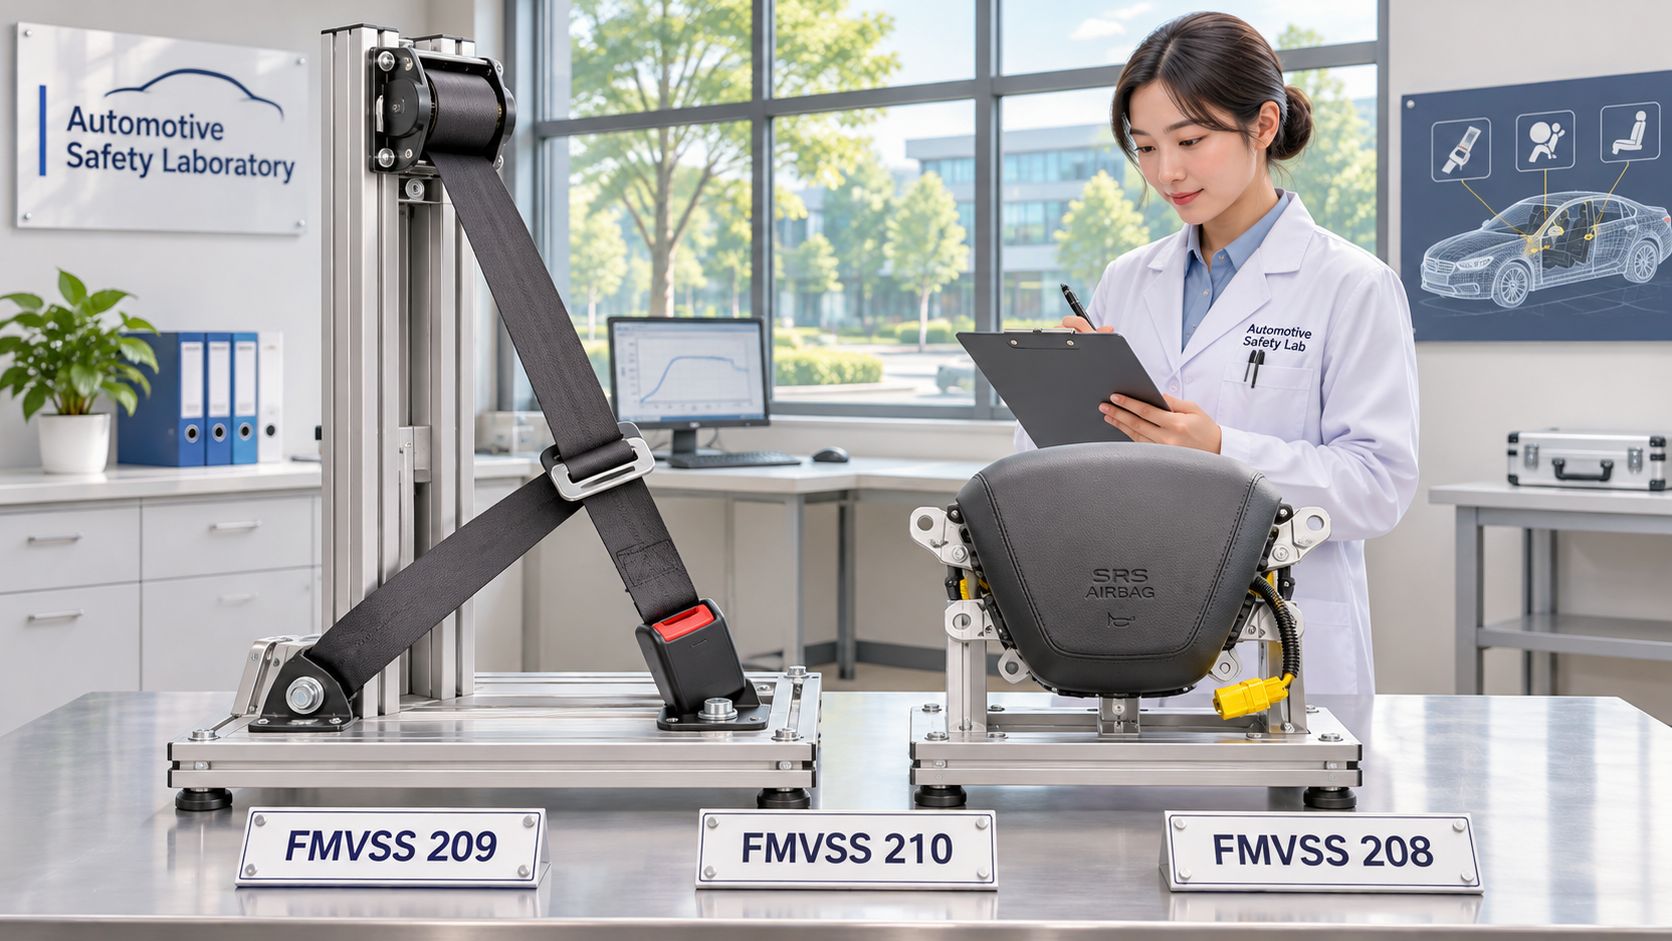
A listing that says “OEM quality” or “meets safety standards” leaves one question open: which exact part, and which record ties that claim to the vehicle application. Ask the seller to identify the belt or module by part number and show the documentation behind the wording. A catalog page can locate a candidate, while the file tied to that part is what supports installation.
How to check the claim
Start with the component itself. Look for any marking on the belt webbing, buckle or module housing, then ask the seller for written documentation that identifies the exact part number and the requirements it claims to meet. If the seller offers only a general catalog page, ask for the supporting record before you buy.
Suppose a listing says a replacement belt meets a named vehicle-safety requirement but provides no record tied to the listed part number. Request that part-specific document rather than treating the marketing wording as evidence. If it cannot be provided, choose a different documented part or ask the vehicle manufacturer or a qualified repair professional for guidance.
Standards describe requirements, yet they may miss vehicle-specific design details. Manufacturer specifications can add requirements for a particular restraint system, and rules for handling airbag components or previously installed parts can differ by location. The decision also changes by component: a webbing claim, a retractor rebuild and an SRS module reset are different scopes, even when the invoice uses similar safety language. A compliant material can still leave a quote short on module reset or programming, so check scope alongside compliance.
Seat Belt Repair states that it uses OEM-certified seat belt webbing that meets Federal Motor Vehicle Safety Standards. That is a business claim about its own material and service, and it does not verify another seller's product. Its explanation of functional testing requirements can help readers understand why a post-repair check matters, while documentation for a specific replacement part should still identify that part.
If the paperwork is missing or does not match the part number, decline the component or get vehicle-specific guidance before proceeding.
Reliability After Repair or Replacement
A belt that retracts smoothly on installation day has demonstrated basic function, nothing more. Reliability depends on whether the work restored the restraint system's full response: free retraction, correct locking behavior, and a clean SRS state. No public failure-rate data supports ranking rebuilt belts against aftermarket assemblies, so ask each seller what was tested before treating a reliability claim as established.
Match the symptom to the check that can clarify it:
| What the driver notices | What to inspect |
|---|---|
| The belt won't extend or retract smoothly | Pull it out fully and check that it retracts without catching |
| The belt webbing is torn, frayed or worn | Inspect the full length and stitching; damaged webbing needs attention, not just a mechanism check |
| The SRS warning lamp stays on after repair | Scan the system for stored codes and confirm the repair and any reset were completed |
| The module continues to show crash data or hard codes | Confirm what was cleared and scan again after installation |
| A belt locks unexpectedly during normal movement | Have the retractor and installation checked rather than assuming the behavior is normal |
A sharp tug can help check that a retractor locks, but it's only a basic function check. It doesn't replace proper diagnosis or an SRS scan after installation. Don't use a belt with damaged webbing or a known deployed pretensioner as if it were ready for service.
The right reliability question also differs by component. A locked or deployed pretensioner calls for a rebuild or a replacement unit. A module holding crash data may only need a reset to return to a ready state. Choosing a full replacement where a repair restores the same function raises cost while leaving restraint performance unchanged.
A used OEM part needs a known history too. Its original manufacturer doesn't establish whether it has already been in a collision or deployed, and a deployed unit shouldn't go back into service. Mixing an OEM belt on one side with an aftermarket belt on the other isn't automatically proof of a problem, but each assembly still needs its own verified fit, condition and documentation.
On an older vehicle, webbing condition is often the weak point even when the retractor and hardware remain serviceable. Seat Belt Repair replaces cut, torn, worn or dog-chewed webbing, matched to the original color or in optional custom colors, with original labels re-stitched where applicable; customers can choose from over 25 OEM-matched colors.
Reliability comes down to the evidence behind the individual route. A rebuilt original keeps the vehicle's factory housing and mounting arrangement, while a new assembly rests on the replacement manufacturer's quality control and application documentation. In either case, ask what was tested and what the warranty covers before committing.
Repair Cost Comparison for Seat Belts and SRS Parts
| Option | Scope | Listed price | Notes |
|---|---|---|---|
| Seat belt pretensioner repair | Rebuild of retractor and pretensioner with OEM parts | Starts from $64.97 | Listed price; subject to change |
| Airbag module reset, make-specific | Crash data and hard-code clearing | $49.97 sale price | Make-specific sale listing; subject to change |
| Dealer full seat belt assembly | New OEM assembly with labor and programming | No listed price | Obtain a written quote |
| Aftermarket replacement assembly | New non-OEM assembly | No listed price | Verify certification and documentation before purchase |
A listed amount covers one part of the job, not the total cost of putting the car back into service. A complete quote can also include removal and installation labor, diagnostic work, shipping, module programming or reset, and a second visit when the work is not coordinated. Prices and promotions change, so a sale listing may no longer be available when you order.
A rebuild keeps the original factory belt housing, which avoids buying an entire assembly when the housing and mounting points are intact. Seat Belt Repair lists pretensioner repair starting from $64.97 and make-specific module reset listings, including Acura, Audi, BMW and Chevrolet, at a $49.97 sale price. The listed rebuild price is a mail-in price for the component only, not a like-for-like comparison with a dealer's installed quote. The seat belt pretensioner replacement cost comparison separates the dealer replacement route from mail-in repair.
A hypothetical quote shows the gap. A $64.97 rebuild plus a separately billed module reset, return shipping and a reinstallation visit can exceed a dealer quote that already includes labor and programming. The part price alone does not tell you what you will pay to finish the repair.
Scope differences tend to hide in the same places. Mail-in repair excludes installation, so you or a local shop handle removal and refitting. Belt stage matters as well: single-, dual- and triple-stage units are different parts, and a price quoted for one stage does not transfer to another. Multi-belt jobs multiply each per-unit line across driver, passenger, rear and center positions.
Compare quotes only after you have matched the belt stage, number of units, repair scope and included work. Otherwise, a lower figure may leave more of the job off the estimate.
Which Route Fits Your Vehicle and Situation
The best route depends on the vehicle's condition and the paperwork that governs the repair. A new OEM assembly, aftermarket assembly, rebuild or module reset isn't a universal answer for every collision.
| Situation | Usually best fit | What to verify |
|---|---|---|
| Insured collision repair | OEM parts or an insurer-approved repair | Claim terms and shop policy |
| Salvage rebuild with several belts | Rebuild or reset where the housing is intact | Crash history and per-unit scope |
| Vehicle under warranty or lease | OEM parts when required by the agreement | Warranty conditions in writing |
| Older vehicle with discontinued parts | Rebuild or a documented aftermarket unit | Part-number match and supporting documentation |
| DIY owner with intact housing | Mail-in rebuild and self-reinstallation, if appropriate | Packing rules, turnaround and reinstallation steps |
| Fleet with one model | One standard route for each model | Consistent records and warranty terms |
For an insured repair, read the estimate and policy language before authorizing work. The insurer's parts choice and the shop's repair plan may have different requirements, so get any approval or change to the parts scope in writing. A warranty or lease can also impose conditions; don't assume a replacement part automatically preserves coverage.
A salvage rebuild calls for a part-by-part assessment. One belt may have deployed while another has damaged webbing, and a module may need separate attention. Compare the repair or replacement scope for each unit instead of pricing the vehicle as though every restraint component needs the same work.
For a DIY repair, a mail-in route means removal and reinstallation remain separate tasks. Seat Belt Repair's shipping instructions say to remove the faulty part, pack it securely in a sturdy box, and include contact information and the order confirmation inside the package. Confirm the return and reinstallation plan before taking the vehicle apart.
A mail-in service is used by collision repair centers, body shops, salvage rebuilders, dealership reconditioning departments, independent mechanics and individual vehicle owners. That doesn't make it the right route for every damaged unit. The comparison of new, used and repaired seat belt assemblies is a useful prompt to assess the unit's condition and history before choosing.
Decide Between OEM, Aftermarket and Repair Before You Order
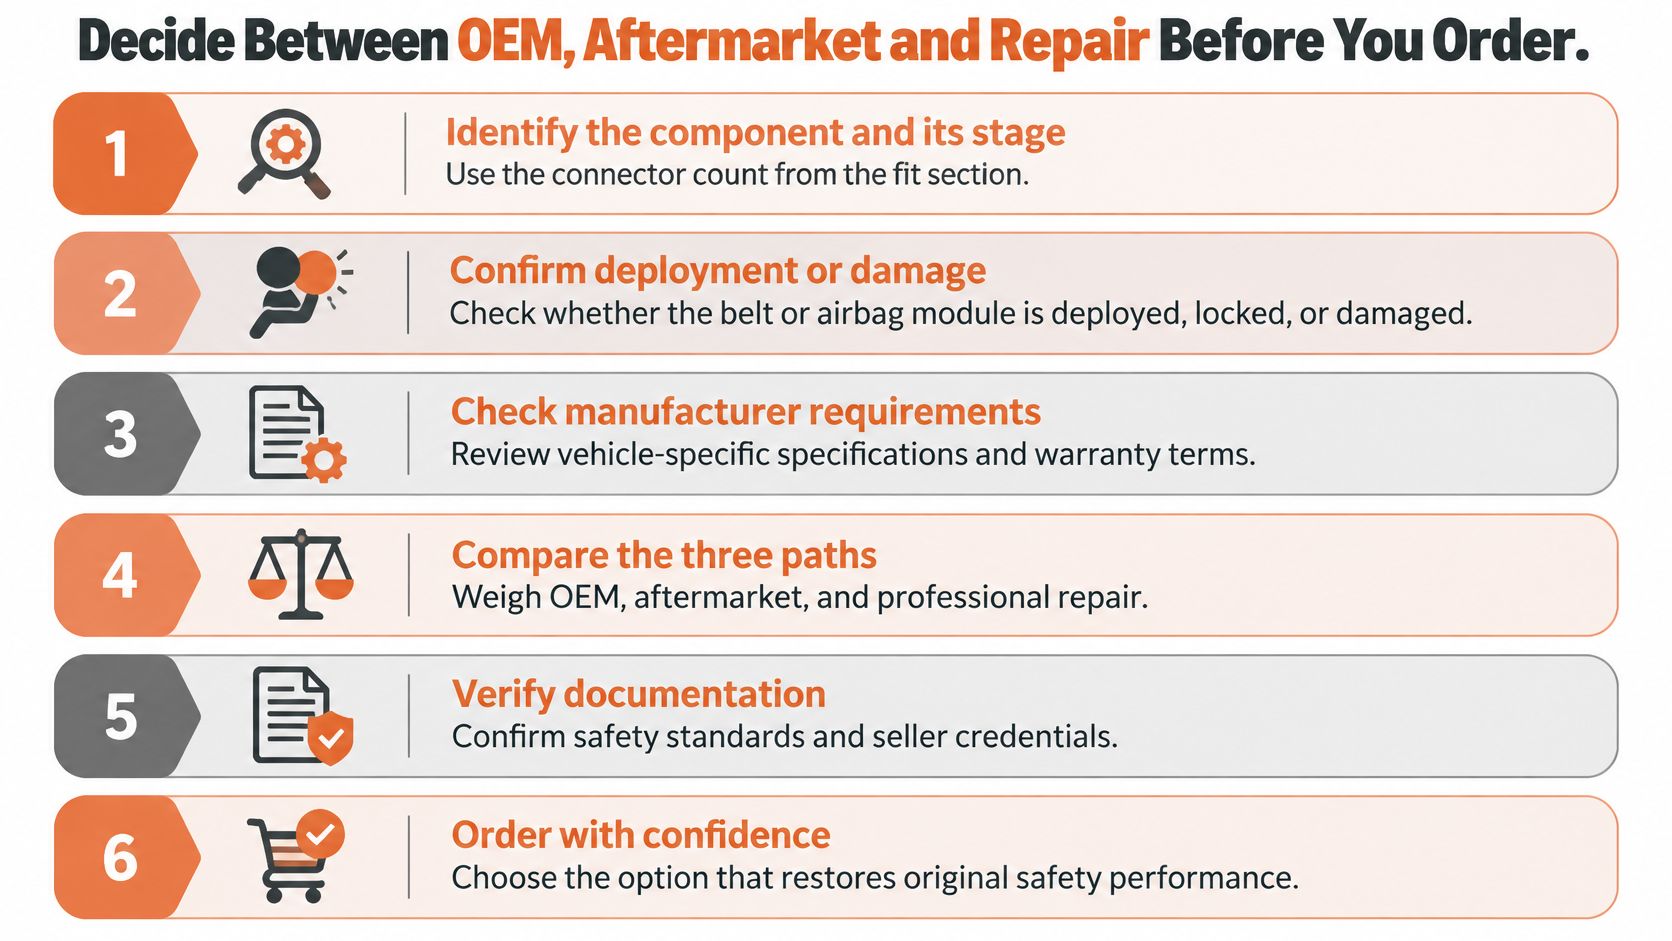
The choice is rarely one route for the whole vehicle. A single collision can leave one belt deployed, another with cut webbing and a module still holding crash data, and each unit can take a different fix. Work through this checklist component by component:
- Identify the component and its stage. Record the part number and connector count so the belt's configuration is clear.
- Confirm deployment or damage. Establish whether the belt or module fired, and inspect the webbing and connectors for physical damage.
- Check the housing and mounting points. Damage there can rule out rebuilding the original assembly and push that unit toward replacement.
- Match each unit to a route. Rebuild, rewebbing, reset and replacement price differently, so map every component to its own fix before comparing totals.
- Get the complete scope in writing. Separate the part or rebuild charge from labor, programming and module reset; the lowest quote often covers only the first line.
- Assign the reinstall and the final scan. Name who refits each component and who runs the post-repair SRS check before the vehicle returns to service.
Seat Belt Repair offers mail-in seat belt pretensioner repair, webbing replacement and SRS airbag module resets using OEM parts. If you're comparing a rebuild with a replacement assembly, visit Seat Belt Repair to review the service options for your component.

Leave a comment
This site is protected by hCaptcha and the hCaptcha Privacy Policy and Terms of Service apply.