
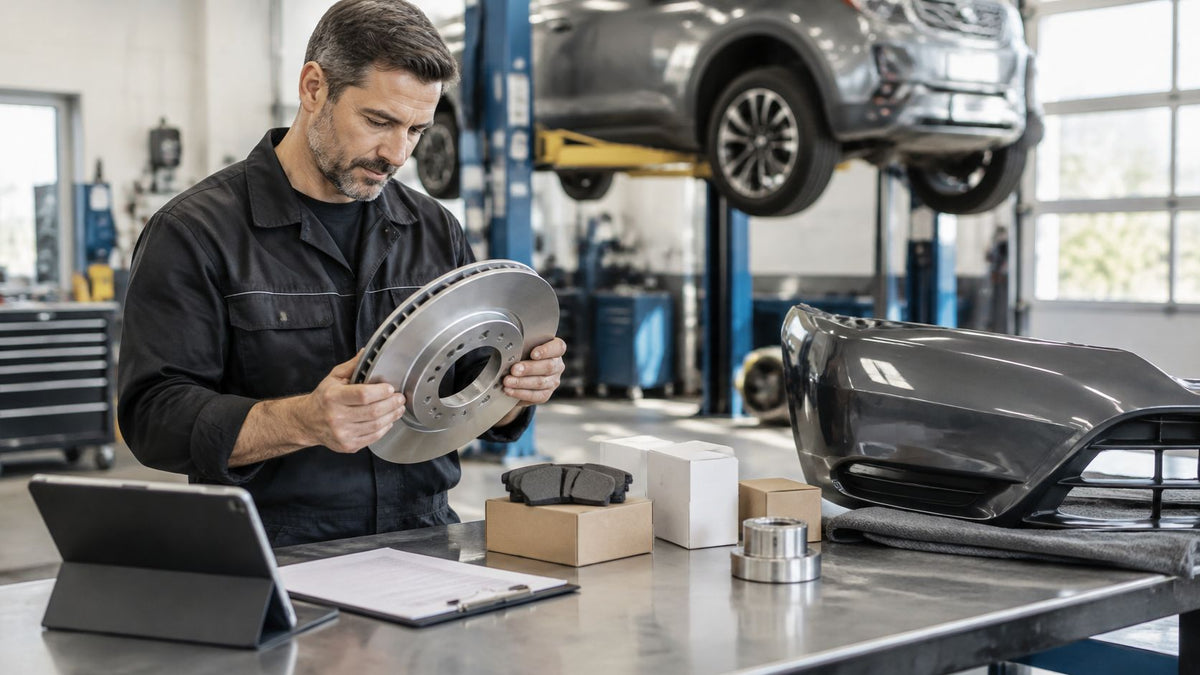
A collision shop has one stalled repair order on the board: the car needs brakes, a bumper cover, and two seat belts locked after a crash. The brake parts are routine, the bumper needs the right fit, and the belts look intact but won't move. Buying all three from the same place may seem easy. It can also leave the shop with the wrong part, a weak warranty, or an unnecessary replacement assembly.
Wholesale auto parts buying works best when the shop matches each part to a suitable supplier. Price matters, but so do fitment, safety responsibility, return terms, and whether the part arrives before the repair bay sits idle.
Table of Contents
- What Wholesale Buying Is For
- Where Wholesale Auto Parts Actually Come From
- OE Aftermarket and Repaired OEM Parts
- Warranties Quality Checks and Returns
- How Restraint Parts Move Through a Shop
- How to Open an Account and Order
What Wholesale Buying Is For
Retail checkout is built for an occasional purchase. A shop buys differently: it needs parts tied to repair orders or resale, enough margin to cover labor and overhead, a warranty it can explain, and a delivery schedule that keeps work moving.
For the car in the bay, the brakes might come from a contracted brand through a warehouse distributor. The bumper cover might be a dealer part or a certified aftermarket panel, depending on fit, finish, and the repair plan. The locked belts are a different decision. A low-cost, unfamiliar reel isn't a sensible substitute for a restraint component with a crash history.
Wholesale buying isn't just about finding the lowest cart total. A cheaper part can cost more if it arrives late, doesn't fit, or triggers a comeback. And with safety components, the shop needs to know exactly what it's installing and who stands behind it.
The channels a shop will compare include a jobber or warehouse distributor, a dealer parts counter, an online wholesale catalog, a program or buying group, a salvage yard, and a specialist who restores OEM safety parts. Each channel has a different job. Before applying for credit or building an order, map the parts on the repair order to the channel that fits them.
Where Wholesale Auto Parts Actually Come From
| Channel | Best for | How you buy | Quality signal | Main risk |
|---|---|---|---|---|
| Jobber or warehouse distributor | Wear items, brakes, filters, fasteners | Shop account and credit application | Named brand lines and catalog fitment | Core charges and tight return windows |
| Dealer parts department | VIN-correct genuine assemblies | Wholesale counter or dealer account | OE packaging and part numbers | Highest price and backorders |
| Online wholesale catalog | Price checks and hard-to-find SKUs | Account or open checkout | Seller history and clear packaging | Counterfeit or gray-market parts |
| Program group or buying club | High-volume contracted brands | Membership plus shop account | Contracted suppliers | Narrow brand choice |
| Salvage or recycled supplier | Panels and some used assemblies | Yard account | Written part grade | Unknown crash history on restraints |
| Repair or reman specialist | Seat belts, pretensioners, SRS modules | Per unit or bulk shop account | OEM components and a function test | Not a full parts catalog |
A distributor is usually the practical daily source for routine service work. Use it for common items such as filters, brakes, and fasteners when the brand line, catalog fitment, core charge, and return window suit the shop. A buying group can make sense when the shop already moves enough volume to accept contracted brands in exchange for pricing access.
The dealer counter earns its place when a vehicle needs a genuine, VIN-correct assembly or when a fitment mistake would be costly. Confirm special orders and backorders before promising a completion date. An online wholesale catalog can help compare prices or locate an unusual part, but check the seller's record and inspect the packaging rather than treating a listing as proof of authenticity.
Salvage suppliers are useful for body panels and selected used assemblies when the part grade and condition are documented. They're a poor default for restraints whose crash history can't be established. For rebuilders buying auction vehicles, auto auction parts sourcing is part of the process, but an auction source doesn't make a used safety component trustworthy.
A repair specialist isn't a replacement for a full catalog. It's a focused option when an OEM belt or module may be restored and tested instead of replaced as a complete assembly. For instance, Seat Belt Repair After Accident is a mail-in service for locked belts, deployed pretensioners, and retractors; the shop handles removal and reinstallation.
Choose the channel by the part's safety role and the bay's deadline, not by the lowest cart total.
OE Aftermarket and Repaired OEM Parts
When a seat belt locks after a collision or an SRS module stores crash data, buying a complete new assembly may not be the right first move. A shop can compare a replacement with repair of the original part, based on the part's condition, the repair option, and the documentation available.
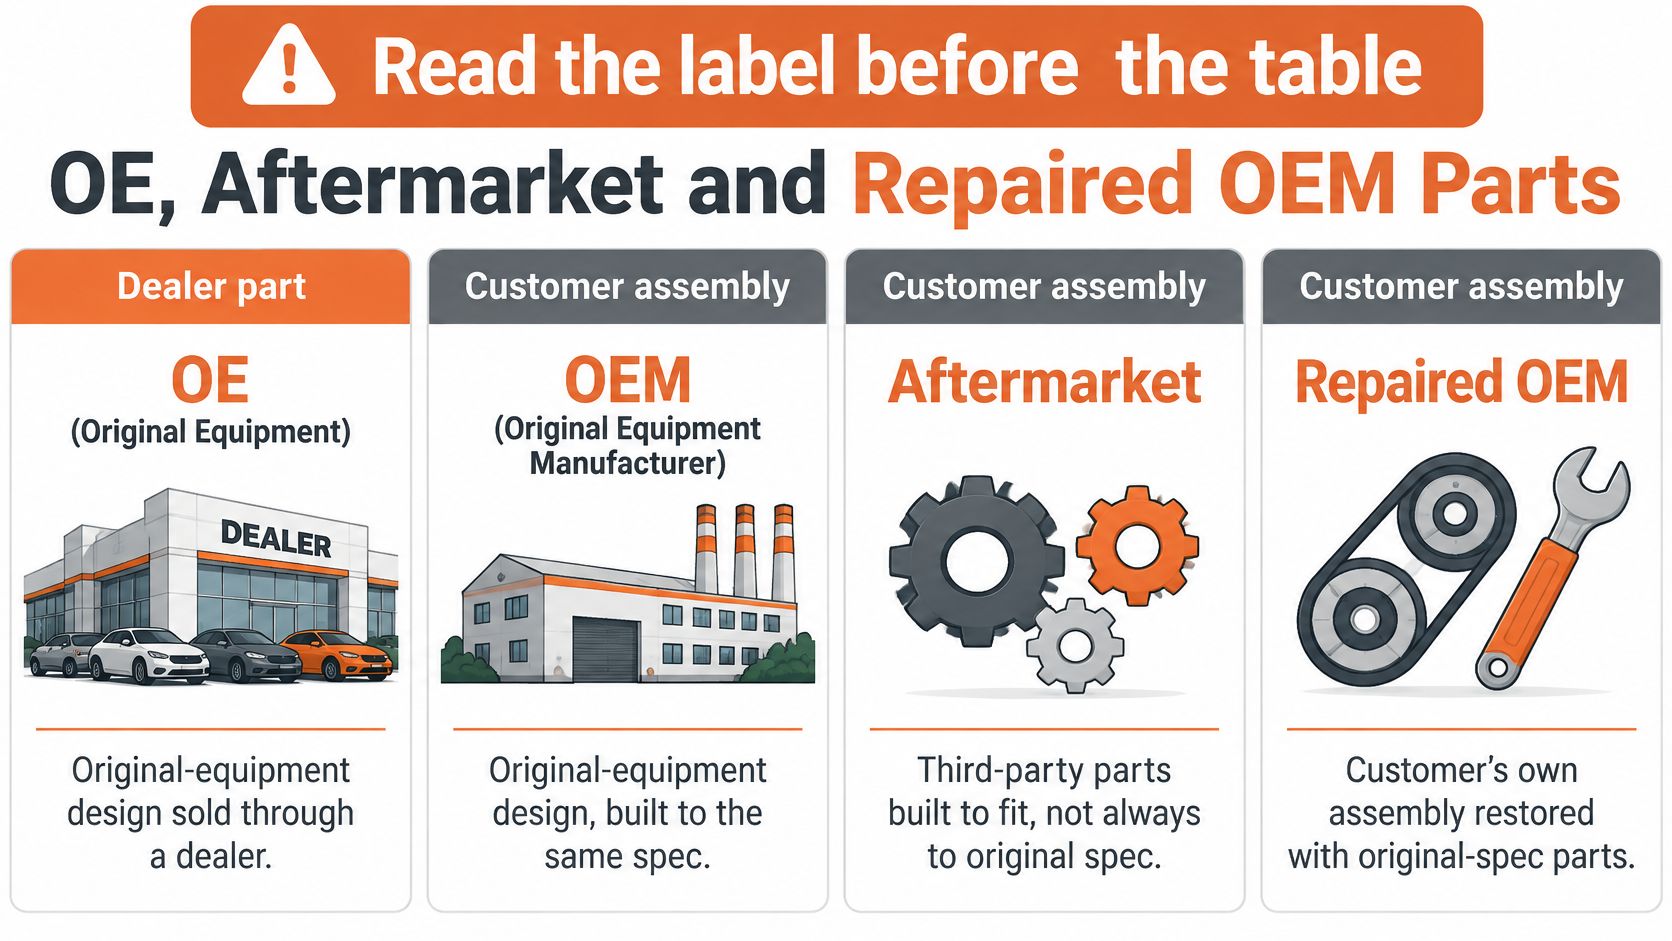
OE describes a part made to the vehicle's original equipment design. OEM refers to the original-equipment manufacturer. Parts listings often use these terms loosely, so check the label and confirm who made the part and what it is intended to match.
Aftermarket parts come from a different maker, with quality ranging from well-documented collision parts to poorly specified copies. Repaired OEM means the original assembly is retained and its failed internals are repaired. That can avoid replacing a complete unit when its housing and mounting points are sound.
| Part family | Preferred buy | Aftermarket acceptable when | Why it matters |
|---|---|---|---|
| Filters, bulbs, wipers | Reputable aftermarket or OE | Brand matches the specification | Low safety criticality |
| Brake pads and rotors | OE or premium aftermarket | Friction rating is documented | Stopping performance and liability |
| Body panels | OE or certified aftermarket | Fit and corrosion protection are stated | Appearance and corrosion |
| Sensors and plain hardware | OE or known aftermarket | Connector and calibration match | Wrong fitment causes comebacks |
| Seat belts and pretensioners | New OE or repaired original assembly | Rarely, and only with documented suitability | Pretensioner stage and belt function |
| SRS airbag modules | Professional reset of the original module or new OE | Not for cheap clones | Crash data and hard codes |
Filters, bulbs, and wipers are practical places to use a reputable aftermarket brand. For brakes, choose a premium or OE line with a stated friction rating the shop is prepared to stand behind. For body panels, require a clear grade and information about corrosion protection, not just a fit claim.
Sensors and basic hardware need the correct connector, application, and calibration. A part that bolts on but fails to communicate can cost technician time and lead to a comeback. At receiving, the buyer should check the part number against the invoice and the vehicle, before the part reaches a technician.
Restraints require a more cautious purchasing decision. A deployed pretensioner can lock a belt even if the webbing looks normal. A no-name reel does not establish that its staged mechanism works correctly, and a cheap clone does not resolve crash data in an SRS module. When the original assembly can be restored, webbing replacement may also suit a classic-car restoration. Classic car seat belt webbing restoration offers custom color replacement while retaining the original hardware.
The invoice should identify the part grade. That gives the shop a clear record if a customer or insurer asks what was installed, and helps identify the supplier if a problem arises. For a broader comparison of sourcing choices after a collision, see this guide to collision repair parts.
Warranties Quality Checks and Returns
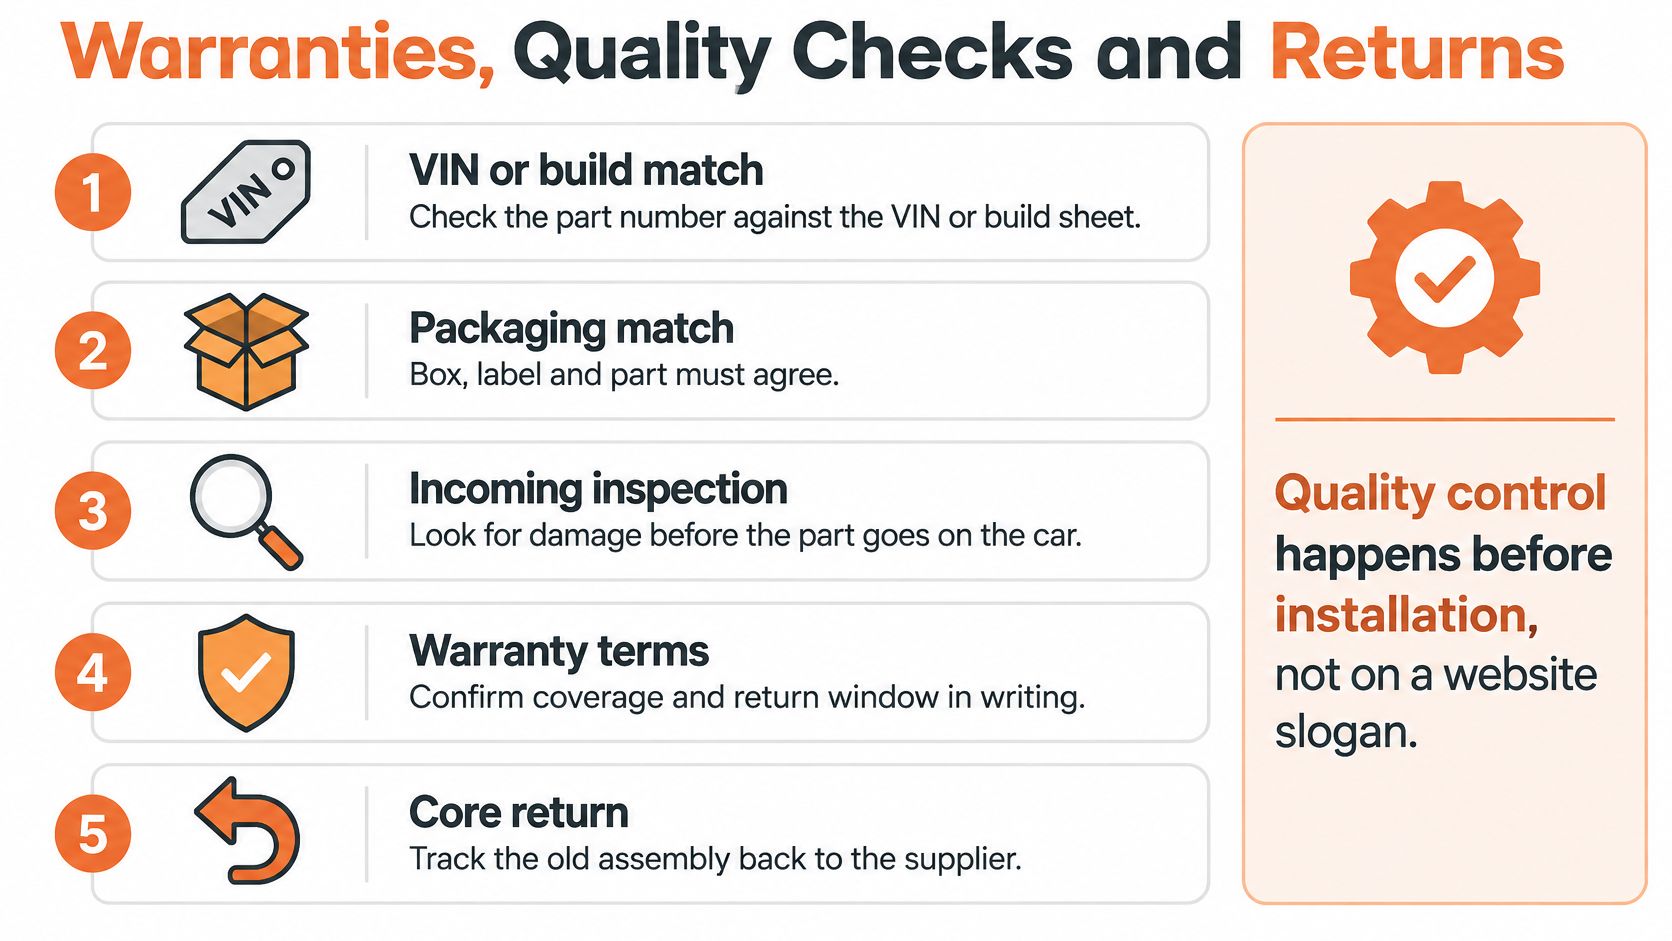
Quality control happens before installation, not in a product description. Make the receiving check part of the repair order routine so a mismatch or damaged part gets caught before it consumes technician time.
Check the part before it reaches the car
Start with the vehicle. Match the part number to the VIN or build information, and make sure the box, label, and part agree with the invoice. Inspect the part for shipping damage, bent mounting tabs, cracked connectors, missing hardware, or signs that packaging has been opened and resealed.
For electronic and safety-related components, record what was tested and what documentation came with the part. A label that says “tested” isn't enough by itself; the shop needs to understand what the supplier checked and what the warranty covers. A guide to functional testing requirements can help frame what the shop should document for safety-related work.
Read the warranty and return terms
Warranties aren't interchangeable. A distributor may offer a replacement period and limited labor contribution, while an OE part's coverage follows the manufacturer's parts policy. Neither should be assumed to cover all labor, diagnostic time, or related damage.
A repair specialist should put its coverage in writing and explain what is and isn't included. When a supplier describes a warranty as lifetime, clarify the covered component and conditions rather than treating the phrase as a blanket promise. For returns, pin down the window, whether special-order or electrical parts are final sale, how core credits are handled, and who pays freight.
Watch for authenticity warning signs
Wrong fonts, missing maker markings, packaging inconsistent with the invoice, and a price far below other genuine sources deserve attention. So does a seller who won't identify the brand owner. Pause the order and confirm the part's origin before installing it.
Don't install a safety part you can't trace to a named supplier and a written warranty.
How Restraint Parts Move Through a Shop
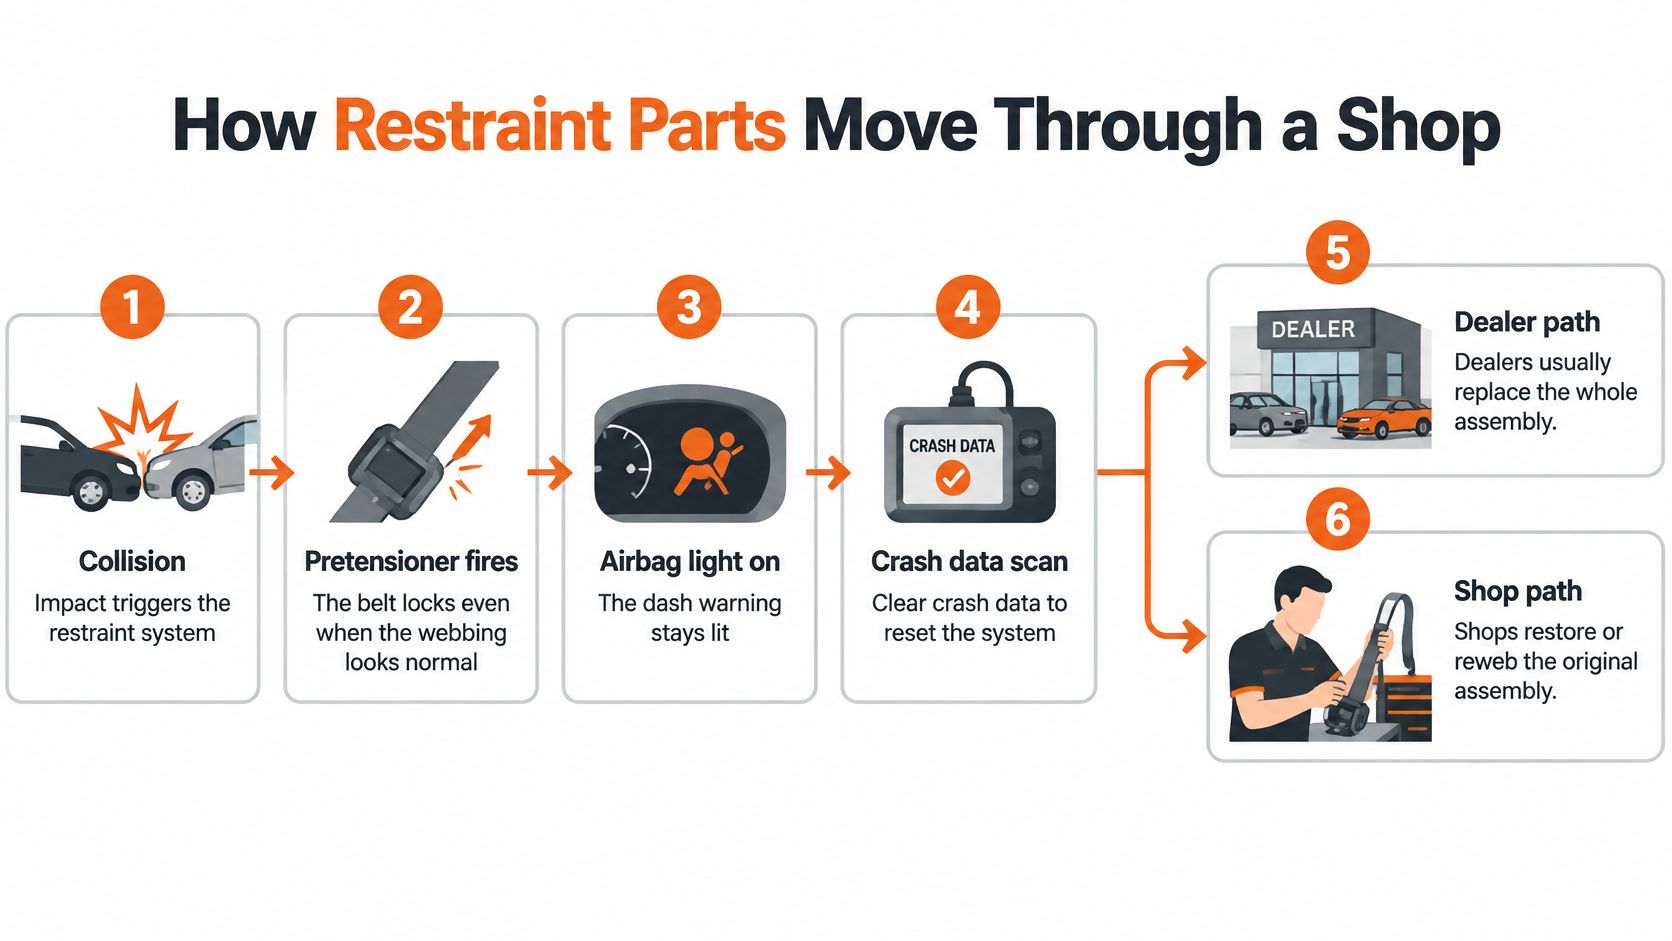
A collision-damaged vehicle can arrive with a belt that looks normal but won't pull out or retract. The pretensioner may have fired, locking the mechanism. The airbag warning light can remain on until the SRS module's crash data and fault condition are properly addressed.
For a dealer repair, replacing a complete assembly is often the straightforward route. It can also mean buying more than the failed mechanism, then waiting for the correct part. A wholesale-minded shop considers whether the original assembly is sound enough to restore, while keeping damaged housings and anchors out of that decision.
Keep the original assembly in the repair chain
Say a rebuilder buys a collision vehicle at auction and finds locked belts with intact housings. The shop removes the affected retractors and sends them to a specialist for repair using OEM parts and function testing. Once returned, the shop reinstalls the components and records the work with the vehicle file.
Seat Belt Repair serves body shops, collision repair centers, salvage rebuilders, dealership reconditioning departments, mechanics, and individual vehicle owners. It works on all makes, models, and years, and uses OEM-certified seat belt webbing that meets Federal Motor Vehicle Safety Standards. Business accounts and bulk service options are available for shops and dealerships by contacting the company.
The mail-in route is not installation. The shop owns removal, secure packaging, and reinstallation. Include the vehicle's year, make, model, contact information, and order confirmation with the shipment. Send parts to Seat Belt Repair, 40 Main St., Westfield, MA 01085.
Know when repair is the wrong choice
A repair path only makes sense when the original assembly is suitable for it. If the housing or mounting points are damaged, use a new OE assembly rather than trying to preserve an unsafe part. Cut, frayed, or sun-damaged webbing is a different problem from a deployed pretensioner; a restoration can replace the webbing while retaining the original hardware when that hardware is sound.
If the collision also affected the airbag control module, plan that work with the belt repair rather than treating the warning light as a separate cosmetic issue. Keep the repair record and function-test information with the invoice. That paperwork helps the shop show what it installed and how the restraint work was handled.
The practical comparison isn't repair versus replacement. It's whether the original assembly is fit for restoration, whether the repair can be tested, and whether the shop can complete and document the work without leaving the bay waiting on an assembly that may not be necessary.
How to Open an Account and Order
An account should solve a real purchasing problem, not add another login and another set of return rules. Start with the parts that repeatedly delay work, then build only the supplier relationships the shop needs.
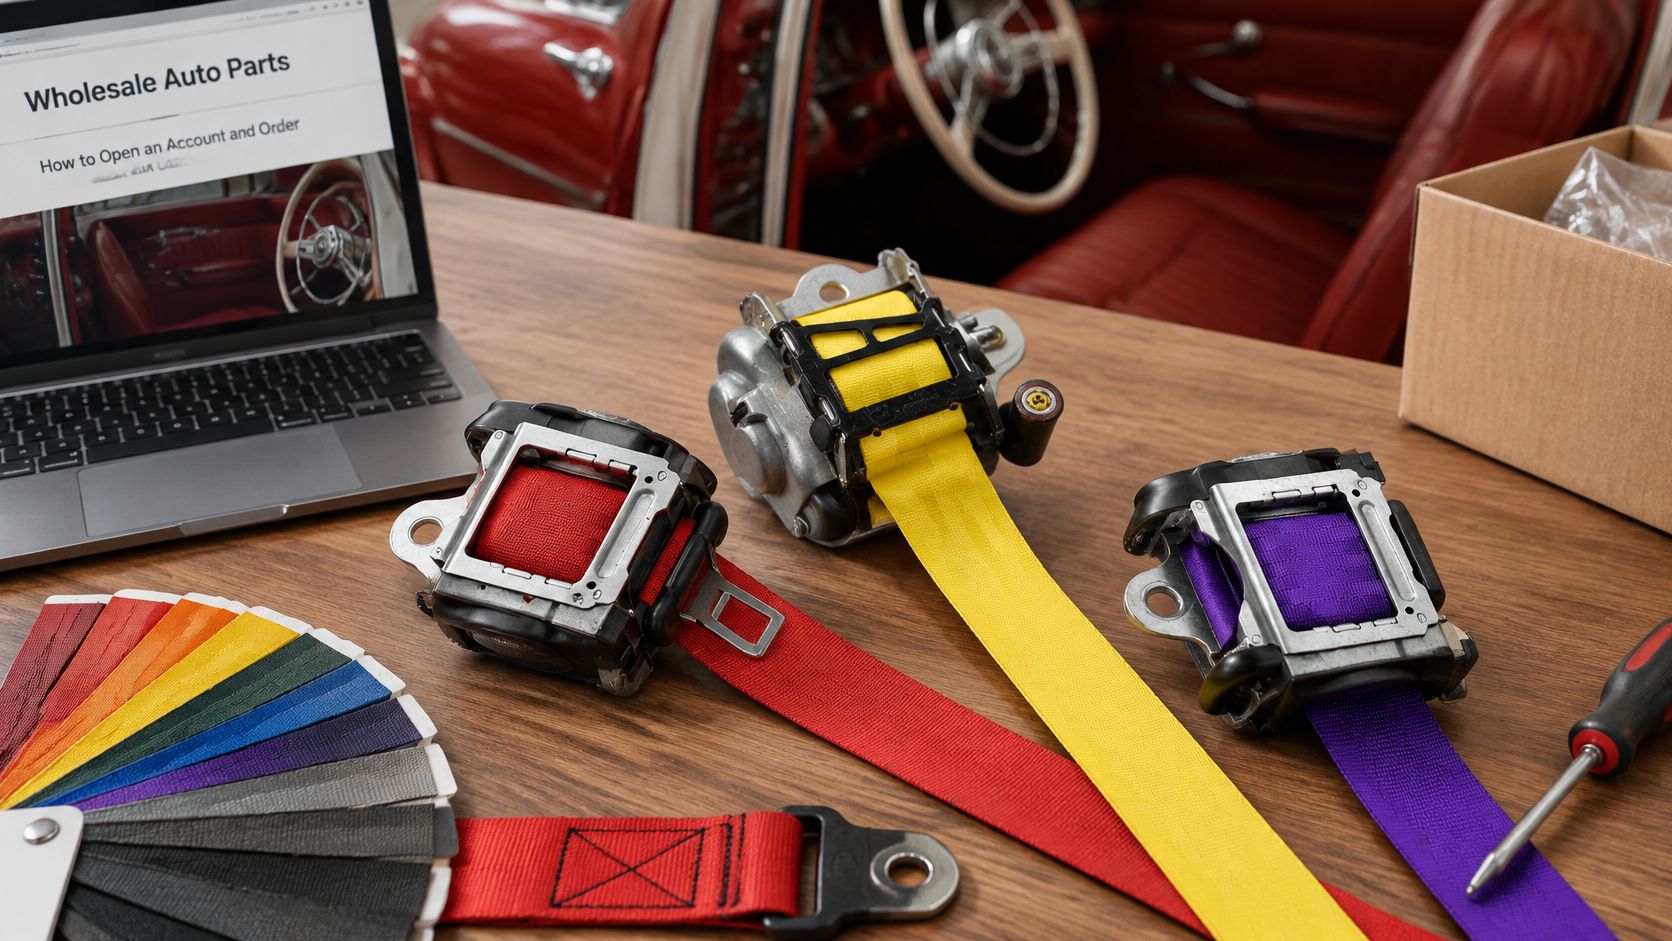
- Review upcoming repair orders. List the parts on the next jobs and classify each as a wear item, body part, electronics, or restraint. This shows whether the shop needs a distributor, dealer counter, specialist, or a combination.
- Apply to a primary jobber and a dealer counter. Have the business license, resale certificate, and trade references ready. A new shop without established credit may need to begin with will-call or card payment rather than expecting open terms.
- Get the operating terms in writing. Ask for the price level, delivery or will-call cutoff, core policy, and return window. A low quote is less useful if the shop can't return a wrong-fit part or recover a core charge.
- Set up a restraint source separately. For belts and SRS work, request a business account with a repair specialist instead of adding unfamiliar safety components to a general jobber cart. Fleet buyers should also consider contracting for brands they use consistently, rather than shopping every SKU.
- Keep the first order small. Choose a mix that the shop can inspect on receipt, not a bulk stocking order. Confirm special-order dealer parts against the VIN before promising the customer a completion date.
- Receive the shipment against the invoice. Check part number, brand, quantity, packaging, and shipping condition before the parts go to a technician. Catching a discrepancy at the counter is easier than explaining it after disassembly.
- Install only parts that pass inspection. Record the supplier on the repair order so the shop can trace the part if the vehicle comes back. Keep warranty and testing paperwork with the job file.
- Review the account after use. Drop suppliers that repeatedly miss fitment or make reasonable returns difficult. A shop needs dependable terms and a workable process, not a long list of accounts.
This week, pick the three SKUs that stalled the last job. Assign each one a channel from the tables, then place those orders only after the warranty and return terms are written down.
Seat Belt Repair handles mail-in restoration of locked or deployed seat belts, webbing replacement, and SRS module resets using OEM parts. If restraint work is slowing a collision repair or rebuild, contact Seat Belt Repair to discuss a shop account or bulk service options.



Оставить комментарий
Этот веб-сайт защищается hCaptcha. Применяются Политика конфиденциальности и Условия использования hCaptcha.