
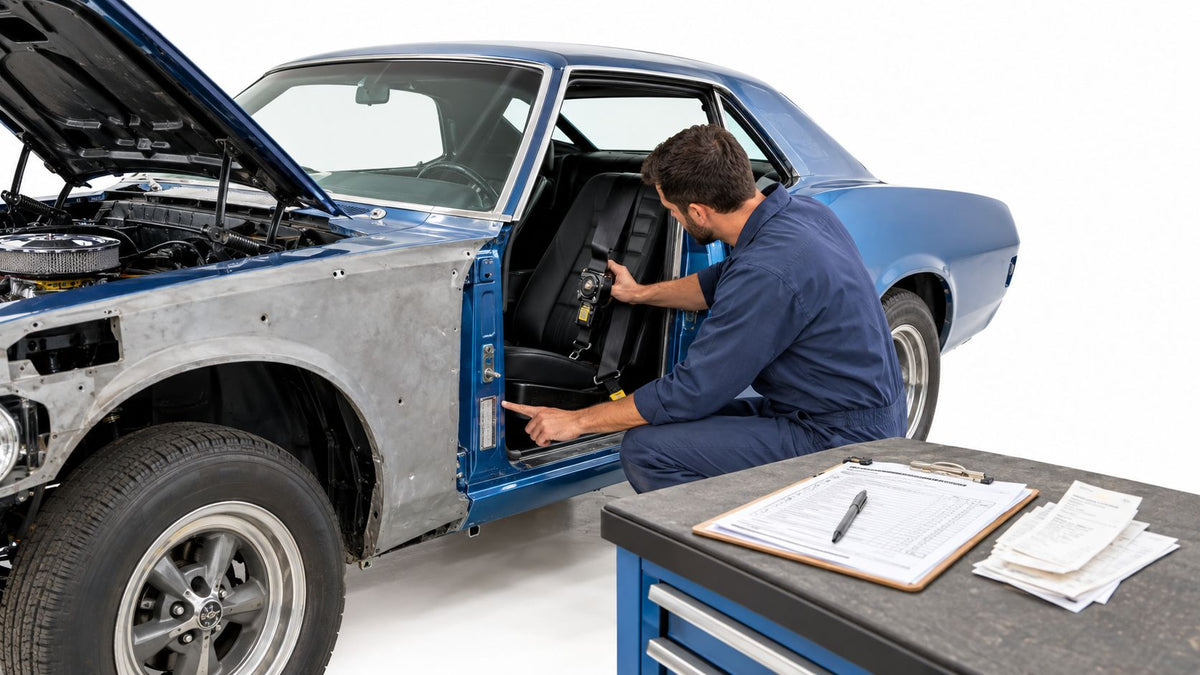
You've got a Copart car rebuilt, the warning lights are off, the panels line up, and the inspection appointment is booked. Then the inspector asks for the salvage certificate, bills of sale for replacement parts, and proof that the major components came from legitimate sources. The car may be mechanically sound, but your paperwork packet is incomplete, so you leave without approval.
That's the part many rebuilders learn too late. A salvage title inspection isn't a roadworthiness check. It combines rebuild verification, VIN and ownership review, and anti-theft screening, with safety requirements that vary by state. The repair matters, but receipts, component provenance, and the exact state process often decide whether you pass.
Table of Contents
- What a Salvage Title Inspection Really Checks
- Paperwork and Proof You Must Bring to Pass
- Safety Systems Inspectors Never Overlook
- Preparing Your Rebuilt Vehicle Step by Step
- Common Reasons Rebuilds Fail and How to Fix Them Fast
- Final Checks and What Happens After You Pass
What a Salvage Title Inspection Really Checks
A rebuilt Copart car can look straight, start cleanly, and drive well, yet still fail before the inspector examines its brakes. The first questions often concern the title, VIN, ownership trail, and source of replacement parts. In practice, paperwork and anti-theft verification frequently decide the result before mechanical quality gets much attention.
Insurers generally issue salvage titles after declaring vehicles total losses. State thresholds differ, so inspection standards vary by jurisdiction, as explained in this guide to branded vehicle titles. Collision damage, flood damage, fire, and theft recovery can each lead to a different review.
A title brand does not show how severe the original damage was. It does not tell the inspector whether the frame was bent, water reached the restraint system, or major components were replaced. The physical vehicle must match a paper trail that connects the rebuilt car to its original identity.
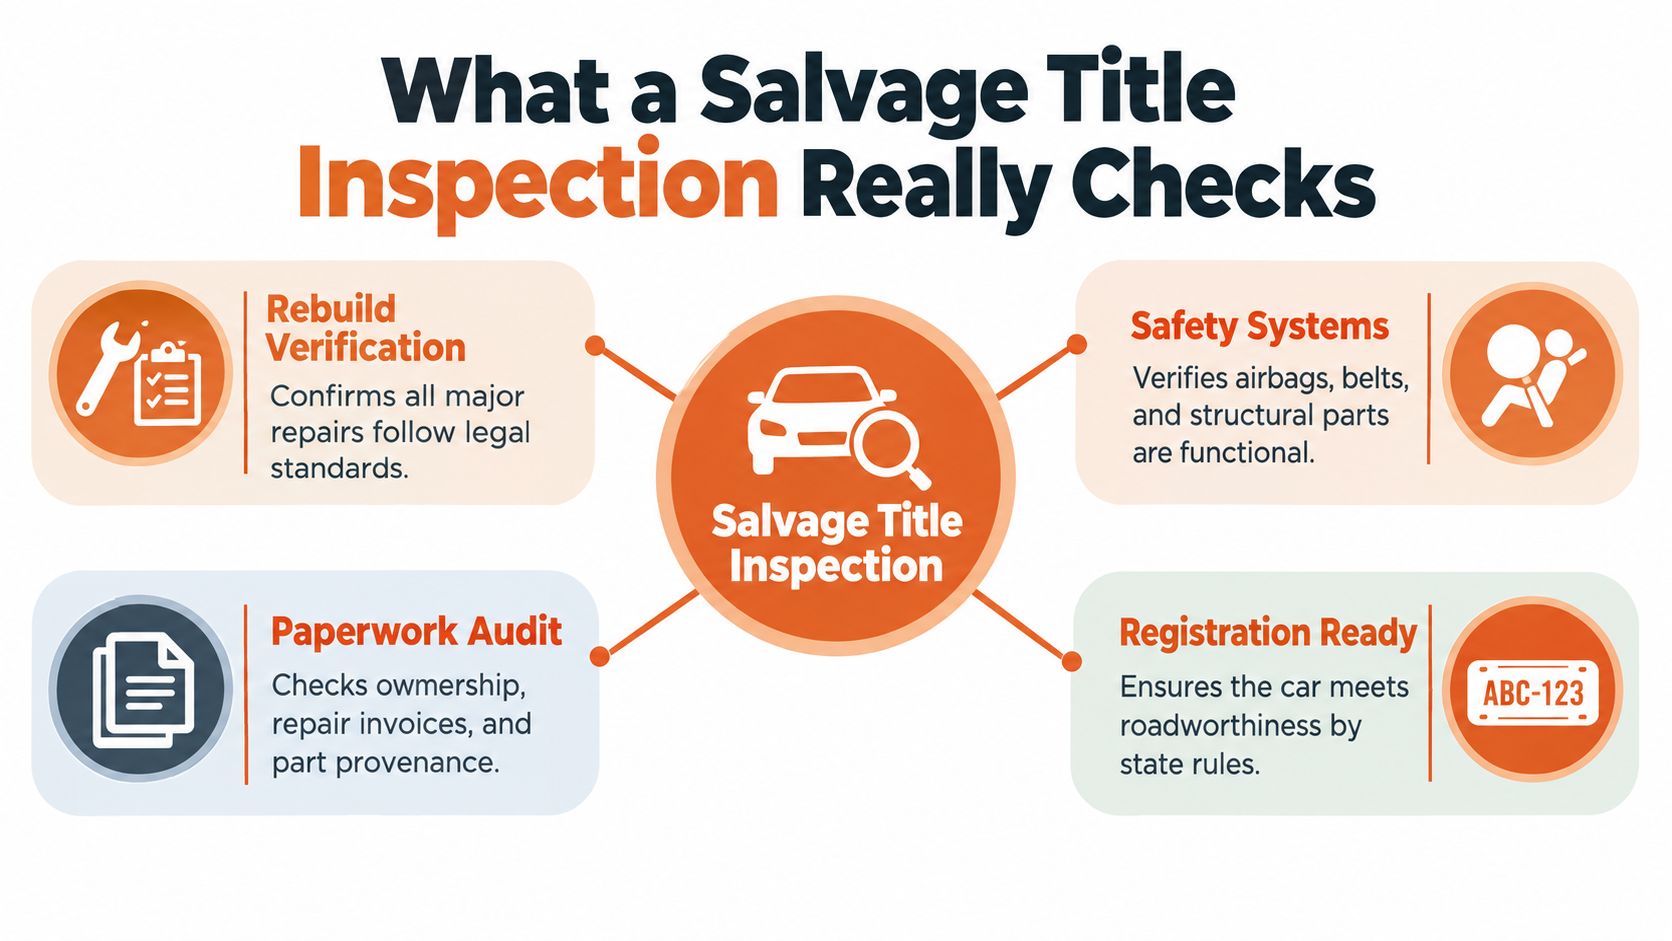
The inspection has two jobs
The safety review covers whether the vehicle can legally and safely operate on public roads. Depending on the state, inspectors may examine structural repairs, seat belts and other restraint systems, lighting, steering, suspension, and required highway equipment. A separate used car safety inspection guide provides useful general context, but it does not replace the state's salvage procedure.
The verification review addresses identity, ownership, and the legitimacy of installed parts. Maryland describes its salvage inspection as confirmation that the vehicle was rebuilt properly and that stolen parts were not used. Arizona applies a more thorough Level III inspection to restored salvage vehicles, including checks of major components and highway equipment. Maryland's official salvaged vehicle inspection guidance shows why salvage verification should not be treated as an ordinary safety inspection.
Practical rule: Prepare for an audit of the vehicle's identity and repair history, followed by a safety review.
That order affects how you rebuild. Photograph the damage before disassembly, label removed parts, retain invoices, and record the VIN of every major used component. A clean diagnostic scan and successful test drive cannot repair a broken ownership chain or explain an undocumented part.
The inspector needs evidence, not just a finished-looking car. Treat the appointment as a compliance inspection with safety requirements, and prepare the records alongside the repairs.
Paperwork and Proof You Must Bring to Pass
The most expensive inspection failure is often the one that requires no mechanical repair. You arrive with a finished vehicle, discover that a required receipt or affidavit is missing, and lose the appointment before the inspector can evaluate the rebuild.
Build the document packet while the car is being repaired. Don't wait until the vehicle is detailed and loaded on a trailer.
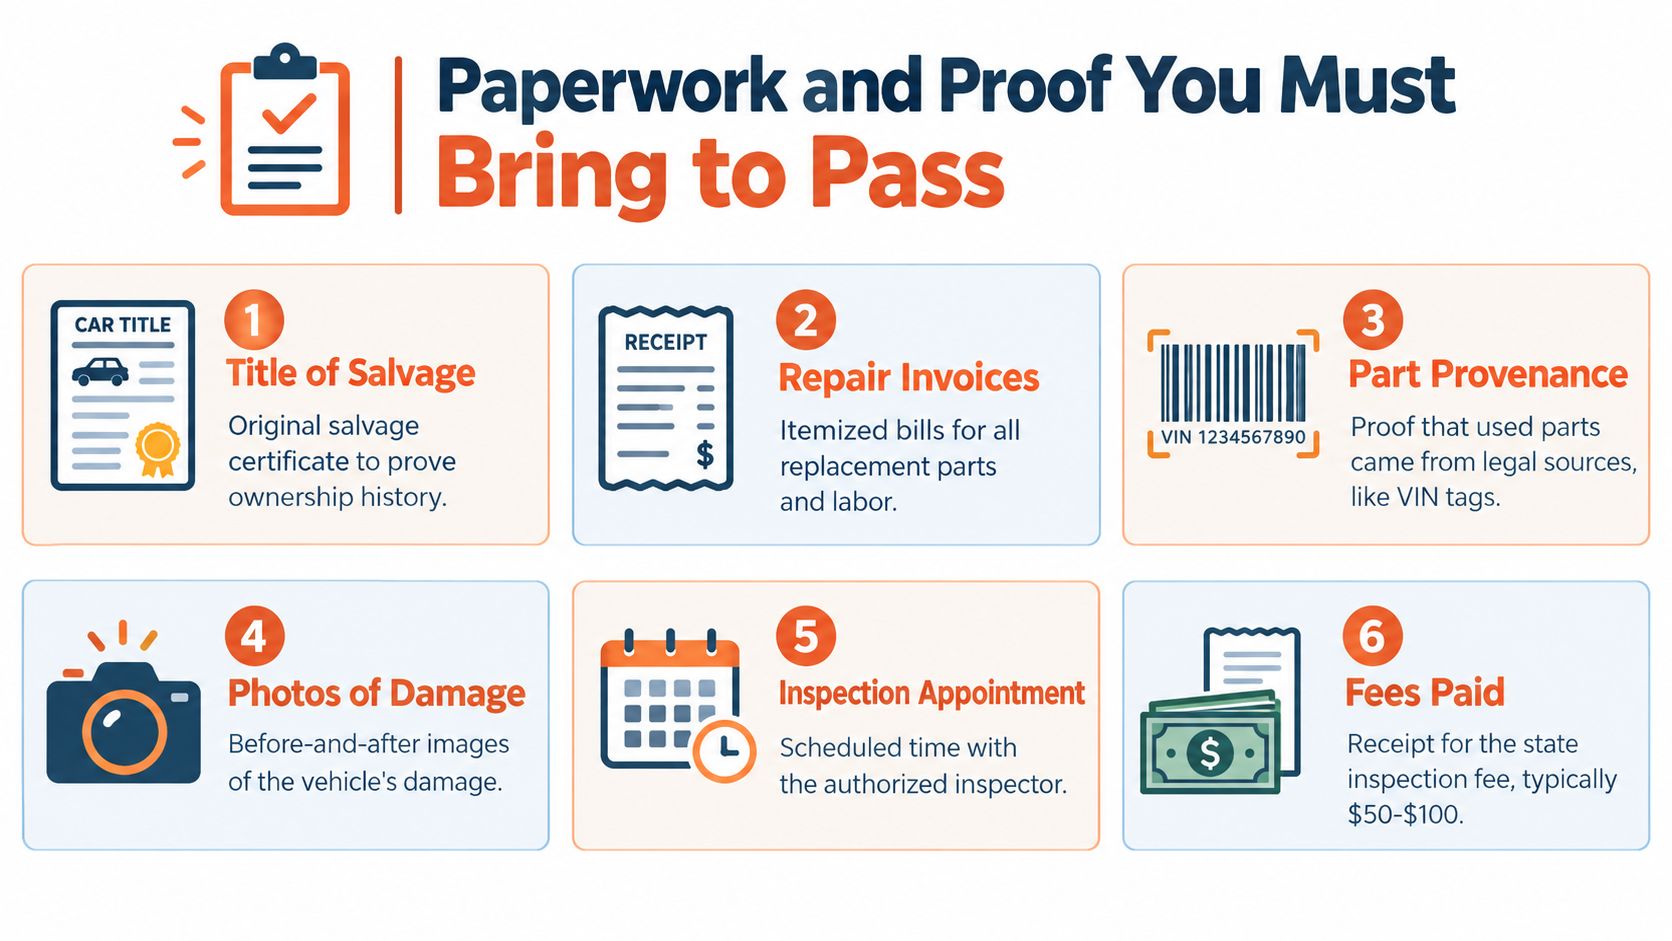
Assemble the identity file
Start with the original salvage title or certificate and confirm that the VIN matches the vehicle. Compare the number on the title with the dashboard plate, door label, chassis or frame markings, and any major component identifiers that your state requires.
Your packet should normally include:
- Salvage title: Bring the original branded ownership document, not only a photocopy or auction screen.
- Ownership chain: Keep the auction bill of sale, insurance-company paperwork, and every transfer document that explains how the vehicle reached you.
- Repair invoices: Save itemized bills for labor and parts. A credit-card statement alone usually doesn't identify what was installed.
- Component receipts: Preserve bills of sale and source records for engines, transmissions, doors, fenders, lighting assemblies, restraint parts, and other major components.
- Repair photographs: Include clear before-and-after images that show the damage, teardown, structural work, and completed repairs.
- Identification: Bring the required government-issued ID and any business ownership documents if the title is held by a company.
- Appointment and payment proof: Print the confirmation, affidavit, pre-approval, and fee receipt required by your state.
The reason is straightforward. Inspectors need to connect the physical parts to lawful transactions. A used component without a source document may look perfectly installed and still create a verification problem.
Check your state's process before booking
Generic advice fails because states use different agencies, appointment systems, forms, and fees. Iowa requires an online affidavit process and a $53 exam fee, Connecticut lists an $88 regular salvage inspection, and Alabama lists a $90 rebuilt-inspection and title fee package, according to the respective state information summarized in the Iowa salvage vehicle process. Those amounts and requirements can change, so verify the current instructions with the agency handling your title.
Some states require online payment or pre-approval before the car can be presented. Others want receipts for every component, while some place greater emphasis on ownership documents and VIN checks.
Make a state-specific checklist with three columns: required before scheduling, required at the appointment, and required after approval. If a document is unclear, call the inspection office before transporting the car. A phone call is cheaper than a rejected appointment and a second trailer trip.
Safety Systems Inspectors Never Overlook
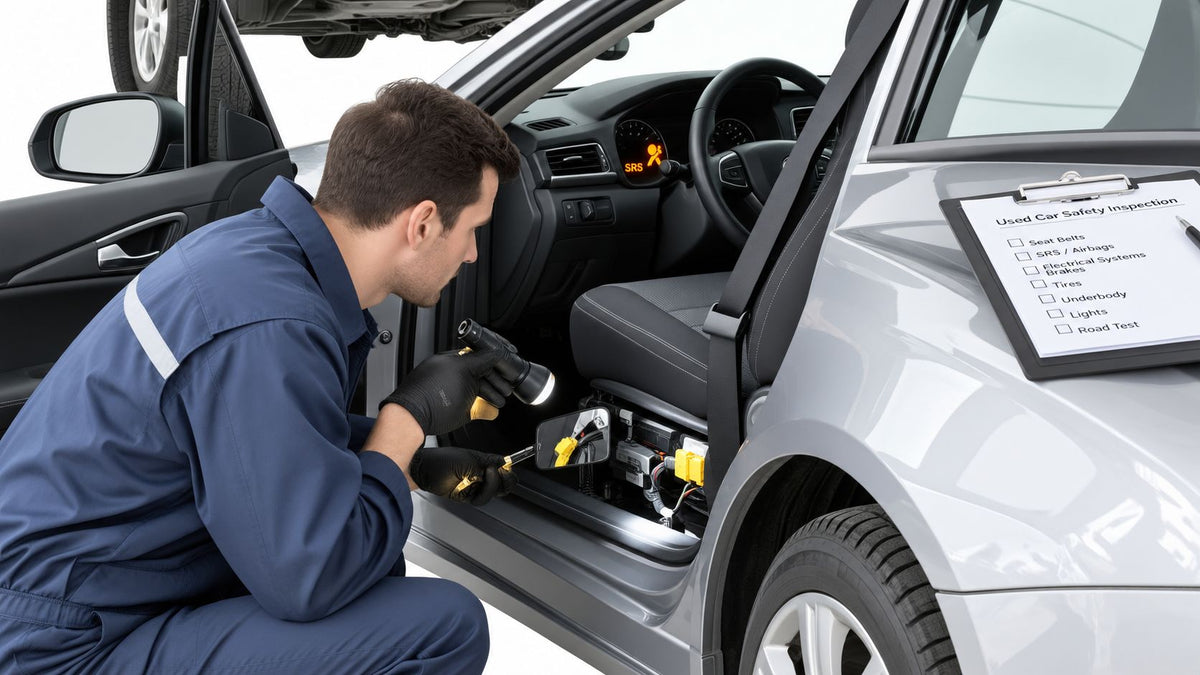
A car can look excellent and still fail because the restraint system wasn't restored correctly. Inspectors pay close attention to the airbag warning light, seat belt operation, pretensioners, and evidence that the crash-related SRS faults were resolved.
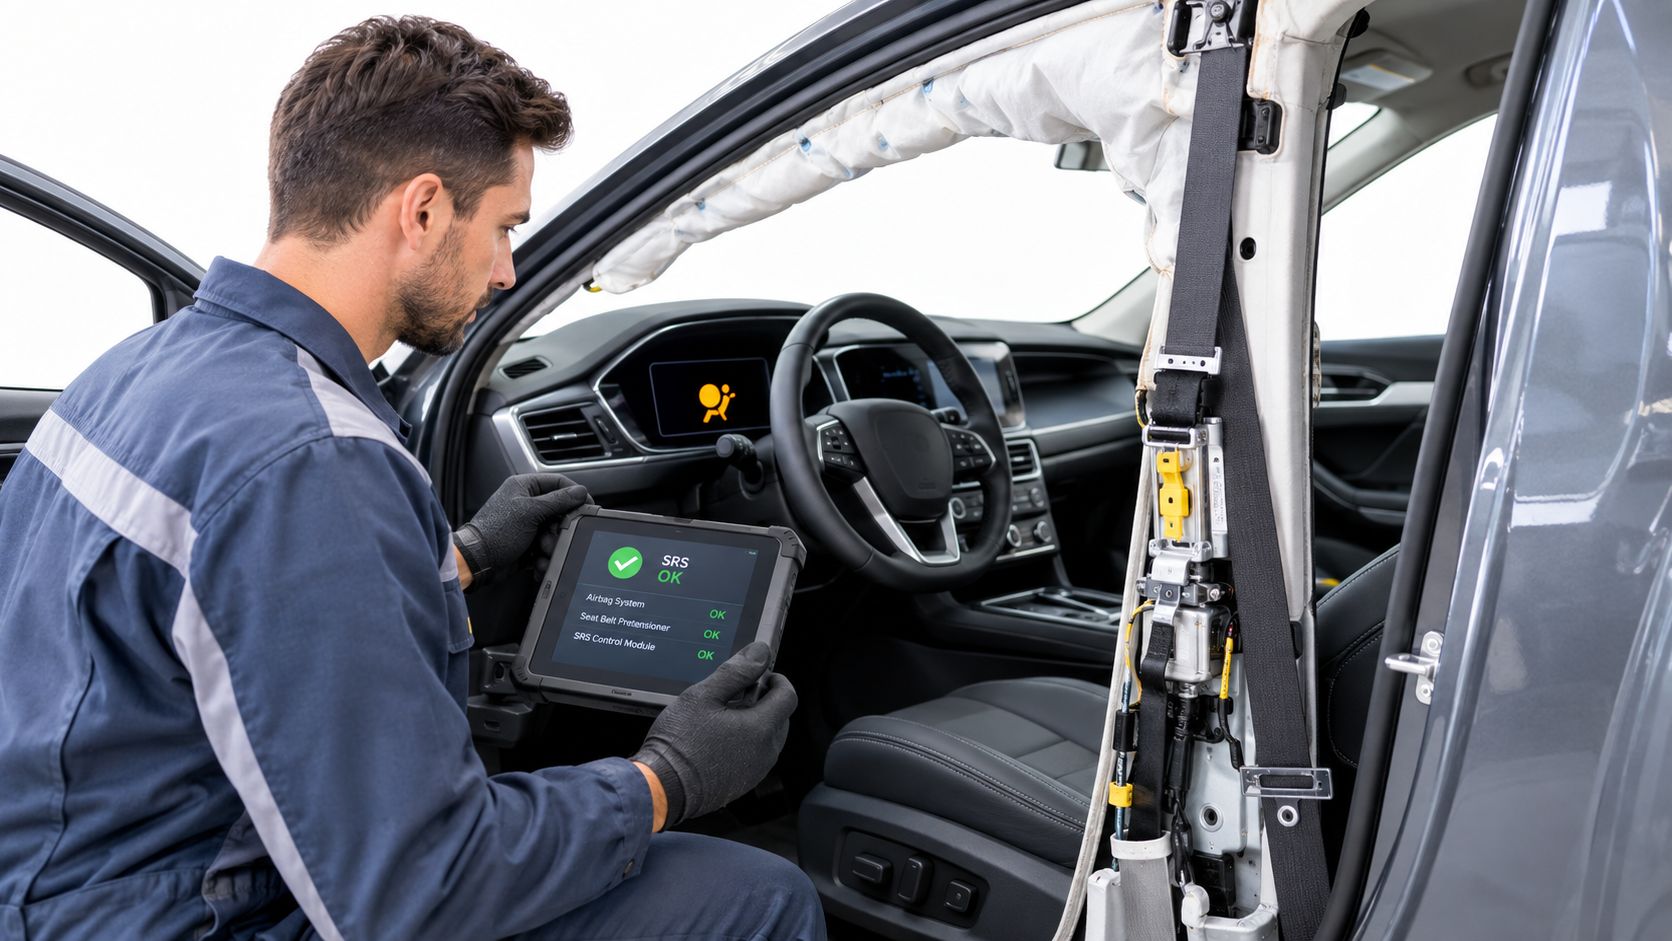
Start with the instrument cluster. Turn the ignition on and confirm the SRS lamp performs its normal self-check, then goes out after the system initializes. A light that stays on signals an unresolved fault. Removing the bulb, installing a resistor, or clearing codes without repairing the cause isn't a rebuild solution and can create a serious safety problem.
Verify belts, pretensioners, and the module
A deployed pretensioner may leave the belt locked, slow to retract, or visibly damaged. Pull each belt across the cabin, check smooth extension and retraction, inspect the webbing for cuts or fraying, and confirm that the buckle latches and releases correctly.
Crash data stored in the SRS control module may remain after visible collision damage has been repaired. A standard scan tool often identifies the fault but doesn't permanently restore a module that requires crash-data clearing or replacement. Use the vehicle manufacturer's repair procedure and have the module tested by a qualified service when necessary.
For a practical breakdown of restraint components, see this guide on what needs replacement or reset after an airbag deployment. Seat Belt Repair offers mail-in repair for locked or deployed pretensioners, webbing replacement, and SRS control-module reset services, with reinstallation handled by the customer or a local repair facility.
Persistent SRS warnings aren't cosmetic defects. They tell the inspector that the vehicle's crash-protection system may not be ready.
Look beneath the cosmetic repair
Structural shortcuts are easier to detect on a lift than in auction photos. Check for uneven frame rails, fresh welds that don't match factory construction, crushed or stretched mounting points, bent underbody sections, and fasteners that suggest parts were forced into position.
Inspectors also watch for flood residue, contaminated fluids, corrosion inside connectors, and electrical faults that appear after the car warms up. Warning lights, water lines, silt under seats, and damp insulation deserve investigation before presentation.
Use a scan tool that can read all relevant modules, not only generic powertrain codes. Confirm that steering, braking, restraint, and body-control systems communicate correctly, then document the test results for your repair file. The goal isn't to make the dashboard look clear. It's to prove that the systems work as designed.
The following video offers a visual reference for SRS inspection work. It should supplement, not replace, the repair procedures and inspection rules for your vehicle and state.
Preparing Your Rebuilt Vehicle Step by Step
Use the same inspection sequence every time. A repeatable walkthrough catches defects that a rushed final check misses and creates a photo record if a title or part mismatch is questioned later.
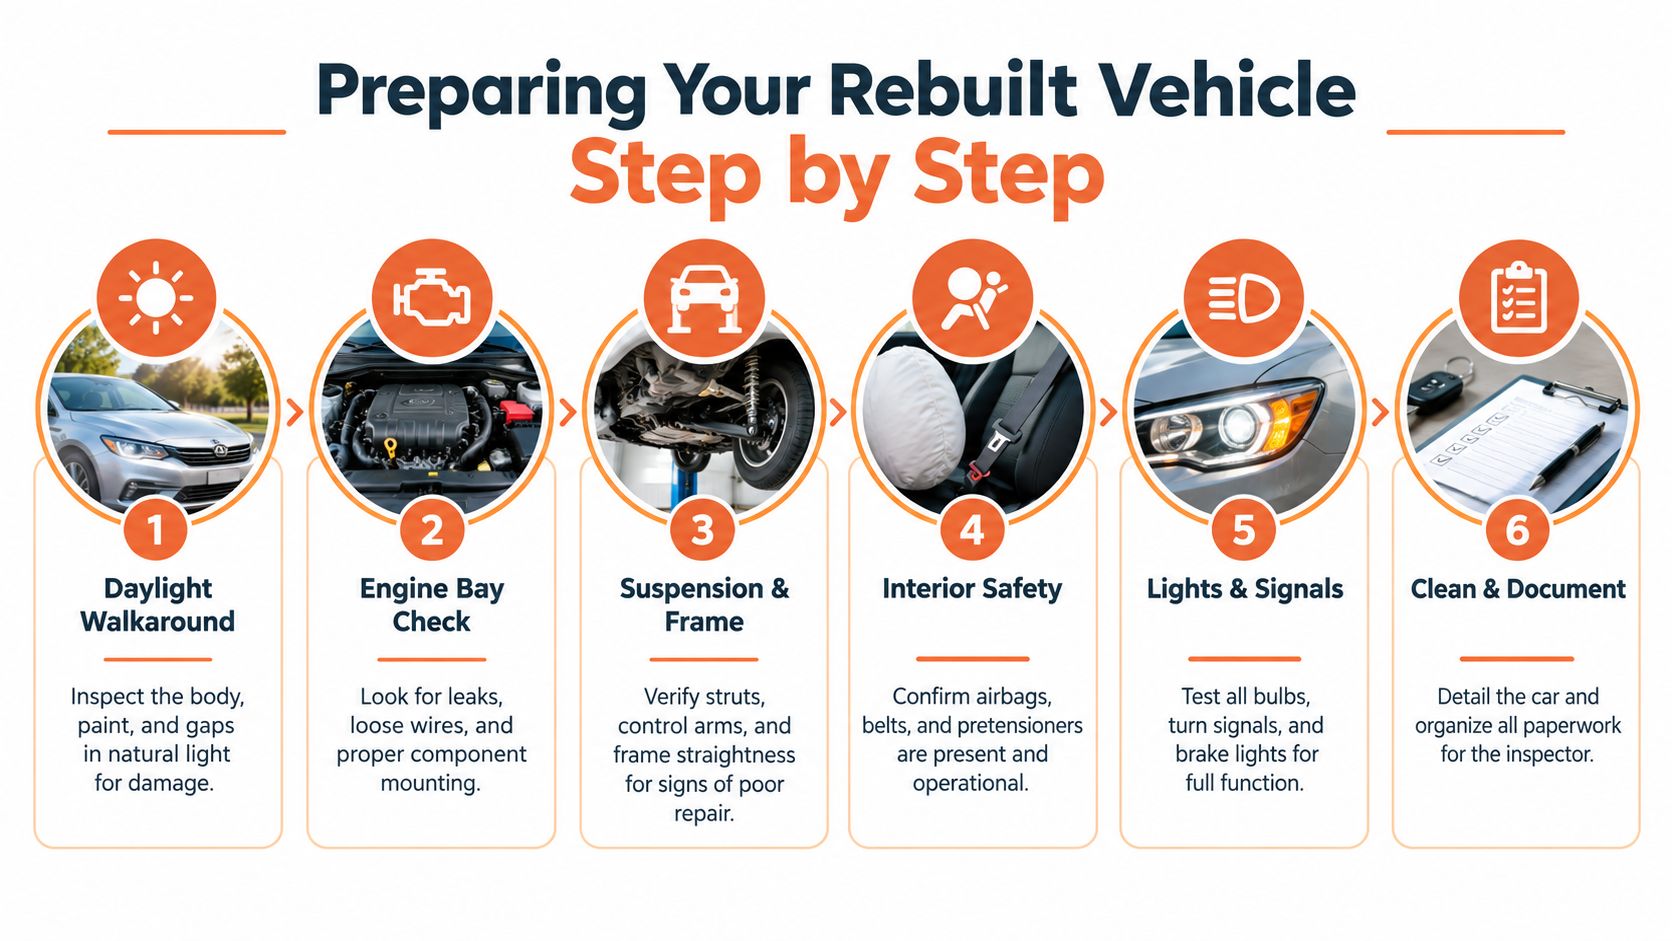
Start outside in daylight
Wash the vehicle, then inspect it under natural light. Look across the paint for overspray, tape lines, sanding marks, and color differences. Open and close every panel, checking gaps, latch engagement, and whether the doors, hood, and trunk sit squarely.
Photograph each corner, the roof, the glass, the lights, the wheels, and the underside of the visible body. Take wide images first, then close-ups of repairs and VIN labels. Keep the original files with their timestamps if possible.
Move through the mechanical areas
In the engine bay, inspect fluid levels, leaks, loose wiring, missing fasteners, and component mounting. Check that hoses and harnesses are routed away from heat and moving parts. Look for coolant or oil contamination that could indicate flood exposure or an incomplete mechanical repair.
Then inspect the underbody. Fresh welds, distorted rails, bent suspension mounting points, and mismatched undercoating deserve a second look. A thick layer of new coating can hide repair work, so photograph suspicious areas before applying additional finish.
Inside the cabin, test the belts, buckles, seats, windows, horn, wipers, mirrors, climate controls, and warning indicators. Verify every exterior light, including hazards, turn signals, brake lamps, and reverse lamps.
Finish with identity and paperwork
The final walkaround ends at the VIN. Compare every accessible VIN marking with the title and your repair file. Check that labels are secure, legible, and free from signs of tampering. Document component identification before the car leaves the shop.
A practical salvage car repair guide can support the repair workflow, but your state's inspection office remains the authority on acceptable evidence. Keep the packet in the same order as the inspector's likely review, with an index that points to each invoice and photograph.
Shop habit: Photograph the car before disassembly, during structural repair, after component installation, and after final assembly. A single polished photo tells the inspector what the car looks like. The sequence proves how it got there.
Common Reasons Rebuilds Fail and How to Fix Them Fast
Most failed appointments fall into a few categories. The fastest correction depends on whether the problem is administrative, identity-related, safety-related, or structural.
| What the inspector finds | Why it matters | Fastest responsible correction |
|---|---|---|
| Missing receipt or ownership document | The part or vehicle history can't be verified | Contact the seller, obtain a proper bill of sale, and confirm whether the state accepts an affidavit |
| VIN mismatch or damaged label | The vehicle identity may be altered or incomplete | Stop the appointment, photograph every identifier, and ask the state agency for its correction process |
| Unpaid fee or wrong appointment type | The office can't process the inspection | Recheck the official instructions, payment method, and agency before rescheduling |
| SRS warning light or locked belt | The restraint system may not be operational | Diagnose the complete SRS, repair deployed pretensioners, and address module crash data |
| Uneven gaps, poor welds, or frame distortion | The rebuild may be unsafe | Obtain a structural measurement and correct the repair before cosmetic refinish |
| Flood residue or electrical faults | Hidden corrosion can compromise safety | Inspect connectors and modules, replace contaminated components, and document the findings |
Administrative errors deserve priority because they can stop the inspection before the vehicle is examined. Confirm the required state forms, online affidavit, appointment format, and payment process using your local agency's current instructions. State variation is substantial, so don't assume the rules from a previous rebuild apply to the next one.
VIN problems require restraint. Never sand, replace, or alter an identification label yourself. Preserve the evidence, gather the title and purchase records, and ask the authorized agency how it wants the discrepancy handled.
SRS problems need proper diagnosis, not dashboard cosmetics. If a belt pretensioner is locked or deployed, have the unit repaired or replaced using an appropriate safety procedure. If the original control module contains collision data or hard codes, a qualified reset service may be appropriate when the module is otherwise serviceable. Seat Belt Repair's mail-in services cover pretensioner repair and SRS module reset, but the shop or owner must reinstall the components correctly and verify system operation.
Use the final 48 hours for verification, not major repair. Run the scan, inspect the VINs, arrange documents, confirm the appointment, and complete a daylight walkaround. If you discover a structural or restraint fault at that stage, postpone the appointment rather than presenting an unfinished vehicle.
Final Checks and What Happens After You Pass
Inspection day should confirm the work, not reveal unfinished repairs. Before loading the vehicle, verify that it starts cleanly, every lamp operates, the SRS completes its self-test, the VINs match, and the paperwork is arranged for quick review. Inspectors often fail a rebuild over missing provenance or an unresolved identity question before they spend time assessing mechanical details.
Use this final checklist:
- Identity: Compare the title VIN with every accessible vehicle and component identifier. Make sure labels are readable and consistent.
- Documents: Place the salvage certificate, ownership records, invoices, bills of sale, photographs, completed forms, appointment confirmation, and payment proof in one labeled packet.
- Lighting: Test headlights, tail lamps, brake lamps, turn signals, hazards, reverse lamps, and license-plate illumination.
- Restraints: Check belt extension and retraction, buckles, pretensioners, airbag installation, warning lights, and the SRS self-test.
- Structure: Review the frame, welds, mounting points, panel gaps, underbody, and visible evidence of flood contamination.
- Roadworthiness: Confirm steering, suspension, brakes, tires, glass, mirrors, horn, wipers, and fluid levels.
Transport the vehicle legally and safely. A salvage-branded car may not be legal to drive on public roads before the required title process is complete. Confirm transport and temporary-operation rules with your state and insurer before moving it.
Passing is not the end of every inspection requirement
A successful salvage inspection generally supports the state's rebuilt-title or reconstructed-title process. It may not satisfy a separate safety inspection, which some states handle through another agency or at another stage. The Maryland salvage vehicle information illustrates why owners must follow the local sequence instead of assuming one approval completes registration.
After approval, submit the title application and supporting documents exactly as directed. Keep copies of the inspection certificate, receipts, photographs, and final title paperwork. Contact your insurer before regular driving, since coverage options and underwriting decisions can differ for branded or rebuilt vehicles.
If you fail, request the rejection reasons in writing and photograph each identified item. Sort the corrections into paperwork, identity, safety, and structural categories. Return only after every item is resolved. A documented correction gives you a clear target for the next appointment.
Once the rebuilt title is issued, disclose the vehicle's branded history accurately to future buyers. Passing confirms compliance with the applicable state process. It does not erase the salvage history or guarantee that another state will issue the same title outcome.
If locked pretensioners, damaged webbing, or an SRS module holding crash data remain, Seat Belt Repair offers mail-in component repair or reset. Reinstall the components correctly, verify system operation, and keep the related receipts with the rest of the inspection records.


Оставить комментарий
Этот веб-сайт защищается hCaptcha. Применяются Политика конфиденциальности и Условия использования hCaptcha.