
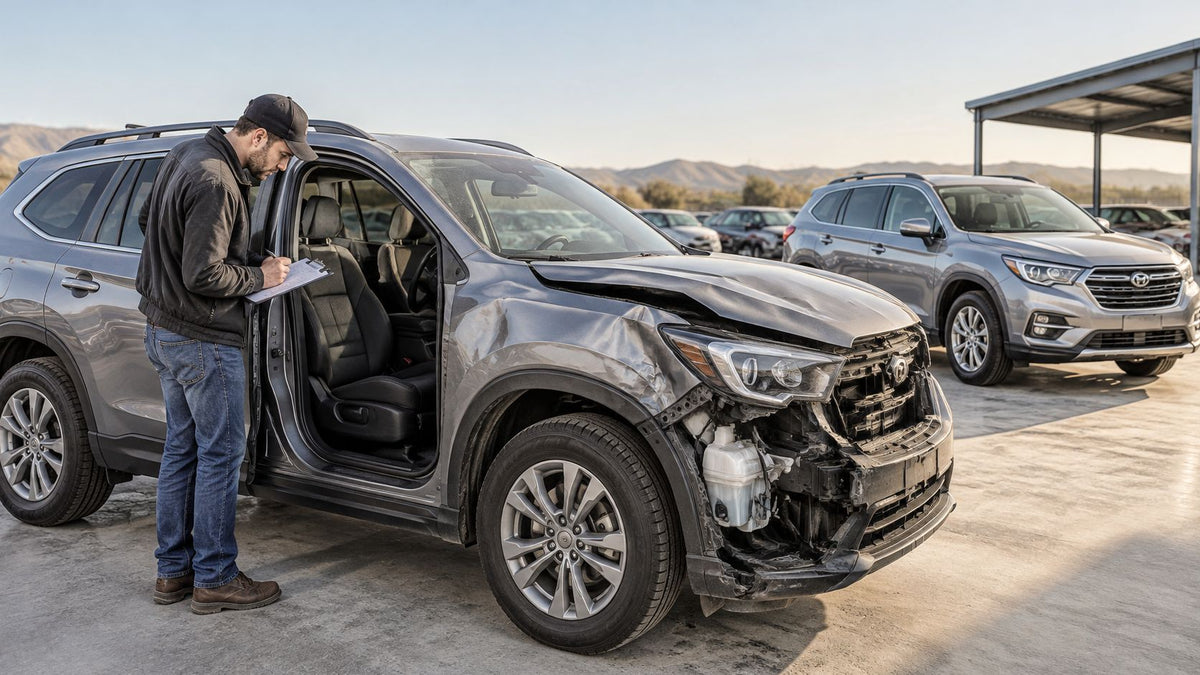
A commute can leave a cabin looking tired, but a minor collision can leave a mix of cosmetic and safety problems that only look equally fixable. The dash is sun-faded, the driver's seat bolster has a cigarette burn, the seat won't slide, and a belt that locked during the crash won't retract.
Don't start by buying a universal repair kit. Sort each fault by what it affects: the surface, the seat mechanism, or the restraint system. A shallow scratch might suit a careful driveway repair; damaged belt webbing or a fired pretensioner needs a different level of care.
Table of Contents
- Sort Cabin Damage Before You Buy Supplies
- How to Repair Upholstery and Trim at Home
- How to Free a Stuck Seat Mechanism
- When Webbing and Pretensioners Leave the Garage
- Finish the Cabin and Send the Belts Out
Sort Cabin Damage Before You Buy Supplies
Car interior repair starts with triage, not a shopping list. Cosmetic damage is usually a reasonable owner job when it's shallow and away from seams. A local seat problem may respond to cleaning or a fuse check. Restraint hardware belongs with an OEM-focused specialist because a belt can look acceptable while failing to work when it matters.
| Issue | Who repairs it | What goes wrong if you guess |
|---|---|---|
| Light scratch in hard dash or door plastic | Owner with restorer or interior dye | Sanding through the grain leaves a dull patch |
| Small vinyl or leather tear away from a seam | Owner with a patch kit | Glue bleed and a stiff, peeling spot |
| Loose, cracked, or missing trim clip | Owner with the matching clip | Blind prying snaps the panel tab |
| Seat will not slide or recline | Owner after track cleaning and a fuse check | Forcing a motor blows a fuse or bends a rail |
| Webbing cut, frayed, faded, or dog-chewed | OEM webbing specialist | Weak stitching that can fail in a crash |
| Belt locked, will not retract, or pretensioner fired | OEM pretensioner repair | A belt that looks normal but will not lock |
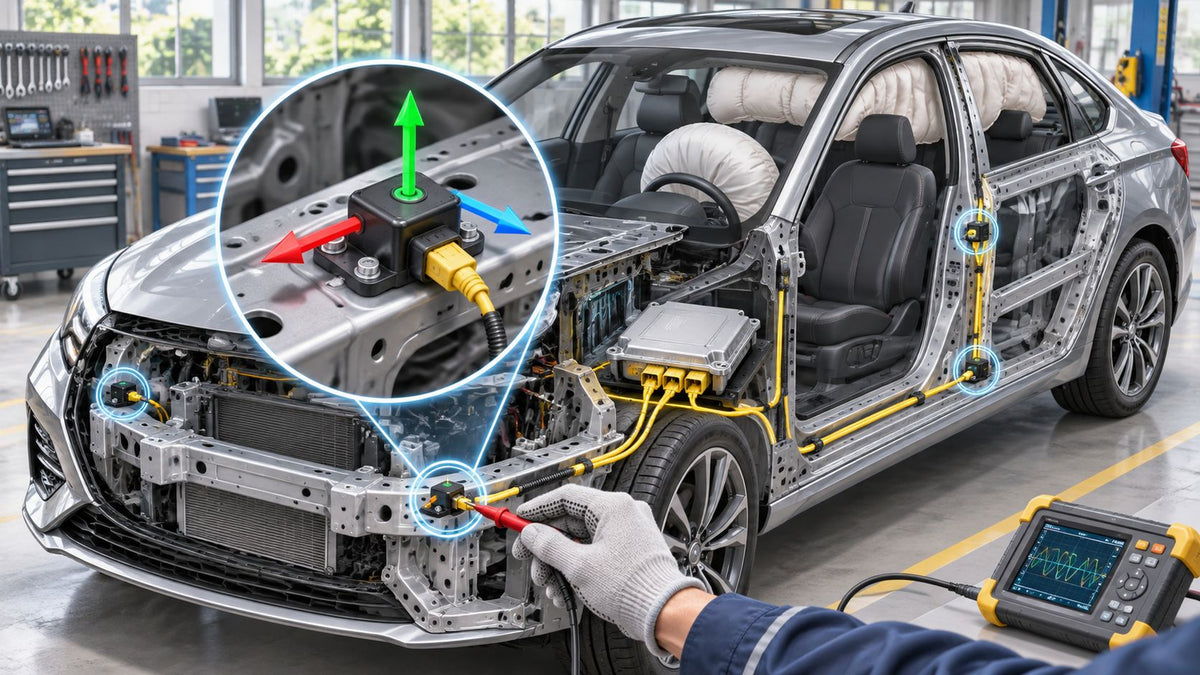
| Airbag light on after a collision | SRS module reset by a specialist | Driving with a system that is not actually ready |
The first four problems can be approached as surface or local mechanical work, provided the damage hasn't crossed into a seam, structural seat part, or airbag area. A belt that won't extend or retract is not just another cabin nuisance. Don't sew, glue, or substitute used webbing, and don't assume a belt is safe because it looks clean.
Practical rule: If a collision affected a belt or triggered an airbag warning, stop treating the symptom as cosmetic. A used-car safety inspection guide can help you think through the cabin's safety condition, but a belt or SRS fault needs appropriate repair.
A universal kit doesn't solve all three lanes. Choose supplies for the shallow trim work, diagnose a seat mechanism without forcing it, and send restraint hardware to a qualified repair path. The next sections address those jobs separately.
How to Repair Upholstery and Trim at Home
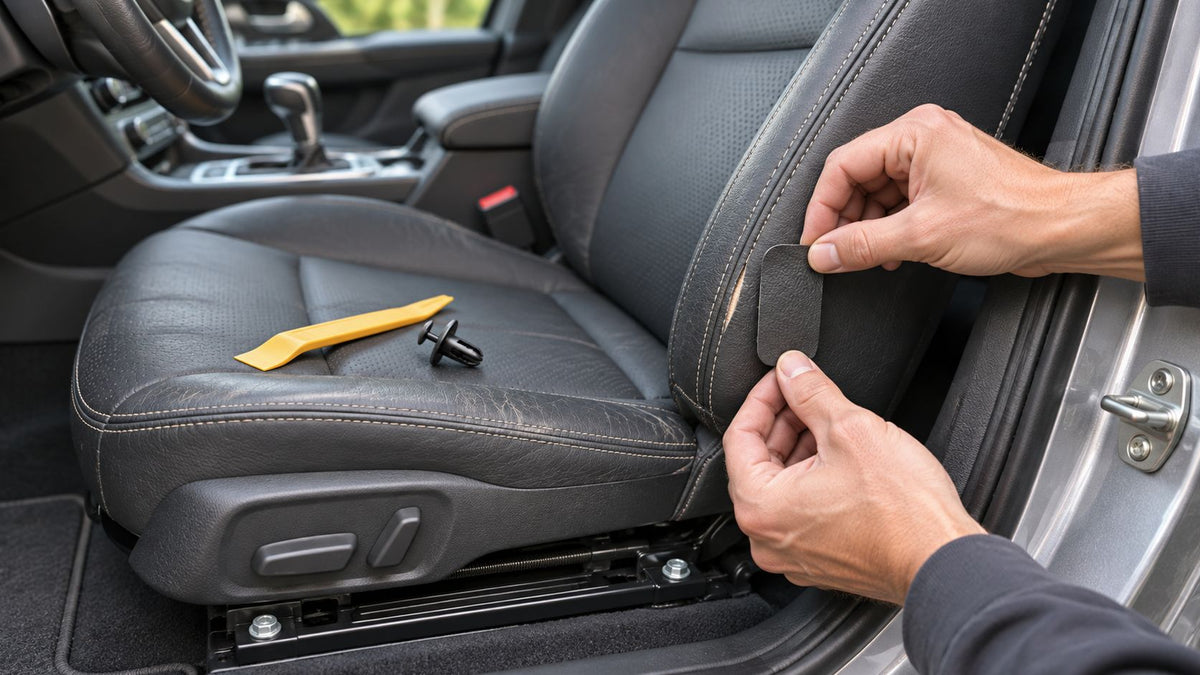
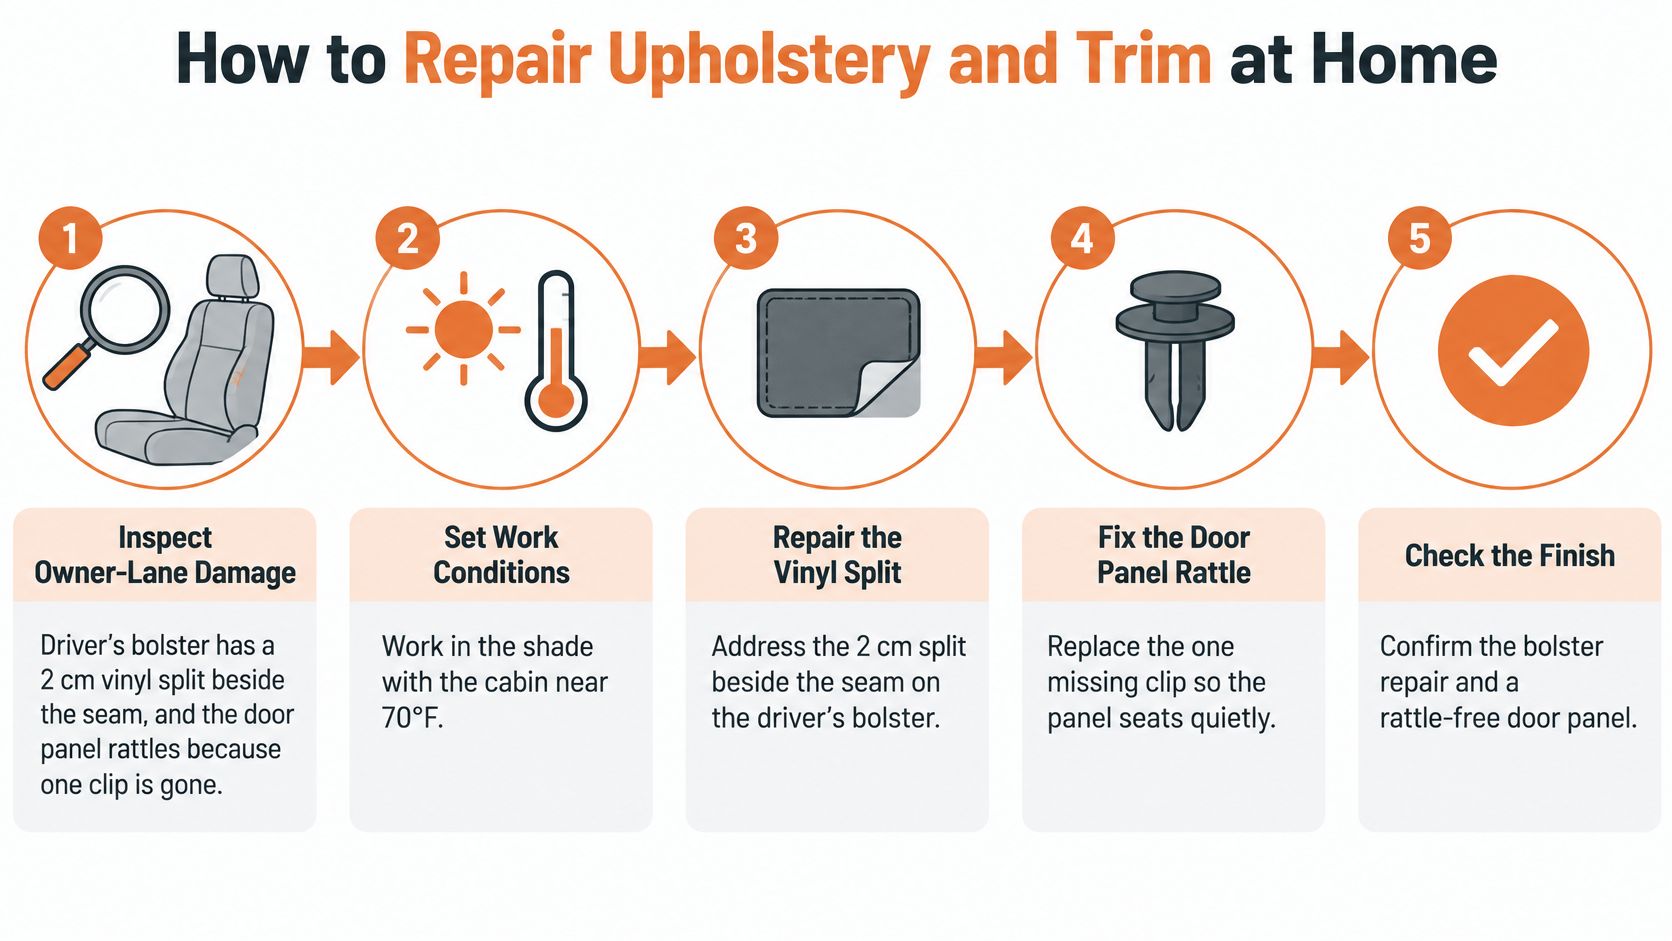
A small split in the driver's bolster and a rattling door panel are manageable owner jobs if the bolster damage stays clear of the seam and the panel's mounting points are intact. Work in the shade with the cabin near 70°F so adhesive and dye have a fair chance to apply and cure properly. Gather plastic pry tools, the correct replacement clip, isopropyl alcohol, low-tack tape, and a grain-matched vinyl or leather patch kit.
Prepare the surface and match the finish
- Vacuum before cleaning. Use a soft brush attachment around the tear and panel edges. Loose grit can scratch the surrounding vinyl as you work or get trapped under the patch.
- Clean a small working area. Wipe a palm-sized area with isopropyl alcohol, then let it dry. Test the cleaner in an inconspicuous spot first, particularly on soft-touch trim or older leather coatings.
- Test color before committing. If the surface is faded but intact, test interior dye on a hidden edge, such as the underside of the cushion. Mask wider than the repair so adhesive or overspray doesn't leave a visible halo. Match the color to the material as it looks now, not to a trim code, since sun exposure can change the seat's appearance.
A restorer is often enough for a light mark on hard plastic. Use dye only when the color has faded or when a properly prepared repair needs recoloring. Don't sand a scratch flat just to make it disappear. If it still catches a fingernail, a restorer may improve its appearance, but deeper damage needs a product designed to fill and texture the surface.
Patch the tear and reinstall the trim
- Back the split and apply adhesive. Slip the kit's backing patch beneath the tear, align the edges, then work the adhesive from the center outward. This helps keep excess glue from squeezing onto the visible surface.
- Rebuild the grain and let it cure. Press the kit's grain paper onto the repair while the compound is still workable. Follow the kit's full cure time, often overnight, before anyone sits on the repair or a belt rubs across it. Rushing this step can leave the patch soft, shiny, or easy to peel.
- Handle dash plastic gently. Clean the scratch and try an appropriate restorer first. If dye is needed, test it on a hidden area. Skip the heat gun on soft-touch dashboards: excess heat can distort the coating and leave a worse mark than the one you started with.
- Replace the missing clip without levering against the panel. Use a wide plastic pry tool at the clip location and pull the panel straight enough to release its retainers. Fit the matching clip, and if several clips on a rattling panel are worn or loose, replace them together. Press the panel back until each clip seats with a click, then check for movement and rattles.
Stop if the tear reaches a stitched seam, the foam beneath it has collapsed, or the damage involves an airbag cover or side-airbag seam. Those are not good places to test a patch kit. For bolster wear that's more extensive than a small surface repair, see this guide to car seat bolsters and their repair.
Here's a video demonstration to help you visualize the repair process.
How to Free a Stuck Seat Mechanism
A front passenger seat that slides halfway and jams may have grit in its tracks, a dry rail, or a cable that has jumped loose. Don't replace the motor until you've checked the simpler causes. Use the symptom table to pick a first move, then work methodically.
| Symptom | Likely cause | First move |
|---|---|---|
| Will not slide fore and aft | Grit or a bent rail | Vacuum the tracks, then dry-lube bare metal only |
| One side moves, the other stays | Cable off the crossbar | Reseat the cable before replacing a motor |
| Recliner flops or will not hold | Loose pivot or stripped gear | Snug the bolt; stop if teeth are gone |
| Power seat is completely dead | Fuse, switch, or motor | Check the seat fuse before removing panels |
| Headrest will not drop | Release cable or broken button | Use the release; do not hammer the posts |
- Position the seat before dismantling anything. If it still moves, use the key on only long enough to reach the fasteners. Switch the ignition off before removing trim or working near wiring.
- Check the fuse first on a dead power seat. Consult the vehicle's fuse diagram and inspect the seat fuse before taking panels off. A fuse or switch fault can imitate a failed motor, so replacing parts without checking the simple circuit can waste time.
- Clear the rails. Vacuum both tracks and use a plastic pick to remove stones or compacted debris. For a manual seat, cycle it by hand after cleaning. Keep fingers clear of pinch points while the seat moves.
- Lubricate only the bare metal track. Use a dry lubricant that won't leave a thick, sticky film. Heavy grease holds grit, which can turn a clean rail into an abrasive track. Keep lubricant off vinyl, belt webbing, and electrical connectors.
- Check the crossbar cable if one side moves. A cable that has slipped out of position can leave one rail behind while the other travels. Reseat it before condemning the motor. Don't force the seat through a bind; that can bend the rail or overload the drive.
- Treat a loose recliner differently from a stripped one. Snug an accessible pivot bolt if it's loose. If the gear teeth are stripped, stop. A recliner that can't hold the seatback in position can compromise control of the seat, especially during a sudden stop.
- Use the headrest release rather than force. Find the release button or cable and operate it while gently moving the headrest. Hammering the posts can damage the guides and leave the headrest stuck more firmly.
After reassembly, check that the seat travels through its full range twice before refitting the trim. If the jam began in a collision, or the belt attached to that seat locked at the same time, don't keep troubleshooting the seat as an isolated mechanical fault. A shared crash event can affect restraint hardware too.
When Webbing and Pretensioners Leave the Garage
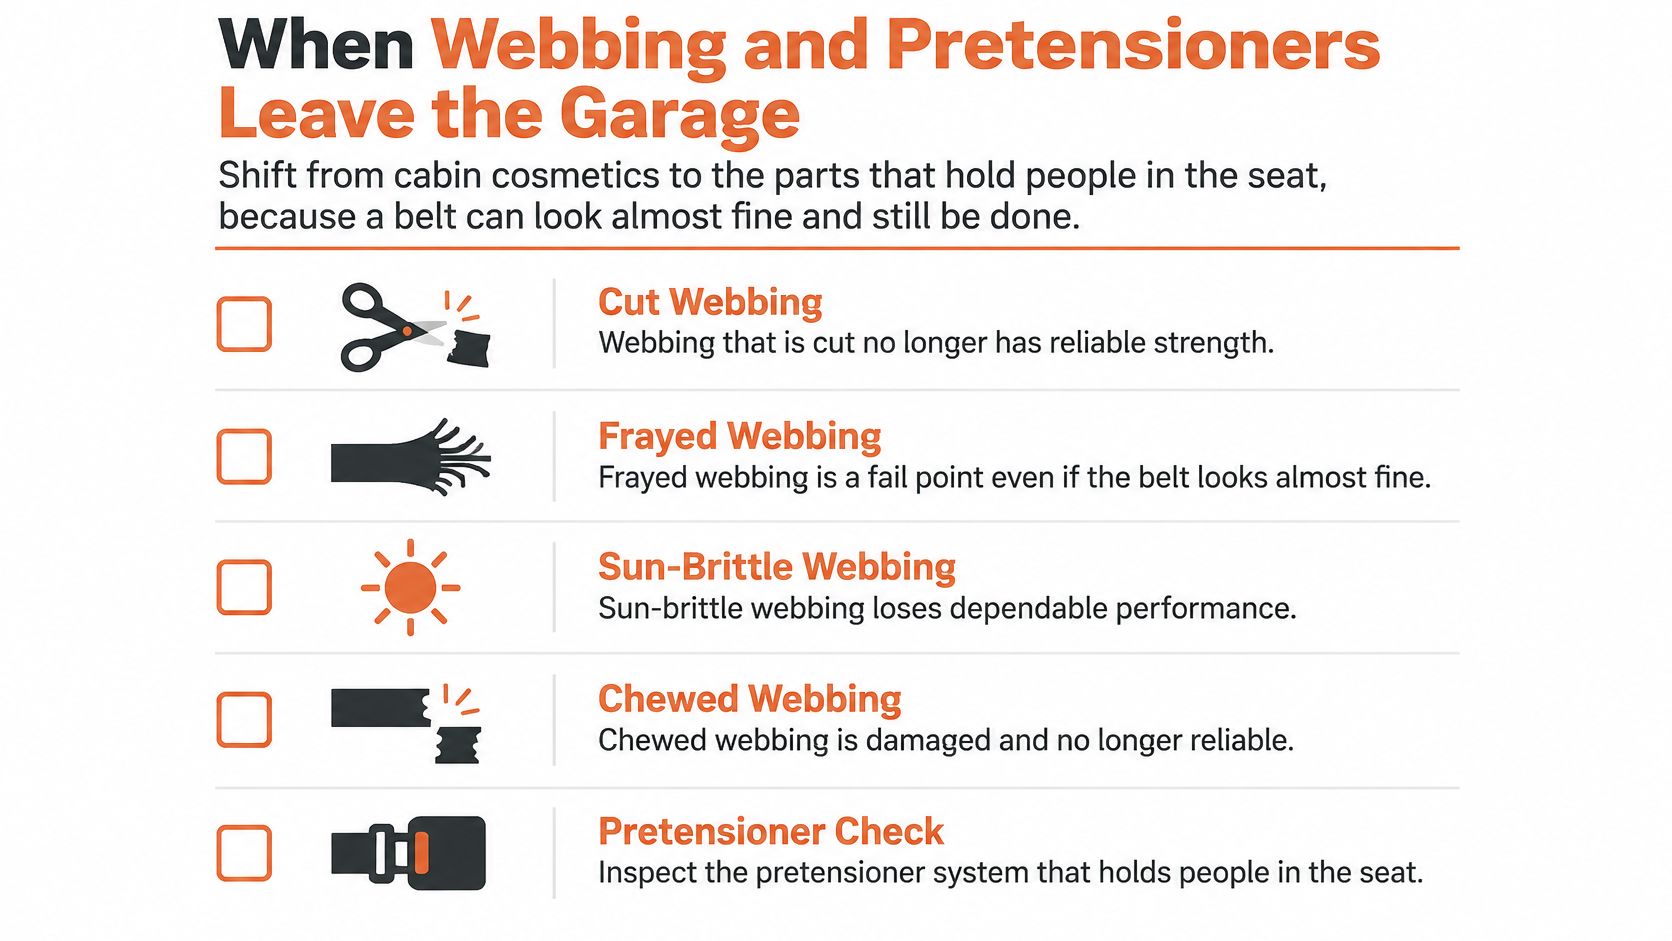
Don't stitch, glue, or patch seat-belt webbing at home. Cut, frayed, sun-brittle, or dog-chewed material can't be trusted just because the damage looks small. A pretensioner that fired in a collision may leave the belt locked or unable to retract even when the fabric looks untouched. Never hide an airbag warning by pulling a bulb.
Before removal, identify the assembly. Connector count can help distinguish single-stage, dual-stage, and triple-stage units, but don't probe the connector pins or guess at the wiring. Driver, passenger, rear, and center belts can all lock or need repair.
Remove and package the original assembly
- Disconnect the battery and wait before working near SRS components. Follow the vehicle's service procedure for the required wait and safe handling. If you're unsure how to isolate the system, leave removal to a qualified shop.
- Document the original installation. Photograph the belt path, anchors, connector, and trim before removing anything. These reference images can help prevent a twisted belt or misplaced component during reinstallation.
- Expose the lower anchor and retractor. Remove the trim panels covering them with suitable tools. Most removals involve trim and bolts rather than dismantling a wiring harness. Seat Belt Repair provides step-by-step pretensioner repair and removal guidance and helps with identification when needed.
- Unbolt and unplug carefully. Remove the retractor and anchors from the body, then disconnect the plug without probing its pins. Keep the original retractor, hardware, and tags together in a bag so the repair shop can work with the correct assembly.
- Label assemblies when several belts are out. Use tape to identify each belt's position and connector before boxing them. That simple label prevents a set from becoming a pile of similar-looking parts.
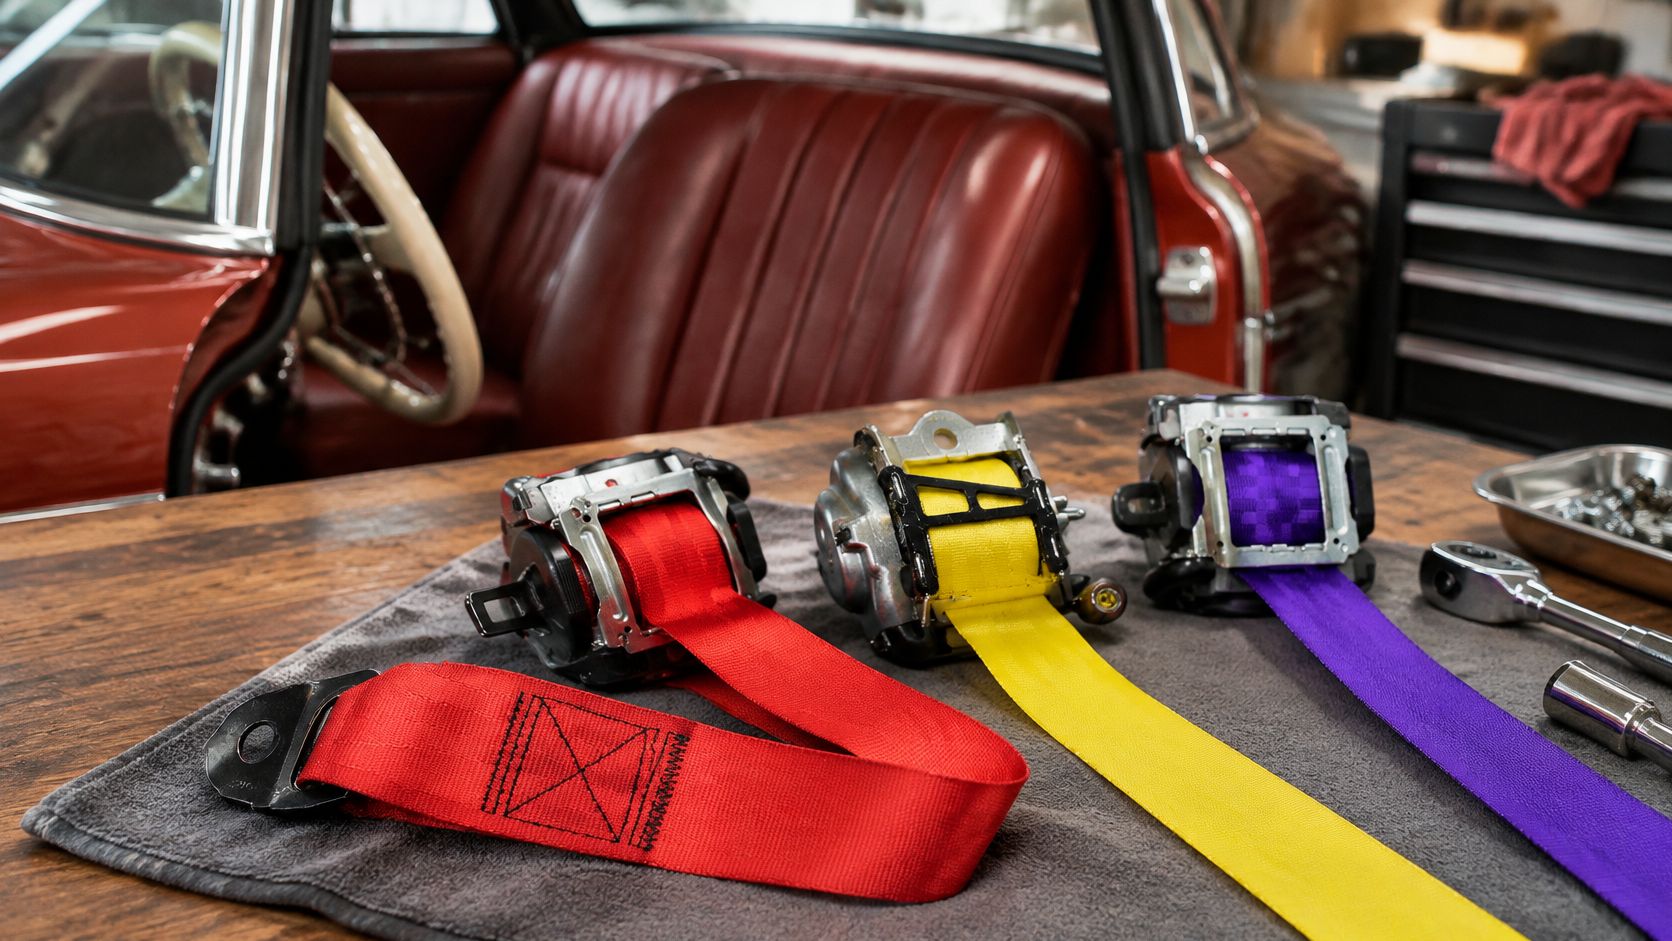
The useful mail-in repair is often a rebuild of the original factory retractor so it extends and retracts smoothly again, rather than buying a complete dealer assembly. Webbing can also be replaced with OEM-grade material, with original manufacturer tags restitched when they can be saved. A classic car owner arranging a reweb can consider Classic Car Seat Belt Webbing Restoration & Custom Color Replacement, which offers factory-matched and custom color options while preserving original tags when possible.
An airbag light after a collision may involve crash data in the SRS module. That module is a separate repair, not an upholstery job. Once the repaired belt is reinstalled, confirm that it buckles, retracts, and locks on a sharp tug before moving the vehicle. If anything feels wrong, don't drive it until the system has been checked.
Finish the Cabin and Send the Belts Out
Finish owner-lane work before calling the cabin done. A shallow tear should be fully cured, a replacement trim clip should hold without rattling, and a cleaned seat track should let the seat move freely. Before driving, run the seat through its full travel twice and check that the belt buckles, retracts, and locks on a sharp tug.
A belt with damaged webbing, a locked retractor, or a fired pretensioner is a different decision. Don't buy a full assembly by default if the original can be repaired, and don't return a belt to service just because it looks normal. Seat Belt Repair handles mail-in belt and airbag-module repairs using OEM parts, and its service starts from $64.97. Its repair work is completed in 24 hours or less; the customer or a local mechanic or body shop reinstalls the part because installation isn't offered.
For a classic car, custom webbing makes sense when a damaged belt is already out for repair. Choose a factory-matched color for an original-looking cabin, or a contrasting option such as Ferrari Red if you're intentionally changing the interior's look. Keep appearance upgrades secondary to a properly repaired restraint.
Photograph the symptom before removing anything. If it's a surface repair or a local seat fault, gather the right home tools and work patiently. If it's the belt or SRS system, identify and remove the original component safely, then send it for appropriate repair rather than treating restraint hardware like trim.
Seat Belt Repair offers mail-in repairs for locked or non-retracting belts, webbing replacement, and SRS airbag module resets. If a cabin repair has uncovered a restraint fault, visit Seat Belt Repair to find the right service and removal guidance for your component.

Оставить комментарий
Этот веб-сайт защищается hCaptcha. Применяются Политика конфиденциальности и Условия использования hCaptcha.