
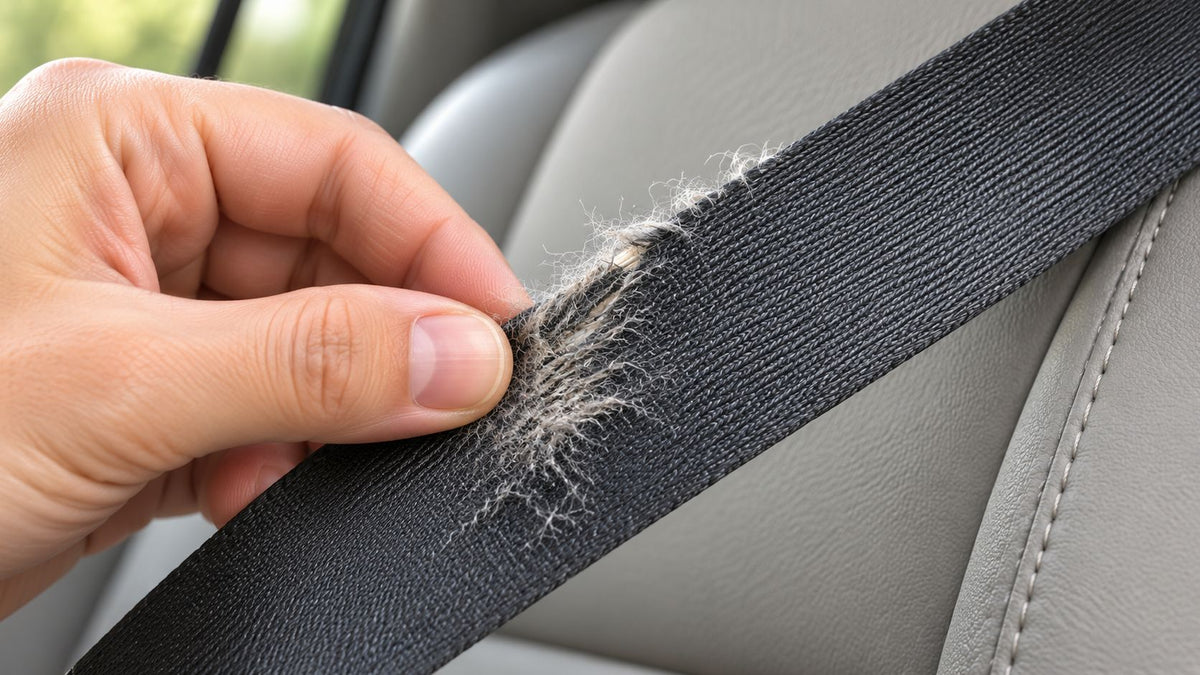
You pull the shoulder belt across your chest and feel a rough patch where it passes the pillar guide. The belt still clicks into the buckle, and the retractor pulls it back, so it's tempting to treat the fuzz as cosmetic. But a working mechanism doesn't prove the webbing is sound.
Seat belt wear is damage to the strap's fibers. It's a separate issue from a belt that locks after a crash, a pretensioner that has fired, or a retractor that won't rewind. The strap carries the occupant's load, so judge its condition by the webbing itself, not by the vehicle's age or whether a warning light is on.
Table of Contents
- What Rough Seat Belt Webbing Really Means
- Wear Signs and What to Do Next
- How to Inspect Seat Belt Webbing
- Why Webbing Wears in Ordinary Driving
- How Worn Webbing Changes Crash Protection
- Everyday Wear Patterns on Real Belts
- Choose Monitoring or Webbing Replacement
What Rough Seat Belt Webbing Really Means
Webbing is the tightly woven strap that crosses the chest and hips. In a crash, it needs to hold together across its width so it can restrain the occupant and spread the load. A clean-looking buckle can't make damaged webbing safe.
Wear often starts where the belt bends or rubs: at the D-ring, the latch plate, the lap section beside the buckle, or an edge of the seat. Look for three broad types of damage: abrasion and fraying, cuts or pet damage, and changes in color or texture caused by sun, heat, or chemicals.
A rough patch near the shoulder guide might be ordinary surface fuzz, or it might mean yarns are pulling loose. That difference matters. A small fuzz ball with intact edges and a flexible weave may be watched; loose threads, a slice, or powdery fibers call for replacement. A belt doesn't become safe or unsafe just because it looks dark, and model year alone isn't a useful verdict.
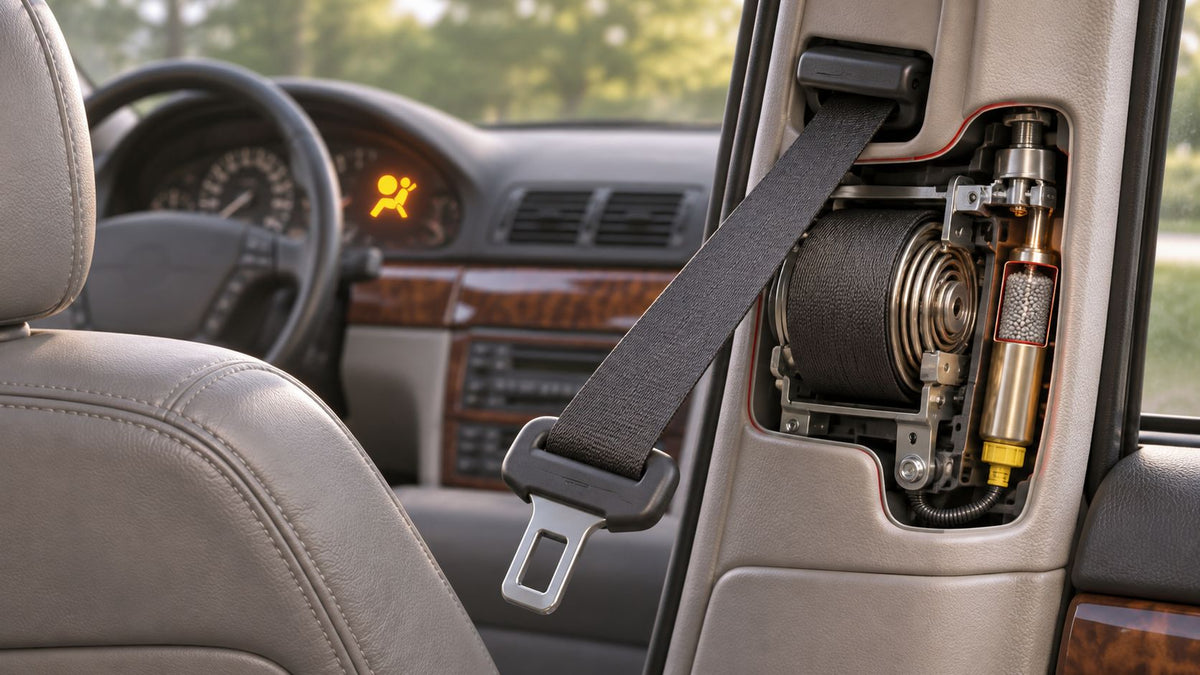
The mechanism can fail independently. A retractor that won't pay out or rewind needs attention even if the strap looks fine. A strap with severed fibers needs attention even if it retracts smoothly.
Wear Signs and What to Do Next
Use this table as a driveway decision aid. Check the webbing separately from the buckle and retractor.
| What you see or feel | Likely cause | Next action |
|---|---|---|
| Fuzzy or frayed edges with loose threads | Abrasion at the D-ring, pillar loop, or latch-plate fold | Replace the webbing if yarns are loose or the edge is unraveling |
| Clean cut, nick, or slice | Sharp cargo, tool, or seat edge | Replace the webbing; cut yarns don't heal |
| Chew marks, holes, or punctures | Pet damage | Replace the damaged webbing |
| Faded, stiff, chalky, or powdery strap | Sun and heat | Replace if fibers powder or the weave looks thin |
| Grease, cleaner, or chemical stain | Oil, solvent, or battery acid | Replace if the patch is soft, brittle, or discolored through the weave |
| Belt locked or won't retract, strap looks intact | Retractor or pretensioner, not webbing wear | Repair the mechanism and still inspect the strap |
| Twisted strap or slow return, weave intact | Twist or dirt in the belt path | Untwist and clear the path; replace only if the strap itself is damaged |
Fuzzy edges come from repeated rubbing at a bend or fold. If threads are loose or the edge is unraveling, don't trim them. Cutting off the visible fuzz doesn't restore the missing fibers or make the edge continuous.
A cut, nick, hole, or chew mark removes or severs fibers in a concentrated spot. There's no reliable home repair for that damage. Fade alone isn't always decisive, but a strap that has become chalky, powdery, stiff, or visibly thin should be taken out of service.
Treat chemical marks cautiously. Grease or a cleaner can affect the weave even when the discoloration seems minor. If the patch feels soft or brittle, or the color has soaked through the webbing, don't assume washing will fix it. For guidance on a belt with visible growth or staining, Seat Belt Repair's article on mold on seat belts discusses the issue.
A belt that stays locked or won't rewind points to the mechanism, not automatically to the webbing. A twist can also slow the return. Straighten the belt and clear its path, but inspect the fibers either way. Photograph the worst spot before cleaning; washing can erase a stain that might help identify chemical damage.
How to Inspect Seat Belt Webbing
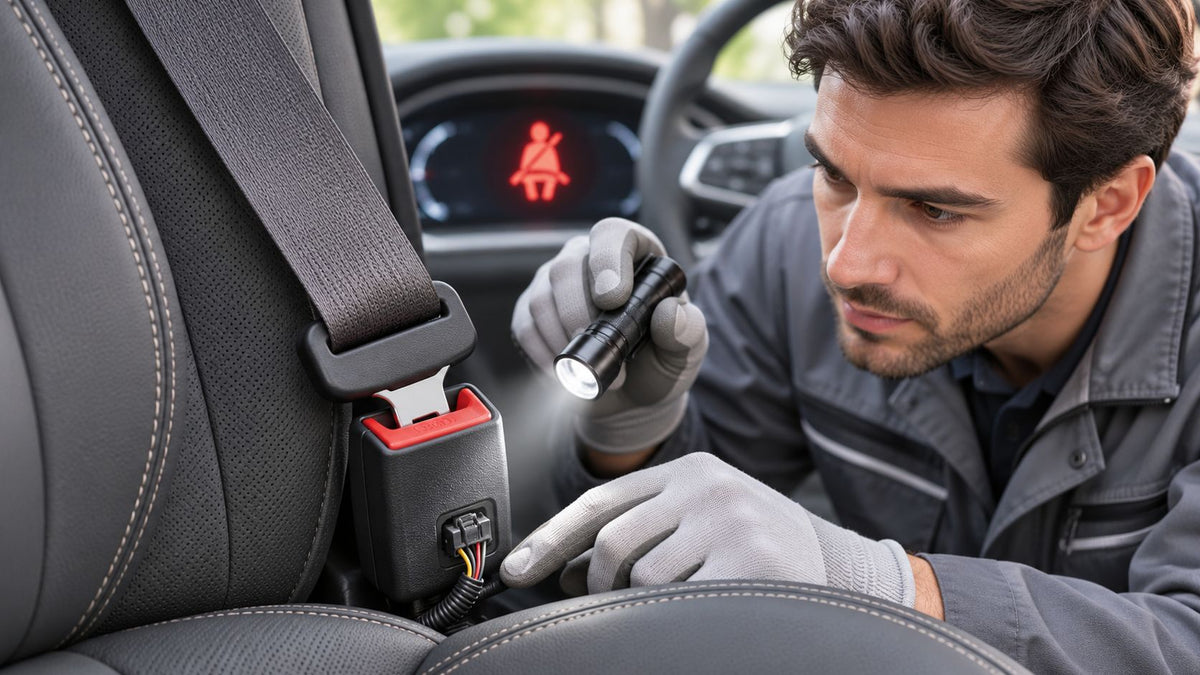
A flashlight is enough for a careful driveway check. Don't dismantle the retractor or tug hard on the strap to test its strength.
- Park, switch off, and move the seat fully back. This exposes the lap and shoulder portions that may be hidden by the seat.
- Pull the belt all the way out, then let it rewind slowly. Watch for hitching that could point to a twist or debris in the belt path.
- With the belt extended, pinch and flex the webbing along its length. Pay particular attention to the D-ring, latch plate, and buckle side, where stiff, soft, or snagging spots may show up.
- Look at both faces and both edges. Check for loose yarns, cuts, holes, chew marks, and color that has turned chalky.
- Check the latch plate and buckle, then fasten the belt. Look for cracks, confirm the tongue clicks and releases, and check that the dashboard reminder behaves as it should for that seating position.
- Record post-crash clues separately. A belt that won't extend, a spent pretensioner, or an airbag light points to a mechanism or module issue, not proof that the weave is damaged.
- Write down the seating position and photograph the worst spot. Note whether the damage is edge fuzz, a cut, chew marks, fade, or a chemical patch so you can assess the same evidence later.
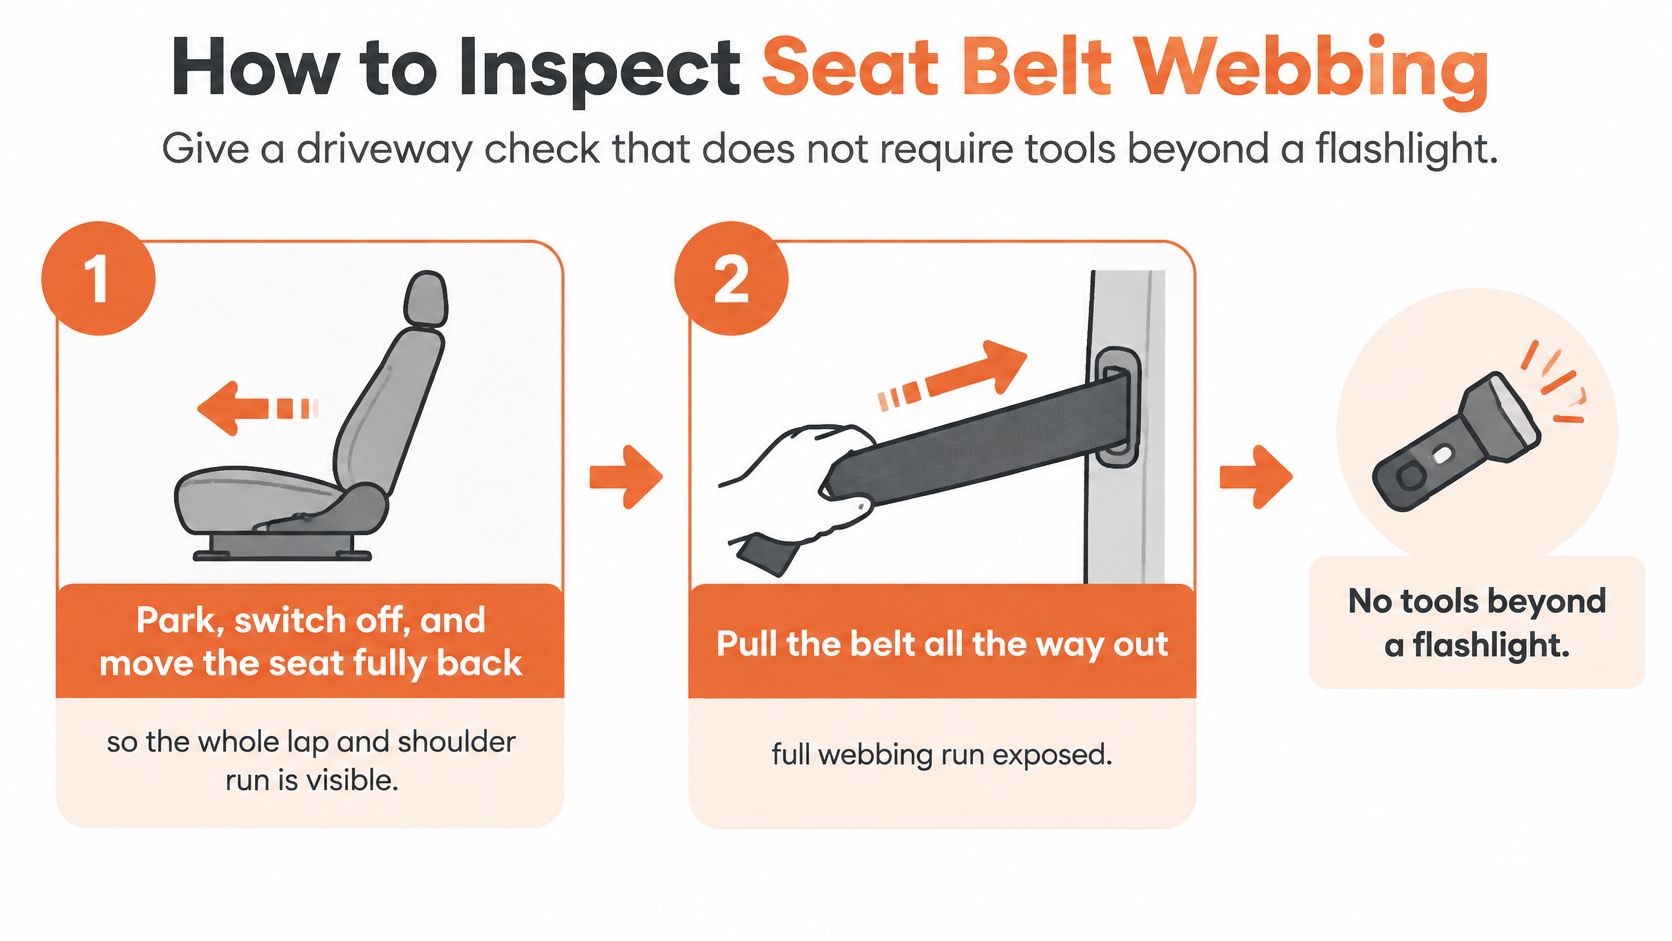
If the retractor won't pay out enough belt to inspect, stop there. Don't pry it open; an internal mechanism can be under tension, and forcing it won't tell you whether the webbing is sound.
For a broader used-vehicle check, this used-car safety inspection guide can help put the belt inspection alongside other safety checks.
The video below shows a seat belt inspection in practice.
Why Webbing Wears in Ordinary Driving
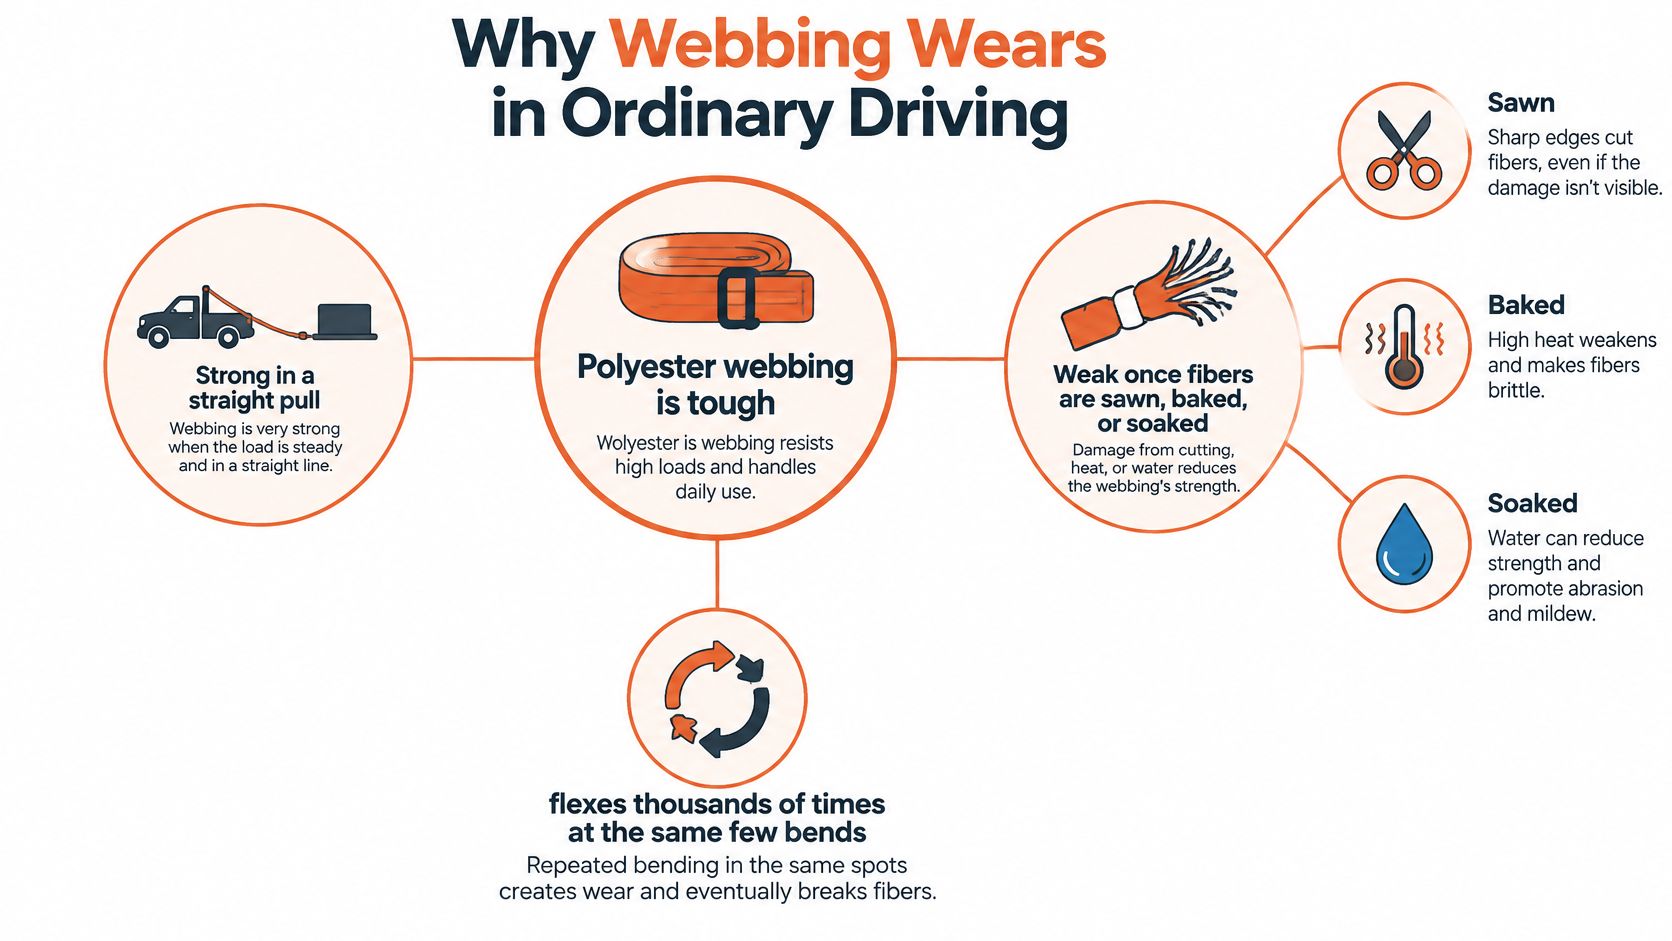
A belt rarely weakens from one ordinary pull. Wear builds where the same few inches bend, slide, and carry tension every time the strap is used.
Abrasion works at specific contact points. Each pull draws the webbing across the D-ring, latch plate, and nearby seat or trim edges. At a bend, the outer yarns carry more strain than the inner ones. Grit trapped along that path acts like fine sandpaper, while a twist can concentrate the rubbing on one edge until the surface turns fuzzy or polished.
Sun and cabin heat change fibers where light reaches. A section left across a seat in a parked car receives more exposure than the portion stored inside the pillar. The telltale clue is mechanical rather than visual alone: loss of suppleness, a chalky surface, or powder that transfers to the fingers indicates the fibers have changed.
Chemicals can weaken yarns without cutting them. Oil, solvents, harsh cleaners, and battery acid may leave a patch that feels gummy, soft, or brittle. Silicone dressings and similar products are not a safe way to condition the strap or quiet rubbing.
Concentrated damage removes many neighboring yarns at once. Teeth, a cargo corner, a sharp tool, or child-seat hardware can cut a small area quickly. That kind of damage matters more than the belt's age because it interrupts the yarns that share load across the strap.
A retractor that still pays out and a buckle that still latches only show that the hardware operates. Webbing has to be judged by the condition of its fibers along the path it travels.
How Worn Webbing Changes Crash Protection
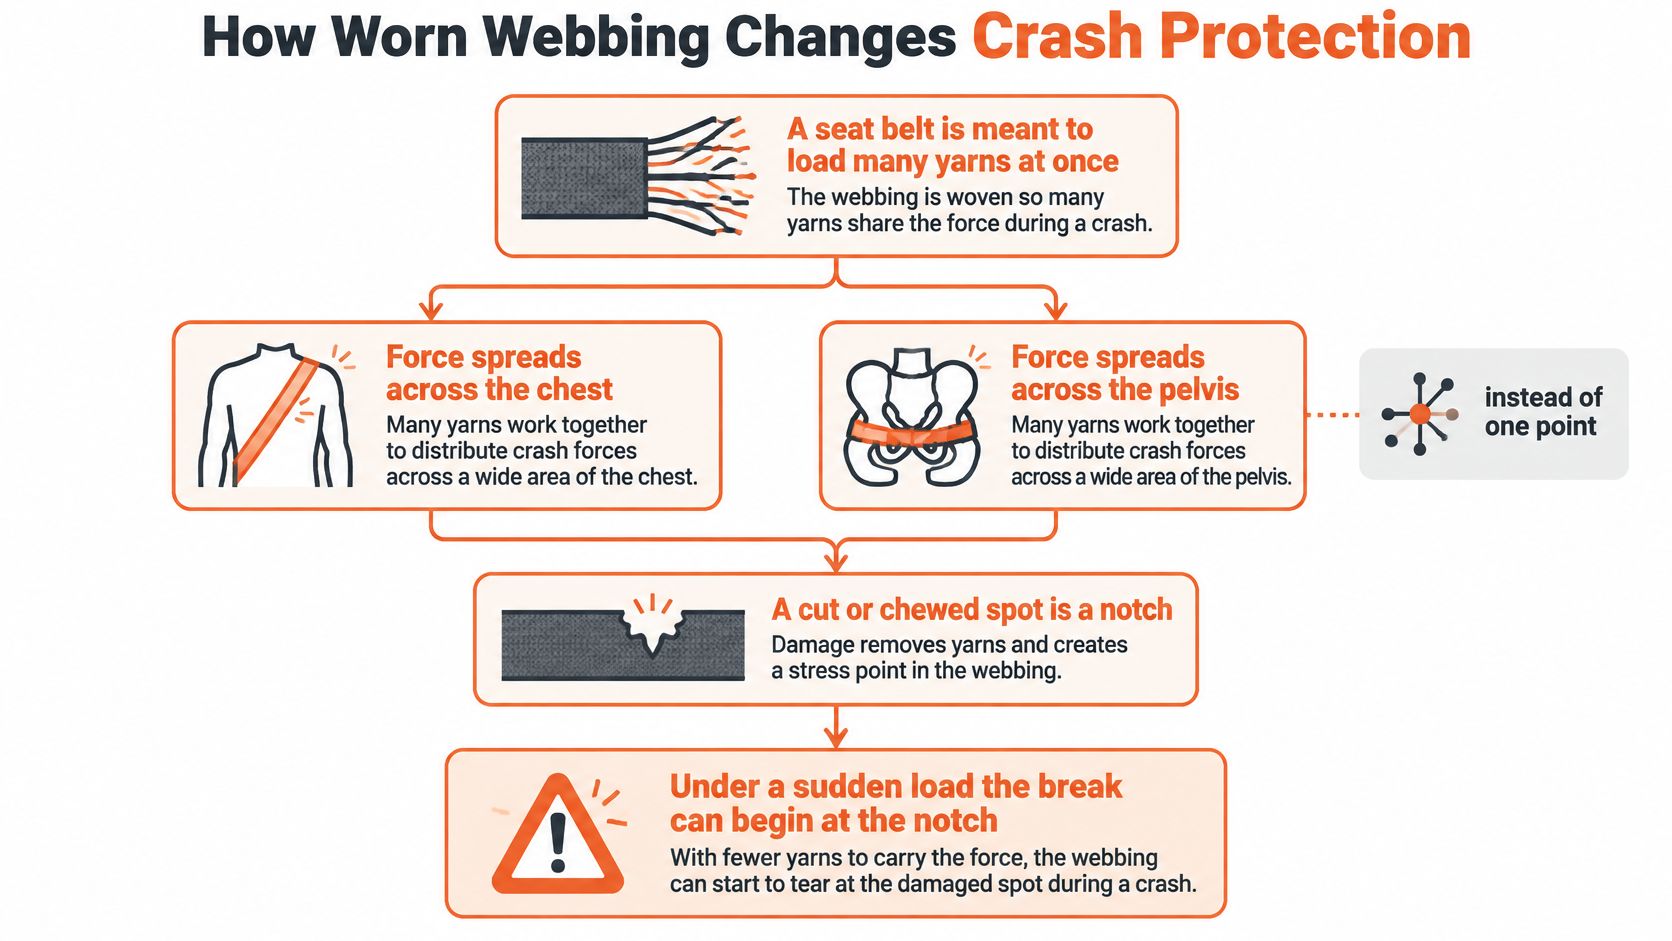
A belt is designed to load many yarns at once. That lets the strap spread force across the chest and pelvis rather than concentrating it at one small point. A cut or chewed section interrupts that load path.
When one yarn is severed, the yarns beside it pick up its share of the load. A few missing yarns raise the stress on everything still holding, and under a sudden crash load a tear can run across the strap from that weakened spot. Fraying works the same way from the edge inward: it strips the border yarns that lock the weave together, so a belt can feel snug during ordinary use while carrying far less than it was built to.
Some fiber loss hides well. Heat, ultraviolet exposure, or chemicals can weaken yarns while the strap still looks continuous. Color and a working latch are poor evidence either way, because neither measures the strength left in the weave.
Fit matters too. A twisted or rough belt is easier to wear loose, route under the arm, or position badly on the pelvis, and that shifts where force lands on the body. Never test webbing by yanking it, cutting a sample, or sewing a patch over damage. If fibers are severed, chewed, or powdery, stop using that strap. If the strap itself is sound but the belt is locked or slow to retract, the mechanism needs attention on its own.
Everyday Wear Patterns on Real Belts
A commuter's shoulder belt may show a soft halo of fuzz where it turns at the pillar loop. The section hidden inside the retractor can still look dark and smooth. That contrast points to rubbing at the guide, but loose or pulling yarns mean the damage is no longer just surface fuzz.
A vehicle that sits outside may have a pale, stiff section of lap belt across the seat cushion. The webbing can return to its normal color as it disappears into the pillar. That exposed-versus-hidden pattern fits sun and heat exposure better than dirt; the feel of the strap matters more than the color alone.
On a workshop vehicle, a dark greasy crescent may appear near the latch plate. Hands, oil, or a dressing used to quiet a squeak can leave a mark there. If the affected patch feels gummy or brittle, treat it as possible chemical damage rather than trying to polish it away.
Rear belts can show clusters of punctures or shredded edges from a pet. The damage may be limited to the side facing the cushion, and the retractor may work normally. The smooth return doesn't change what the teeth have done to the fibers.
A classic car's original belts may have been stored folded for years. A crease alone isn't the same as failure, but cracking when you open the fold is a reason to stop using that strap. A child-seat install can also polish a shiny track into one belt edge: shine with intact, flexible fibers can be monitored, while shine accompanied by cut yarns cannot.
Choose Monitoring or Webbing Replacement
A retractor that winds smoothly proves nothing about the strap it carries. The decision to monitor or replace runs on fiber condition alone, and the signs table from the inspection step is the verdict list.
Monitoring is reasonable for a small surface mark while the weave stays flexible, both edges hold, and no yarns pull free. Photograph the spot and compare the same area at the next routine vehicle check, sooner if the mark spreads. Fading by itself is a watch item; a chalky or powdery surface means the fibers are breaking down and the strap needs replacement.
The short version of the call:
- Reweb when yarns are loose or unraveling, fibers are cut, a pet has chewed or punctured the strap, the weave has gone powdery, or a chemical patch feels soft or brittle.
- Monitor a flat mark only while the fibers stay supple and every yarn holds under a fingernail check.
- Send a locked, slow, or post-crash belt in for mechanism service when the webbing itself passes inspection.
The two tracks stay separate: a pretensioner can lock after a crash behind webbing that is still sound, and a smooth-winding retractor can sit behind a strap with cut yarns. Skip cosmetic fixes too. Trimming frayed edges, dyeing faded webbing, or sewing on a patch hides damage without restoring a continuous, properly made strap.
When only the webbing has failed, rewebbing keeps the original retractor, latch plate, and buckle while replacing the strap. Seat Belt Repair replaces cut, torn, or damaged webbing with OEM-quality material to restore the belt's original strength and appearance, and backs the work with a Lifetime Warranty. The service is mail-in, so the owner or a local shop handles reinstallation. For off-road belts, ATV Seat Belt Repair Webbing Replacement Color Change replaces the webbing and returns the belt in color-matched form.
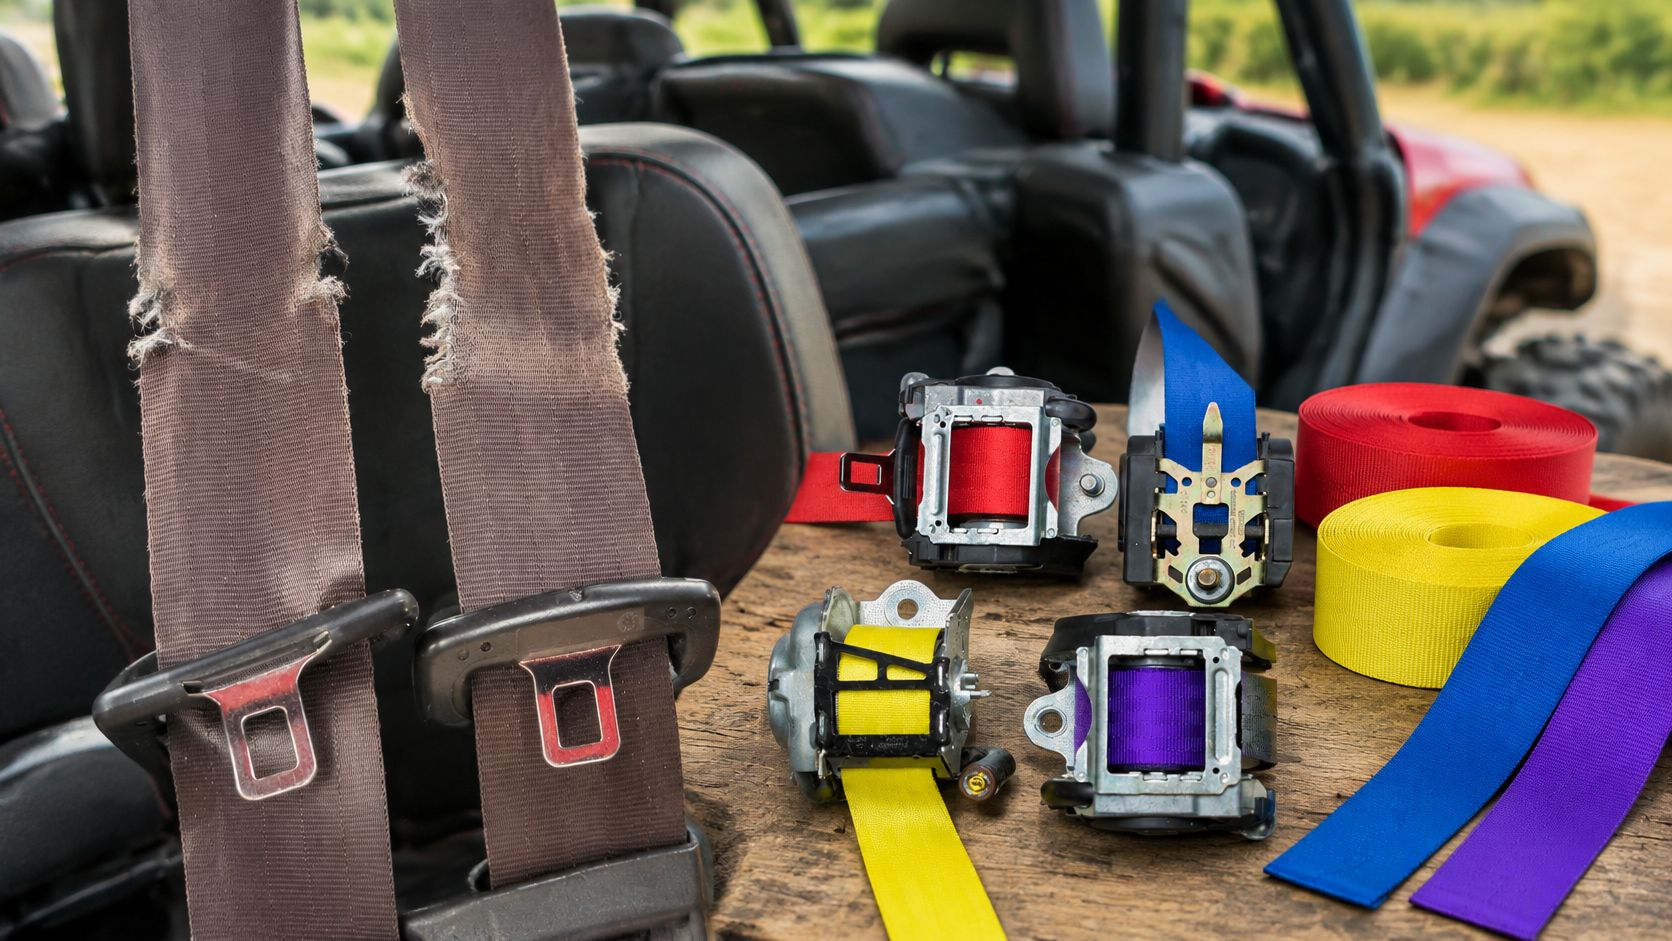
If the choice runs wider than monitor versus reweb, this comparison of new, used, and repaired seat belt assemblies lays out the trade-offs. Seat Belt Repair provides step-by-step removal instructions and helps if needed; on most vehicles the belt comes out by removing the trim panels and unbolting it from the frame. Calls go to 413-707-4984, texts to 413-564-1242.
Seat Belt Repair offers mail-in webbing replacement for cut, frayed, chewed, or otherwise damaged belts, restoring the strap's original strength and appearance with OEM-quality material. If a rough patch has loose yarns or a chemical-damaged section feels brittle, contact Seat Belt Repair before using that seating position again.

Оставить комментарий
Этот веб-сайт защищается hCaptcha. Применяются Политика конфиденциальности и Условия использования hCaptcha.