
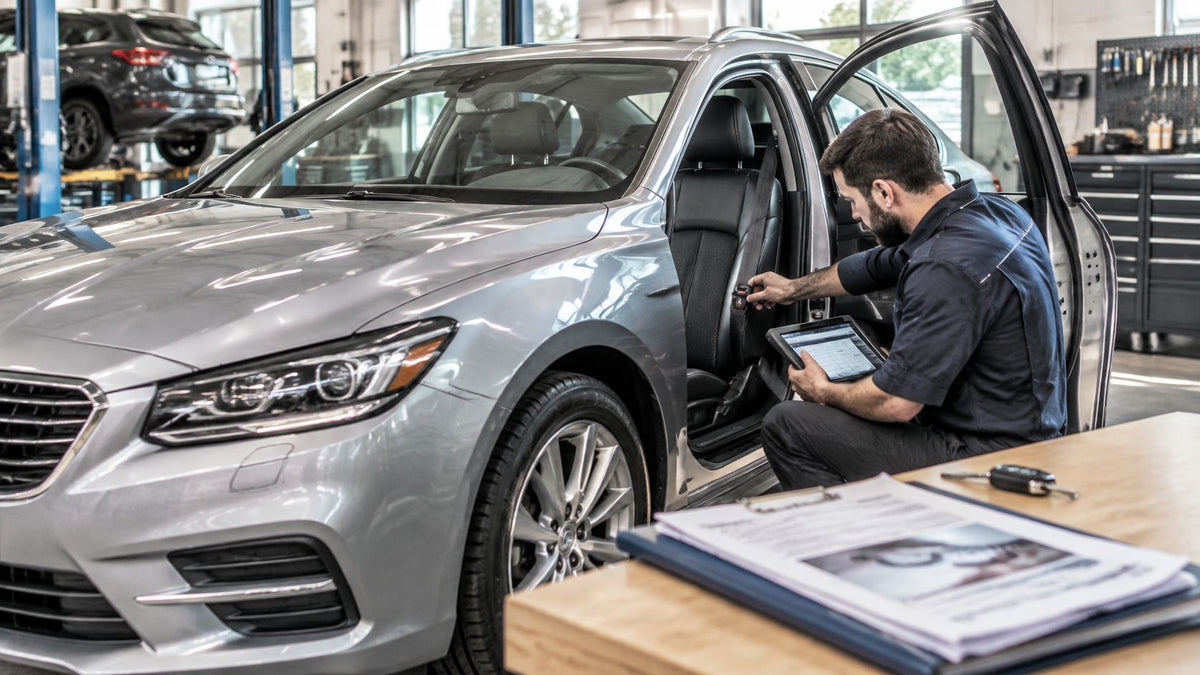
You've found a late-model car at Copart with a clean interior, a deployed steering-wheel bag, and a hammer price that leaves room on paper. Then the harder questions start. Will your state title it, what receipts will the inspector want, and does a cleared airbag light prove the restraints work at all? A Copart rebuild succeeds when you treat it as one documented file from bid to registration, not as bodywork followed by paperwork you hope will catch up.
Table of Contents
- The Copart Rebuild Workflow From Auction to Road
- State Title Rules to Check Before You Bid
- How to Vet a Copart Lot Before You Bid
- How to Repair Seat Belts and SRS Modules
- Release Checklist and ADAS Checks Before Driving
- Choose the Cheapest Route and Test the Margin
The Copart Rebuild Workflow From Auction to Road
You aren't buying from a local yard anymore. You're buying from a national pipeline, and that changes how you plan the job.
Copart began in 1982 with a single salvage yard in Vallejo, California, moved to a completely online auction model in 2003, and by fiscal 2025 its platform listed approximately 400,000 vehicles daily for members in more than 165 countries, according to Copart's company history. That scale means you can source a car three states away and route it to specialist body, restraint, and electronics providers. It also means the car arrives with no local seller to question later. Your file is your memory.
Seven phases, one paper trail
Work in order. Don't start structural repair before teardown photos exist, and don't book final assembly before you know when inspection can happen. In most shops, state inspection scheduling sets the pace for the last phases, so plan the calendar backward from that date.
| Phase | Core actions | Records to keep |
|---|---|---|
| 1. Acquire | Bid on the lot, confirm title brand, pay buyer fees | Auction photos, VIN, lot number, bill of sale |
| 2. Transport | Tow or haul the car to the repair site | Tow invoice, pickup photos with odometer |
| 3. Teardown and inspect | Map deployed airbags, pretensioners, sensors and mounts | Damage log by zone, photos of each restraint point |
| 4. Repair structure and safety | Body and frame work, OEM restraint parts, wiring repair | Parts invoices with part numbers, labor records |
| 5. Reset and calibrate | SRS scan, crash-data clearing, ADAS calibration where triggered | Scan reports before and after, calibration printouts |
| 6. Independent verification | Roadworthiness inspection where local law requires it | Inspection certificate |
| 7. Title and registration | Complete the state rebuilt or salvage title process | Title application, repair statement, required markings |
Allow days, not hours, for transport and teardown, and longer for parts sourcing than for fitting. The parts that stall jobs aren't usually panels. They're a missing pretensioner, a connector nobody photographed, or a scan report that wasn't saved before codes were cleared.
Practical rule: If a record would be hard to recreate after repair, capture it before you touch a bolt.
A missed record in phase one usually blocks phase seven. Auction photos get deleted, lots close, and sellers can't reconstruct what you didn't save. Build the file as you go and the title appointment becomes an administrative step, not an investigation.
State Title Rules to Check Before You Bid
There's no single national rebuilt-title process. A car that's straightforward to title in one state can trigger extra inspections, markings, or receipt rules in another, and buying first locks you into whatever your state demands.
Colorado requires a certified VIN inspection, the salvage title, a detailed statement listing repairs and parts, receipts supporting major components, and a permanent "REBUILT FROM SALVAGE" marking, with minimum requirements for frame, body, steering, axles, wheels, and suspension, as set out by the Colorado State Patrol VIN inspection service. That's a documentation standard, not just a safety check. Copart itself acknowledges that salvage vehicles may face state-specific purchase restrictions and special inspections before becoming road legal.
| State | Inspection | Paperwork | Marking or extra rules |
|---|---|---|---|
| Colorado | Certified VIN inspection | Salvage title, detailed repair statement, receipts for major components | Permanent REBUILT FROM SALVAGE marking; minimum frame, body, steering, axle, wheel and suspension standards |
| Virginia | Safety inspection | Pre-repair images and parts-and-labor documentation may be reviewed | Confirm current title branding with the DMV before bidding |
Questions to put to your DMV before bidding
Call before you bid, not after the tow truck arrives. Ask these in plain terms and write down who answered.
- Out-of-state title: Does an out-of-state salvage title trigger an additional inspection here?
- Receipts: Which receipts do you accept for major components, and must part numbers and VINs of donor parts appear on them?
- Markings: Is any rebuilt marking permanent, where does it go, and who applies it?
- Restraint evidence: Does a seat belt or SRS module repair invoice count as evidence, and what component identification do you want with it?
- Photos: Do you review pre-repair images, and how many angles do you expect?
A mail-in restraint invoice supports the file. It never replaces a state-required inspection or a manufacturer procedure. Present it as one piece of evidence alongside scan reports, part numbers, and labor records.
Also separate title from registration in your planning. The distinction matters for taxes, plates, and timing, and this explanation of registration requirements after buying a car is useful background before you talk to your local office.
Finally, call your insurer. Ask whether they'll cover a rebuilt title, whether coverage is liability only or full coverage, and which repair records they require. A car you can title but can't insure at a sensible price isn't a finished rebuild.
How to Vet a Copart Lot Before You Bid
Supply won't be your problem. Selection will be.
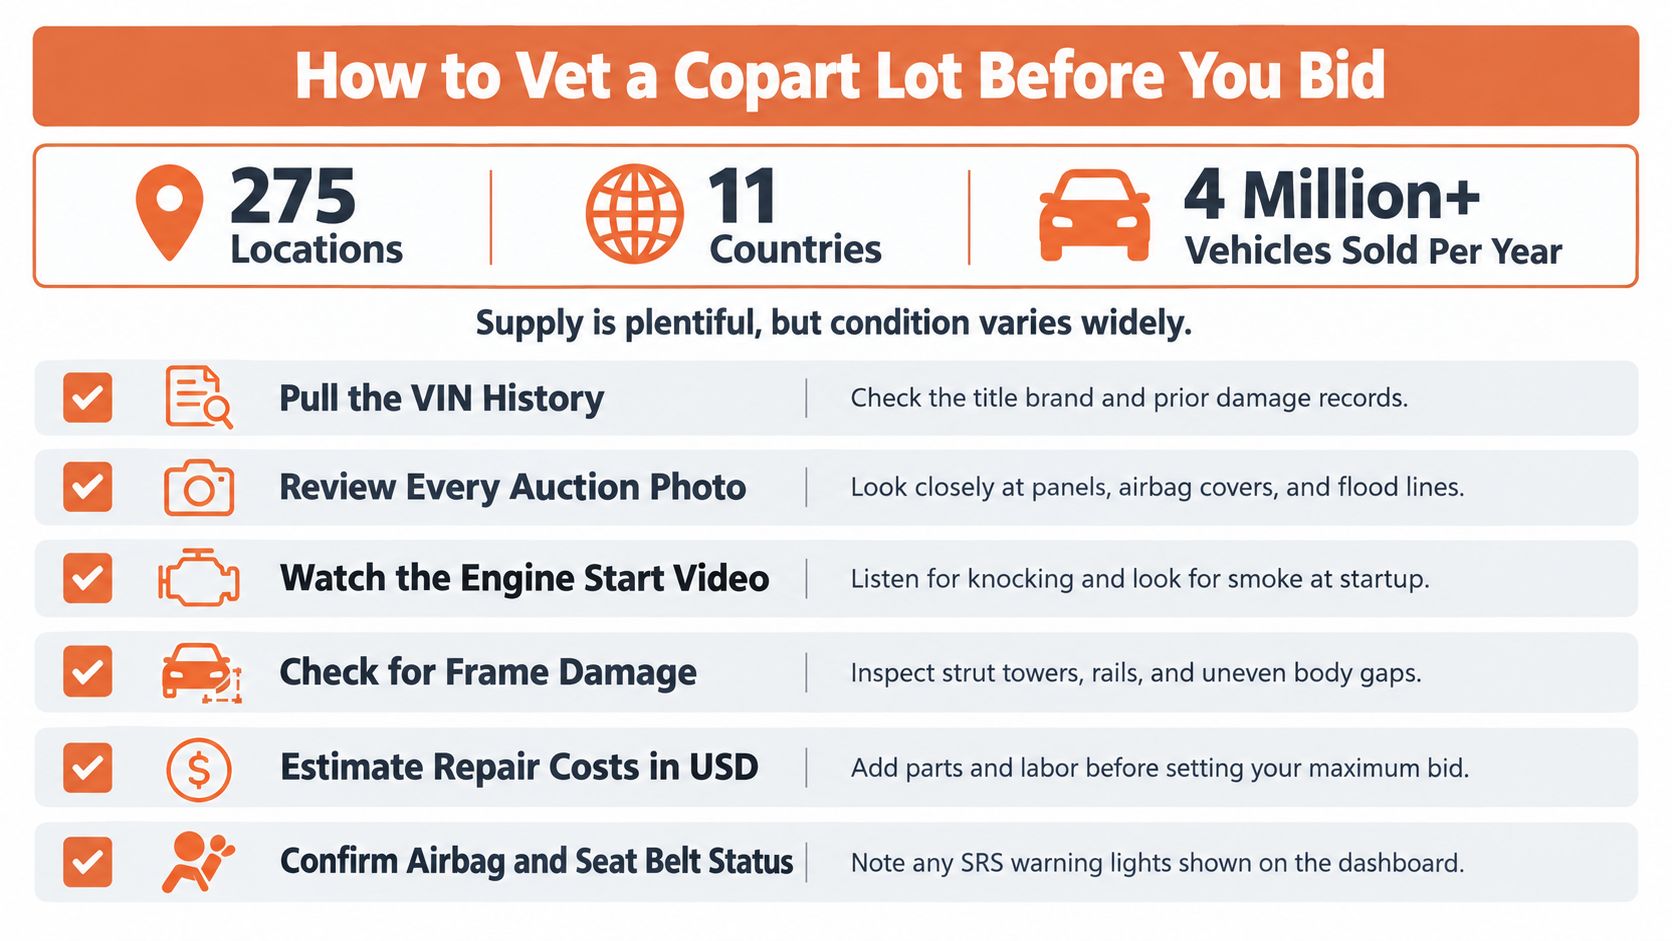
Copart operates 275 locations in 11 countries and sells more than 4 million vehicles annually, according to Copart's company overview. Treat that volume as evidence of market depth, not proof that any individual car is economically or legally suitable. Condition and documentation vary substantially because sellers range from insurers to rental firms, municipalities, and charities.
The checklist below summarizes the screening order to work through before you set a maximum bid.
Screen in this order
- Confirm the title brand. Check that your state will title this brand for road use. If it won't, stop here.
- Read the damage zones. Work through every photo for front, side, rollover, flood, or fire damage. Note panel gaps, strut towers, rails, and whether damage reaches mounting points.
- Count restraint components. List deployed airbags, buckles, and pretensioners you can see or infer from the listing. Assume hidden deployment where trim is disturbed.
- Check mechanical signs. Look at start status, flood lines, silt in the cabin, and corrosion on connectors. A car that starts can still have water in modules.
- Build a rough estimate. Price parts and labor for structure, restraints, scans, and calibration, not just visible panels.
- Add shipping. Price transport from that specific lot to your shop, including storage risk if pickup is delayed.
This walkthrough shows how experienced buyers read listing photos and start videos before committing money.
| Check | What to look for | Walk-away sign |
|---|---|---|
| Title brand | Salvage, rebuildable or theft recovery brand | Brand your state will not title for road use |
| Damage zones | Front, side, rollover, flood or fire damage in photos | Frame or unibody damage you cannot measure |
| Airbag status | Deployed bags shown in photos or noted in the listing | Missing airbag modules or unknown deployment history |
| Seat belts | Buckles, pretensioners and visible stage count | Unknown stage count or mismatched configuration |
| Mechanical | Starts and runs, transmission behavior, signs of flood | Water line or corrosion on connectors |
| Repair estimate | Parts and labor against expected resale | Repair total leaves no margin |
| Shipping | Distance from lot to your repair site | Transport cost erodes the margin |
If you can't measure it, identify it, or document it from the listing, price it as a replacement or pass on the lot.
I would walk away fastest from unmeasurable structural damage and unknown restraint configuration. Panels are predictable. A missing SRS module or a belt with an unknown stage count turns a budget into a guess. A car fails screening when the honest repair total leaves no margin against realistic resale for a rebuilt title in your market.
How to Repair Seat Belts and SRS Modules
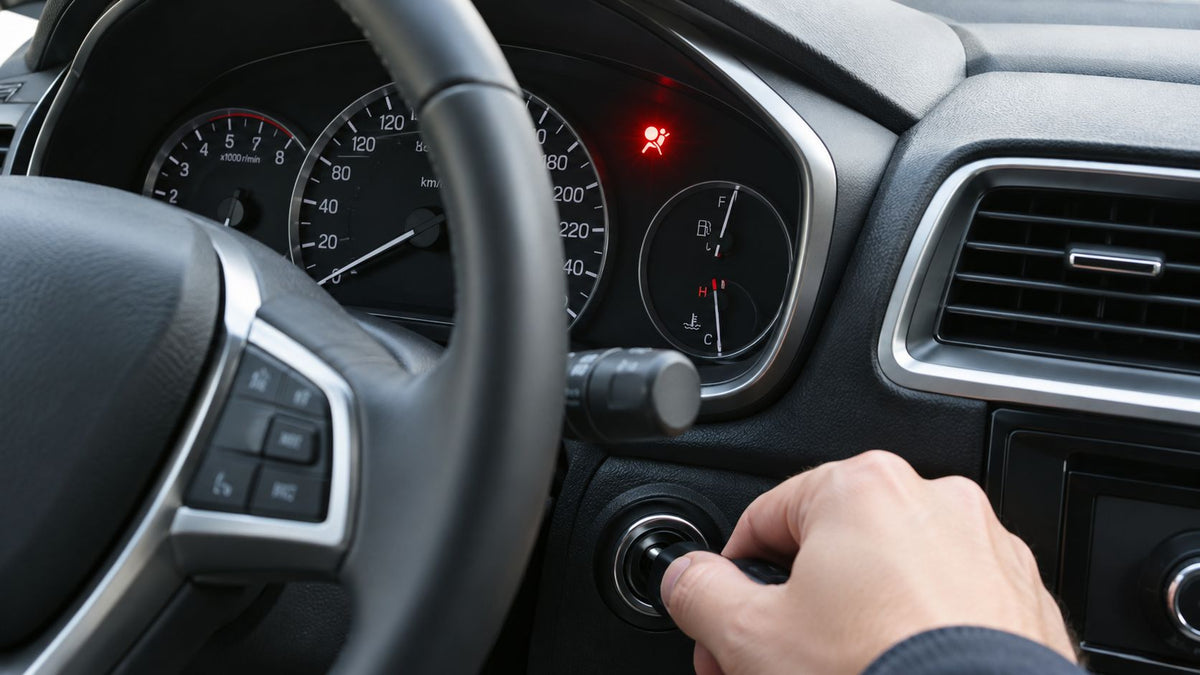
After a teardown, the driver-side belt locks and will not retract. Clearing the SRS warning lamp will not restore that belt. Repair the restraint system by identifying damaged components, addressing mechanical faults, and confirming the system's status after the work.
Manufacturer guidance calls for post-collision inspection of harnesses, anchors, retractors, pretensioners, and the restraint-control module. Deployed airbags cannot be reused and must be replaced before driving, as summarized in the IIHS airbag research. Follow a documented repair sequence so a clean scan does not hide physical damage.
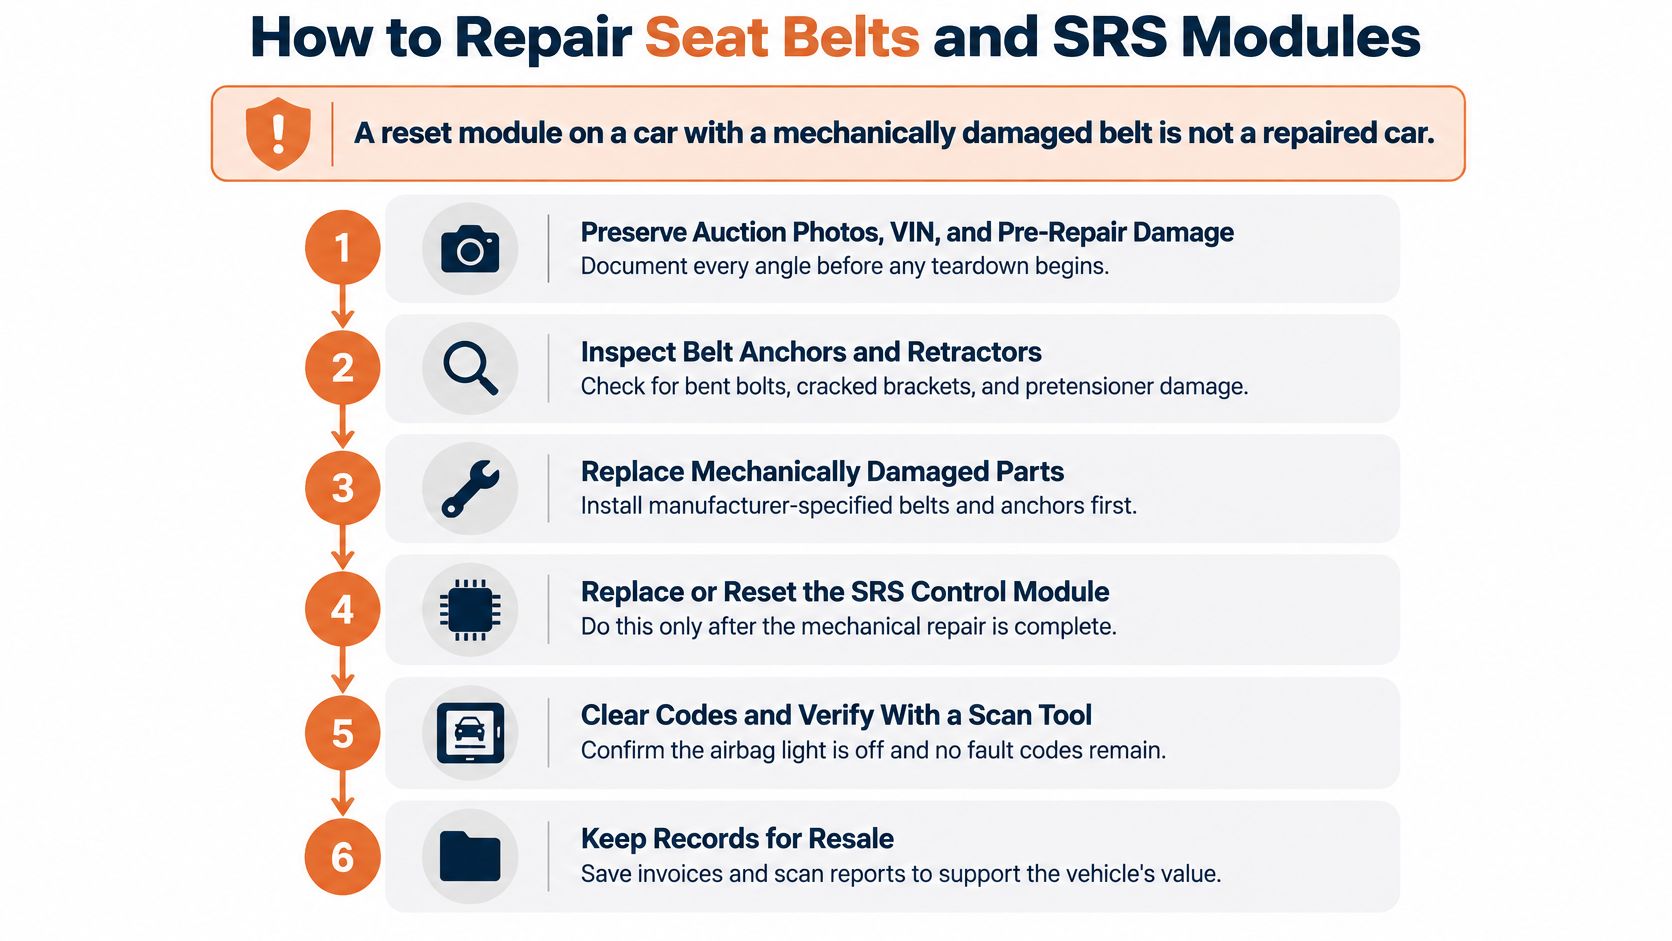
The eight-step restraint workflow
- Preserve the starting point. Save auction photographs, the VIN, and pre-repair damage records before teardown. Keep them with the vehicle's repair file.
- Identify every component. List deployed airbags, pretensioners, buckles, impact sensors, harnesses, connectors, and anchor points by seating position. The dash lamp does not show which parts fired.
- Inspect mounting points. Check anchors, retractors, and sensor brackets for bends, cracks, deformation, damaged fasteners, or connector damage. A replacement belt cannot correct a bent anchor.
- Replace deployed or crash-damaged parts. Use vehicle-compatible OEM components and match part numbers to the VIN, not just to appearance.
- Scan the SRS module. Record crash data and hard faults before clearing them. Keep the scan as part of the repair record.
- Repair wiring and install to procedure. Follow the manufacturer's routing, connector-locking, and torque instructions. Disconnect the battery and allow capacitors to discharge before handling SRS components.
- Rescan and initialize. Run the specified initialization or self-test when required, then check the results with a fresh scan.
- File the proof. Keep scan reports, invoices, photographs, and part numbers together under the VIN for title inspection and future disclosure.
Identifying the Belt You Have
Count the connectors to confirm the belt stage before ordering or shipping a unit. Single-, dual-, and triple-stage pretensioners can look alike after trim removal, but an incompatible unit can trigger faults a module reset will not fix. Photograph each connector and label the belt by position: driver, passenger, rear, or center.
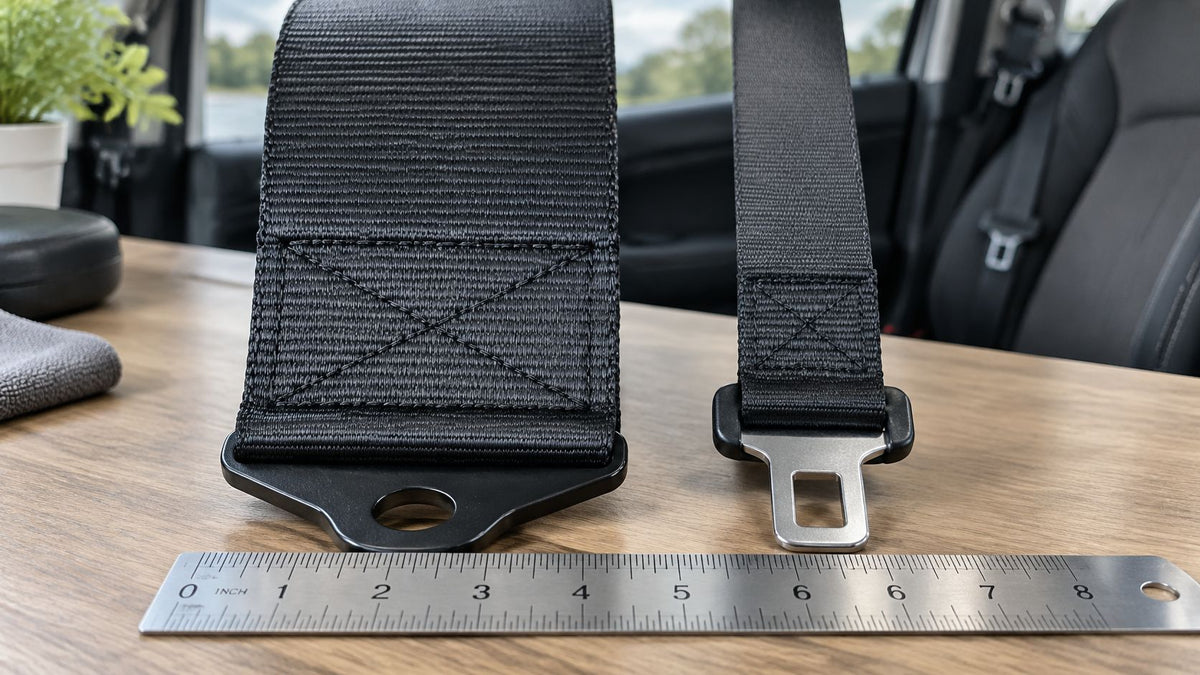
A locked belt that will not extend or retract may have a deployed pretensioner. A scan tool cannot repair that mechanical fault. The locked seat belt repair service repairs the original factory unit, including single-, dual-, and triple-stage pretensioners. Seat Belt Repair states that turnaround is 24 hours after receipt. Keeping the original unit also makes part identification easier to document.
Seat Belt Repair offers mail-in pretensioner repair and SRS module resets; removal, installation, torque checks, wiring inspection, and the final scan remain with you or your shop. Allow for shipping both ways. Confirm the stage count and photograph the connectors before sending parts.
For a cost comparison, use this guide to repairing seat belts and airbag modules on Copart salvage cars to estimate the restraint line in the repair budget. Then match the quote to the components in your car. A low quote does not help if it covers the wrong stage or leaves crash data in the module.
Release Checklist and ADAS Checks Before Driving
A windshield swap can leave a forward-facing camera aimed incorrectly, even when the dashboard shows no warning. Release the car only after its title documents, restraint repairs, and required ADAS checks are recorded together in one file.
An AAMVA survey of 30 jurisdictions found that only 60% reported requiring a mechanical safety inspection for rebuilt vehicles, and fewer than half reported requiring a structural-integrity inspection before titling or registration, figures cited in an NHTSA recall and repair guidance document. State inspections vary, so keep your own evidence of the work: receipts, part numbers, scan reports, torque records, photographs, and calibration documentation.
The ADAS gap most rebuilds miss
Restoring the restraint system does not verify the car's driver-assistance systems. About 53% of repairs required ADAS calibration in late 2024, rising to 65% by the second quarter of 2025, according to a Caliber calibration update. After camera, radar, steering-angle, windshield, or suspension work, check the manufacturer's procedure and record any required calibration.
A car can have repaired belts, a reset module, and no warning light while a camera or radar remains misaligned. The light and scan report are only part of the release file; confirm that the repaired components, sensor mounting, and calibration records match the work performed.
| Check | Pass condition | Verified by |
|---|---|---|
| Active SRS faults | Zero active faults after rescan | Rebuilder scan report |
| Crash data | Cleared from the SRS module | Scan report before and after |
| Module initialization | Manufacturer self-test completed where specified | Service procedure record |
| Pretensioner and buckle match | Correct part for stage and vehicle | Part numbers on invoice |
| Wiring and connectors | Continuity and connector checks pass | Test log |
| Belt webbing and stitching | Intact, no cuts or chew marks | Photo record |
| Anchor torque | Matches manufacturer specification | Torque record |
| Sensor mounting | Unobstructed and undamaged | Photo record |
| ADAS calibration | Completed after camera, radar, steering-angle, or suspension work when required | Calibration report |
| Independent roadworthiness | Passed where local law requires it | Inspection certificate |
Pitfalls that fail release
A visually similar restraint may have the wrong stage for the vehicle. Other release failures include reusing a deployed airbag, overlooking a damaged buckle or anchor, resetting a module while crash-damaged hardware remains in place, or losing receipts and before-repair photographs. Record each repair by vehicle and position, and keep the evidence with the title paperwork.
Before the state appointment, compare your file with the salvage title inspection process and its typical checks. Track inspection outcomes by vehicle, jurisdiction, fault category, and rework cause. That record helps pinpoint gaps in the release process that a pass rate alone cannot show.
Choose the Cheapest Route and Test the Margin
A cheap auction win can still become an expensive rebuild if the repair route eats the resale margin. Compare each option by cash cost, labor, shipping, and whether the paperwork will support the vehicle's release.
| Route | Best for | Main cost driver | Common trap |
|---|---|---|---|
| Individual, full rebuild | Owner-builder with one salvage project | Your time, tools, shipping both ways | Skipping the state paperwork |
| Individual, restraint repair only | Owner with deployed belts or an airbag light after a crash | Repair fee and shipping | Leaving other crash-damaged parts unaddressed |
| Body shop | Steady collision work with bays and staff | Parts inventory and labor hours | Documentation gaps on structural repairs |
| Dealership reconditioning | Resale-ready cars for the lot | Dealer parts and labor | Replacement quotes that run high |
| Shop with mail-in restraint | Several rebuilds a month | Per-unit repair fee and shipping | Missing per-VIN repair file |
Where the Money Goes
For an owner-builder, labor can look free until you count weekends, tools, and shipping. Paperwork also has a cost: if you wait until the end to assemble the file, missing photos and receipts may be impossible to recreate.
Body shops need to manage parts inventory and technician hours, so throughput matters as much as an individual part price. Dealership reconditioning can simplify the route to a retail-ready car, but parts and labor may make replacement the costlier option. Compare repair and replacement estimates before committing, and include programming and freight where applicable. For a closer look at collision repair parts and sourcing options, factor the part choice into the estimate rather than treating it as a separate decision.
Shops that send restraint components out trade inventory costs for per-unit fees and shipping. Keep a separate file for each VIN, with estimates, invoices, part records, and repair documents. Without that organization, paperwork from similar vehicles can be difficult to match during inspection.
Cost Controls That Protect the Margin
- Get replacement pricing in writing. Include programming and shipping so the comparison reflects the full job.
- Group shipments by VIN. Label each component by vehicle and position to reduce freight costs and mix-ups.
- File records as work is completed. Keep estimates, invoices, photographs, and test records together for each vehicle.
- Price time and transport before bidding. Your own labor still has a cost, and parts moving both ways affect the schedule.
Mail-in service timing is only one part of the schedule. Add outbound and return shipping, repair time, ADAS calibration, inspection, and title processing before setting a completion date.
Run the Landed-Cost Test
The auction price is only one line in the deal. Add buyer fees, transport, parts, restraint repair, ADAS calibration, independent inspection, title and registration fees, and a realistic value for your labor. Compare that total with the expected resale price.
For example, a car with a $6,000 all-in cost and a $9,000 rebuilt-title resale leaves $3,000 before any costs missed in the estimate. A late calibration, an unexpected pretensioner, or a second inspection trip can narrow that margin. Price likely work before bidding, while walking away is still free.
Before bidding, check your state's rebuilt-title rules, screen the lot, set a maximum bid below your margin line, and arrange the independent inspection before repairs begin. Treat the paperwork, SRS restoration, and ADAS verification as one release file. A low bid only pays off if the file closes and the vehicle is ready for the road.
If your Copart purchase has locked belts, deployed pretensioners, or crash data stored in the SRS module, Seat Belt Repair offers mail-in seat belt repair and module reset services using OEM components. Keep the invoices and part records in the per-VIN file, then document the completed installation and scan as part of the restraint release.

Laisser un commentaire
Ce site est protégé par hCaptcha, et la Politique de confidentialité et les Conditions de service de hCaptcha s’appliquent.